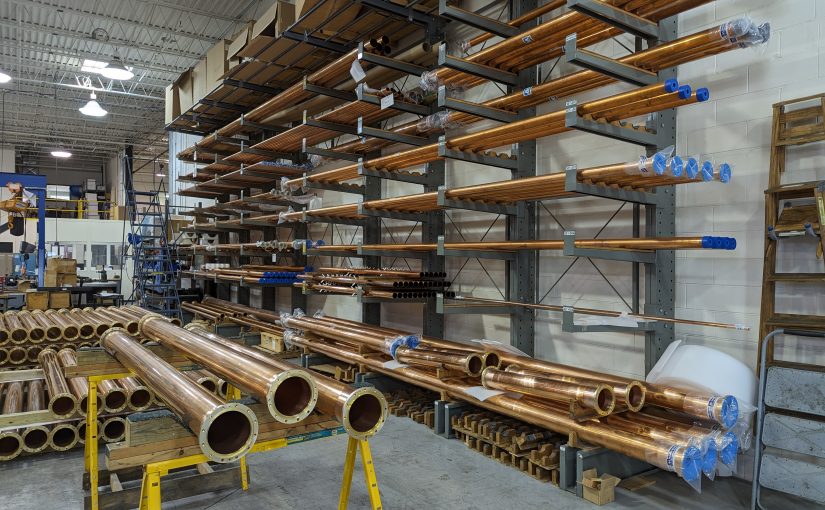
Update: This post is from several years ago (January 31, 2018), however, I did a fairly major revision and added a lot of information, so I am bumping it to the top of the pile. The header picture is from the Myat facility in Mahwah, New Jersey.
Installing transmitters requires a multitude of skills; understanding the electrical code, basic wiring, RF theory, and even aesthetics play some part in a good installation. Working with rigid transmission line is a bit like working with plumbing (and is often called that). Rigid transmission line is often used within the transmitter plant to connect to a four-port coax switch, test load, backup transmitter, and so on. Sometimes it is used outside to go up the tower to the antenna, however, such use has been mostly supplanted by Heliax-type flexible coax.
We completed a moderate upgrade to a station in Albany; installing a coax switch, test load, and backup transmitter. I thought it would be interesting to document the rigid line work required to complete this installation. The TPO at this installation is about 5.5 KW including the HD carriers. The backup transmitter is a Nautel VS-1, analog only.
This site uses a 1 5/8-inch transmission line. That line is good for most FM installations up to about 10-15 Kilowatts TPO. Beyond that, 3-inch line should be used for TPOs up to about 30 Kilowatts. Above 30 KW TPO, 4 inch or greater line is required. There are a few combined FM stations that are pumping 80 or 90 KW up to the antenna. Those require 6 inch or greater line. Even though the transmission lines themselves are rated to handle much more power, reflected power often creates nodes along the line where the forward power and reflected power are in phase. This can create hot spots and if the reflected power gets high enough, flashovers.
This brings up another point; most rigid line comes in 20-foot sections. There are certain FM frequencies that require different lengths due to the aforementioned nodes that fall along the 1 wavelength intervals. If one of those nodes happens on a flange, that could create problems.
- Frequencies between 88.1 and 95.9 MHz, use 20-foot line sections
- Frequencies between 96.1 and 98.3 MHz, use 19.5-foot line sections
- Frequencies between 98.5 and 100.1 MHz, use 19-foot line sections
- Frequencies between 100.3 and 107.9 MHz, use 20-foot line sections
TV frequencies are much more complicated. The large channel width and much larger spectrum use means that close attention needs to be paid to line section length. Since low-power TV and translators may need to change frequency, those stations often use Heliax instead of rigid line.
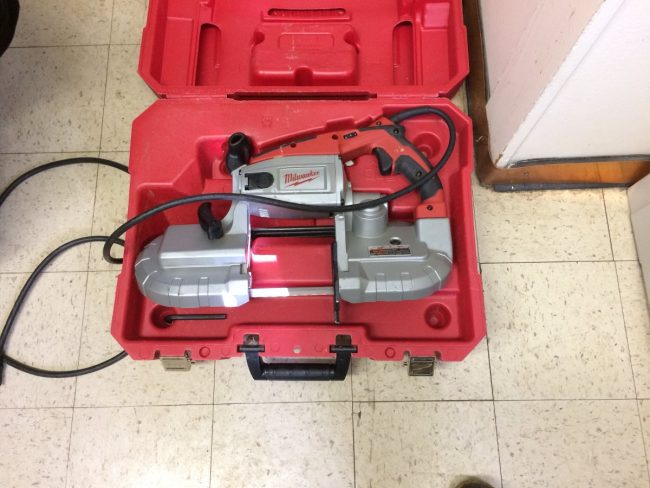
Working with rigid line requires a little bit of patience, careful measurements, and some special tools. Since the line itself is expensive and the transmission line lengthener has yet to be invented, I tend to use the “measure twice and cut once” methodology.
For cutting, I have this nice portable band saw and table. I bought this particular tool several years ago and it has saved me hours if not days of work at various sites. I have used it to cut not just coaxial line and cables, but uni strut, threaded rod, copper pipe, coolant line, conduit, wire trays, etc. If you are doing any type of metalwork that involves cutting, this tool is highly recommended.
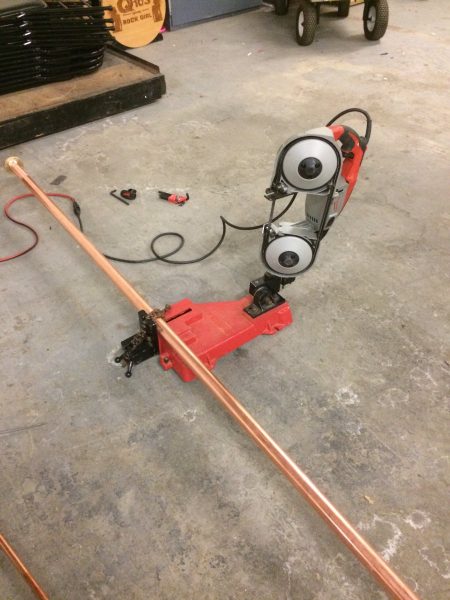
There are now Lion battery types of bandsaws which are certainly more portable than this. Still, the table with the chain clamp makes work much easier and the cuts are straight (perpendicular), which in turn makes the entire installation easier.
The next point is how long to cut the line pieces and still accommodate field flanges and inter-bay line anchors (AKA bullets).
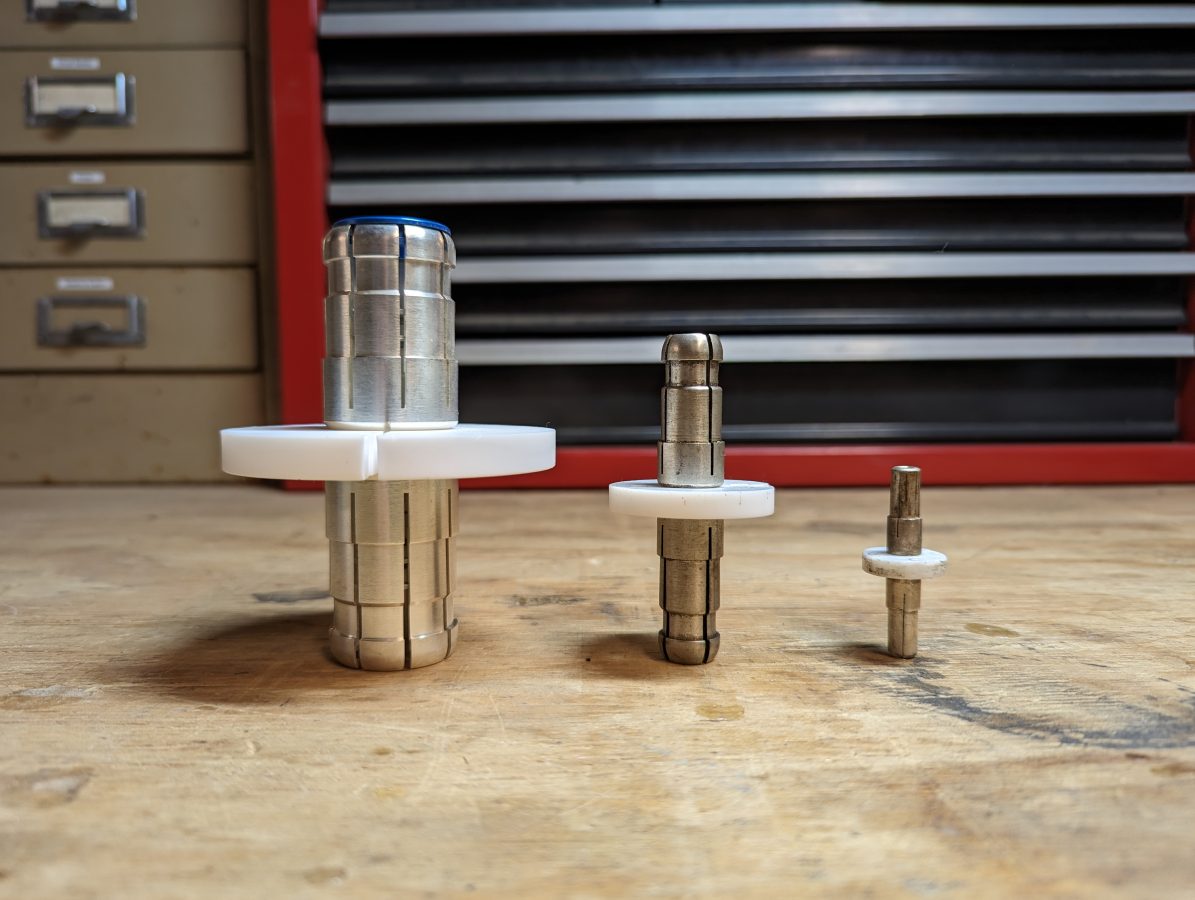
The inner conductor is always going to be shorter than the outer conductor by some amount. Below is a chart with the dimensions of various types of rigid coaxial cables.
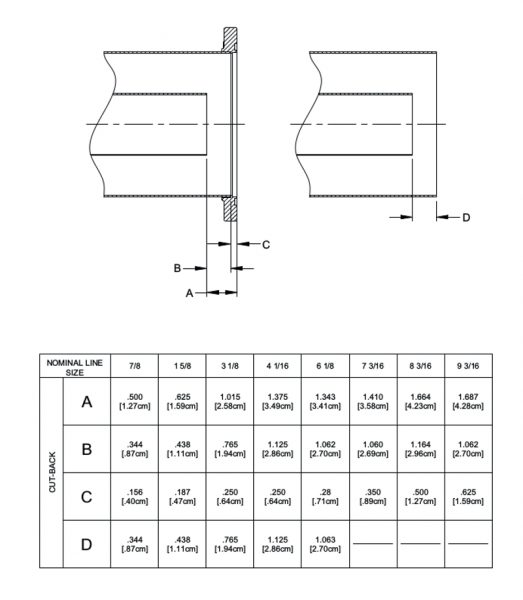
When working with 1 5/8 inch rigid coax, for example, the outer conductor is cut 0.187 inches (0.47 cm) shorter than the measured distance to accommodate the field flange. The inner conductor is cut 0.438 inches (1.11 cm) shorter (dimension “D” in the above diagram) than the outer conductor to accommodate the inter-bay anchors. These are per side, so the inner conductor will actually be 0.876 inches (2.22 cm) shorter than the outer conductor. Incidentally, I find it is easier to work in metric as it is much easier to measure out 2.22 CM than to try and convert 0.876 inches to some fraction commonly found on a tape measure. For this reason, I always have a metric ruler in my tool kit.
If you do not have a handy chart, you can estimate the inner conductor length by measuring the inner bay anchor from the insulator to the first shoulder. Then multiply by two.
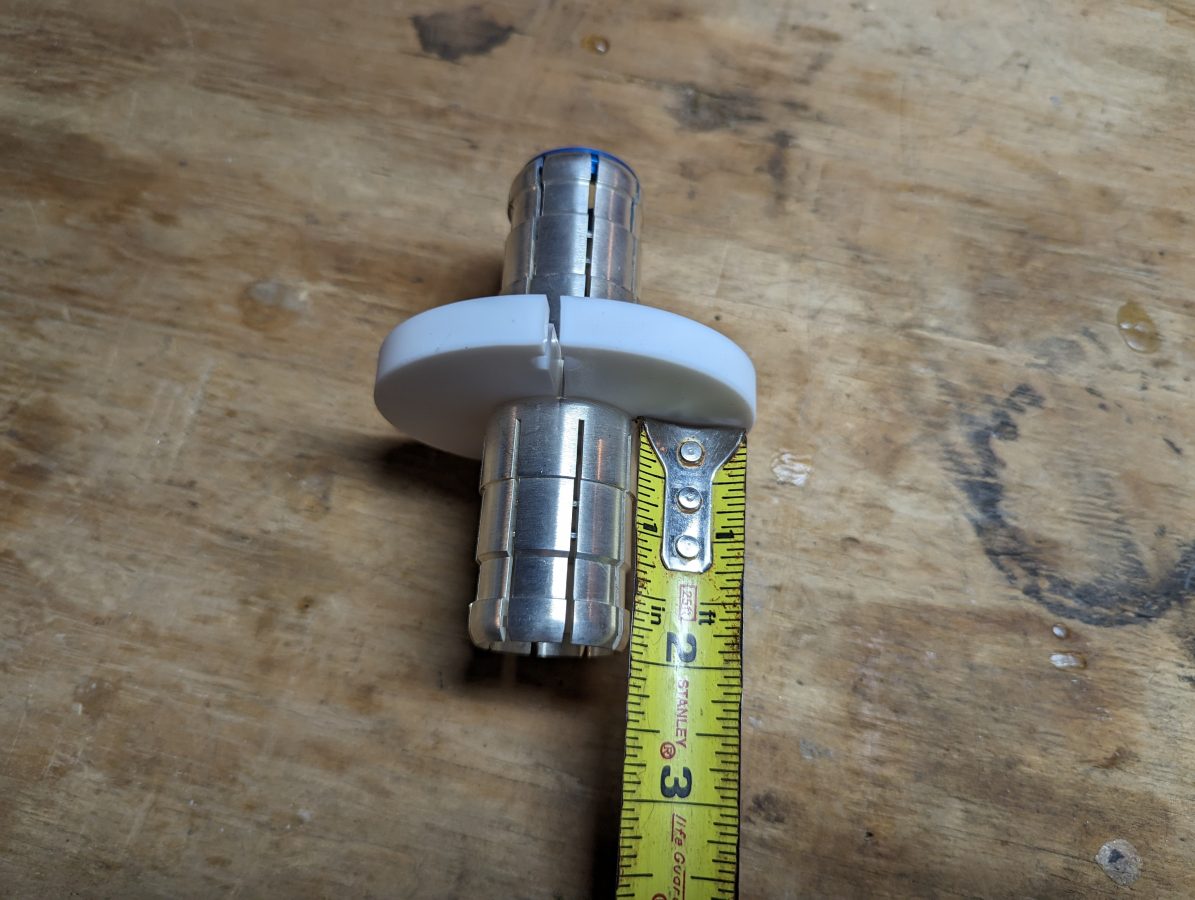
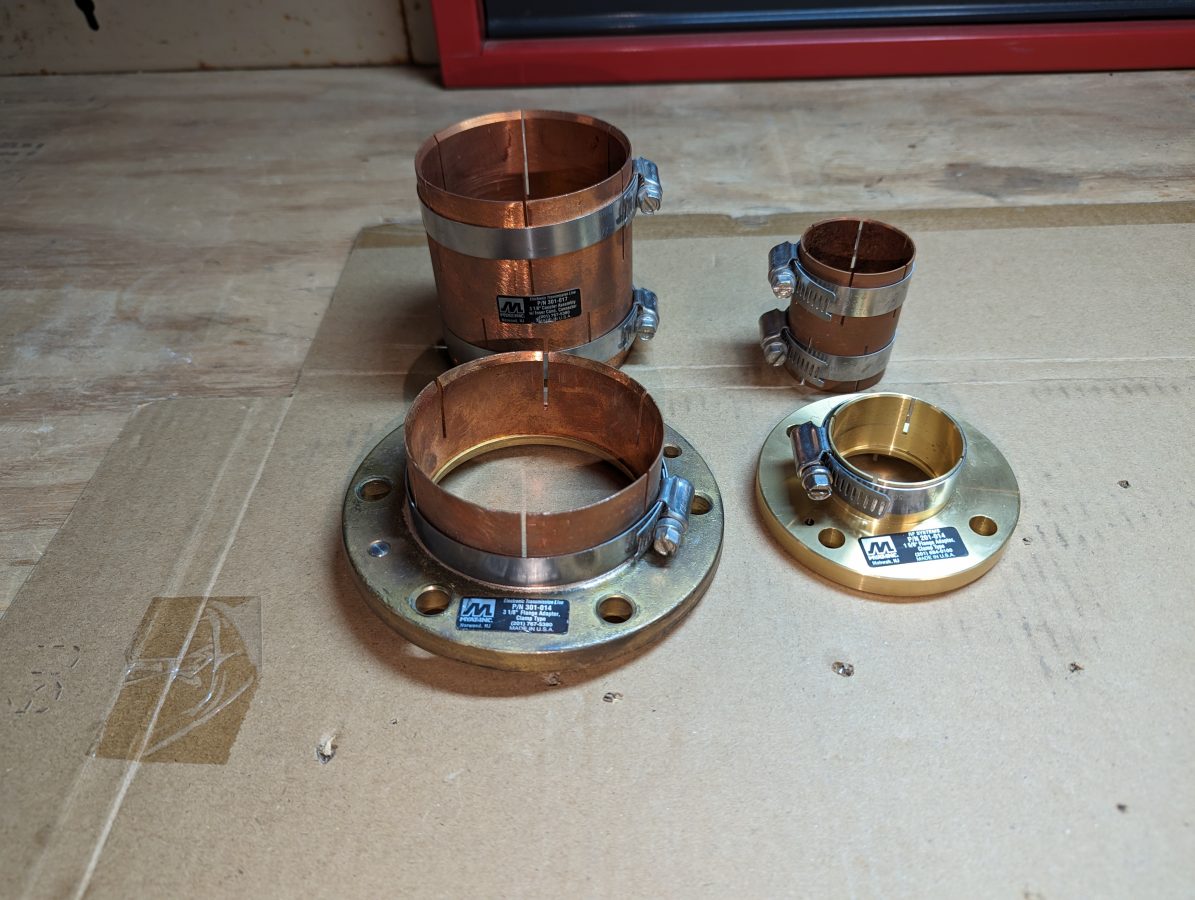
In this case, the measurement from insulator to shoulder is 11/16th of an inch (17.5 mm). If Clamp On Flange adaptors (AKA field flanges) are being used, don’t forget to account for the small lip (usually less than 1/16th of an inch) around the inside of the flange where the outer conductor is seated. If you are using unflanged couplings instead of field flanges, then you can disregard this.
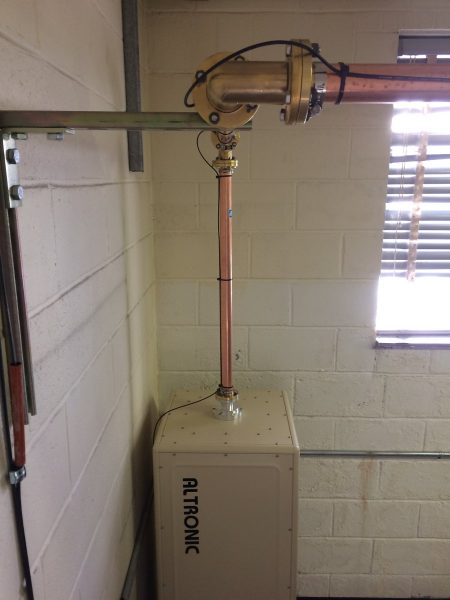
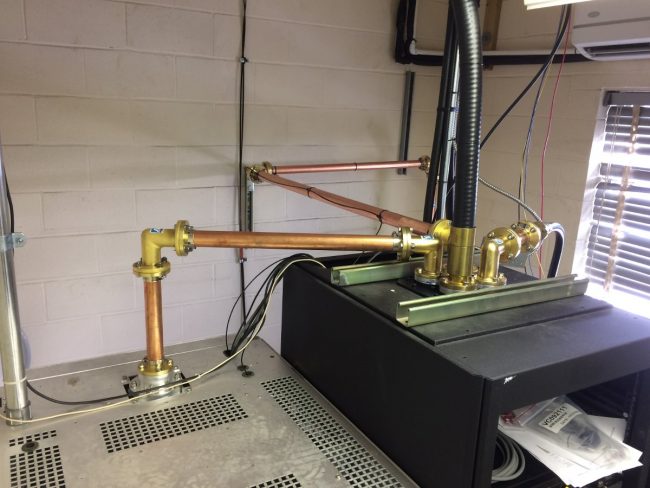
The next step is de-burring. This is really critical at high power levels. I use a copper de-burring tool commonly used by plumbers and electricians.
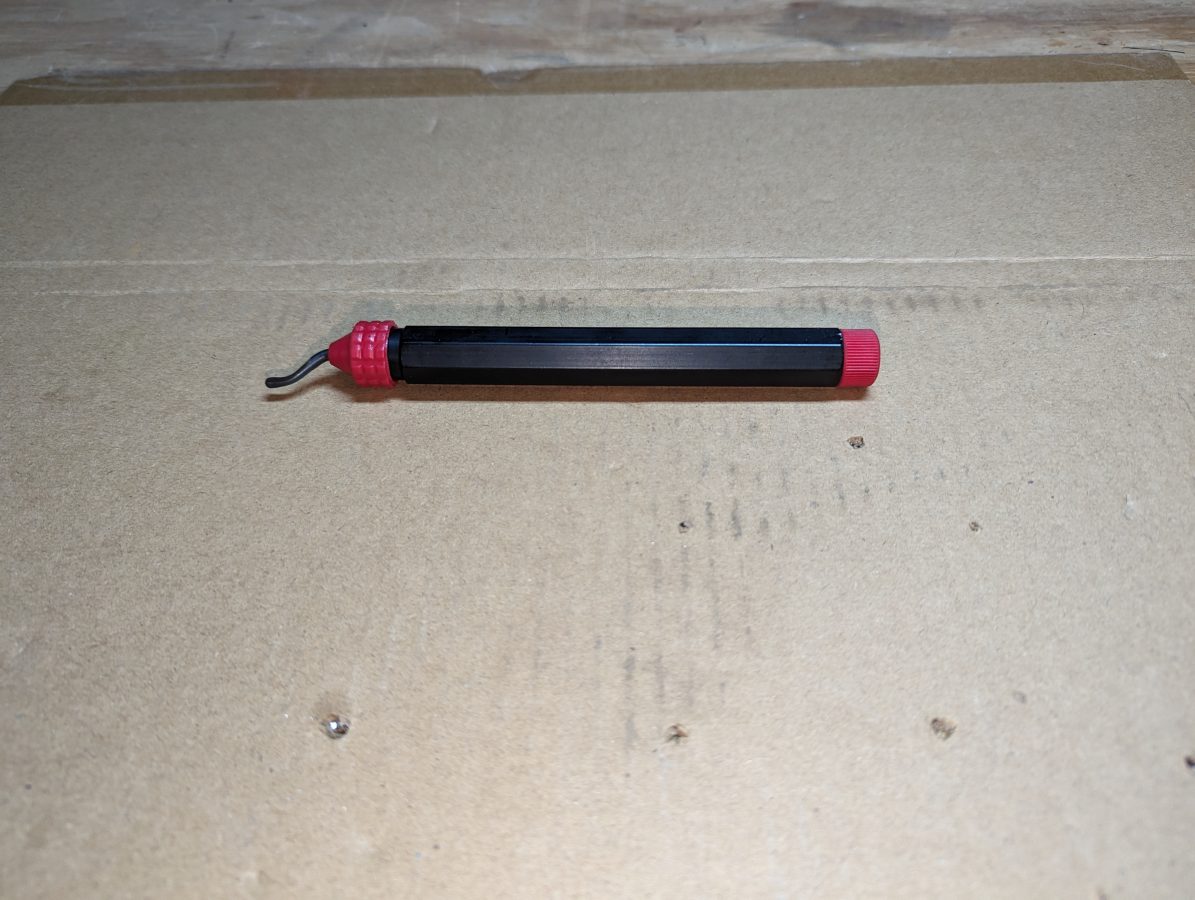
One could also use a round or rat tail file to de-bur. The grace of clamp-on field flanges is they have some small amount of play in how far onto the rigid line they are clamped. This can be used to offset any small measurement errors and make the installation look good.

