I have seen many a Dell LCD computer monitor go south for want of a $0.50 part. Dell must have gotten a hold of a bad batch of capacitors because almost invariably, the problem is with the power supply capacitors for the backlight. The symptoms are; the monitor goes very dim and can only be read when shining a light on it, or the power button flashes green.
A new Dell 19-inch (E1914H) monitor runs about $90.00 – 110.00. I can repair a defective unit in about 20-30 minutes or so, which makes it worthwhile for the client. When repairing equipment, the cost of labor and parts balanced across the cost of new equipment should be a prime consideration. Sometimes, it is simply not worth the time to repair something. In others, like this instance, it makes sense as long as the repair is simple.
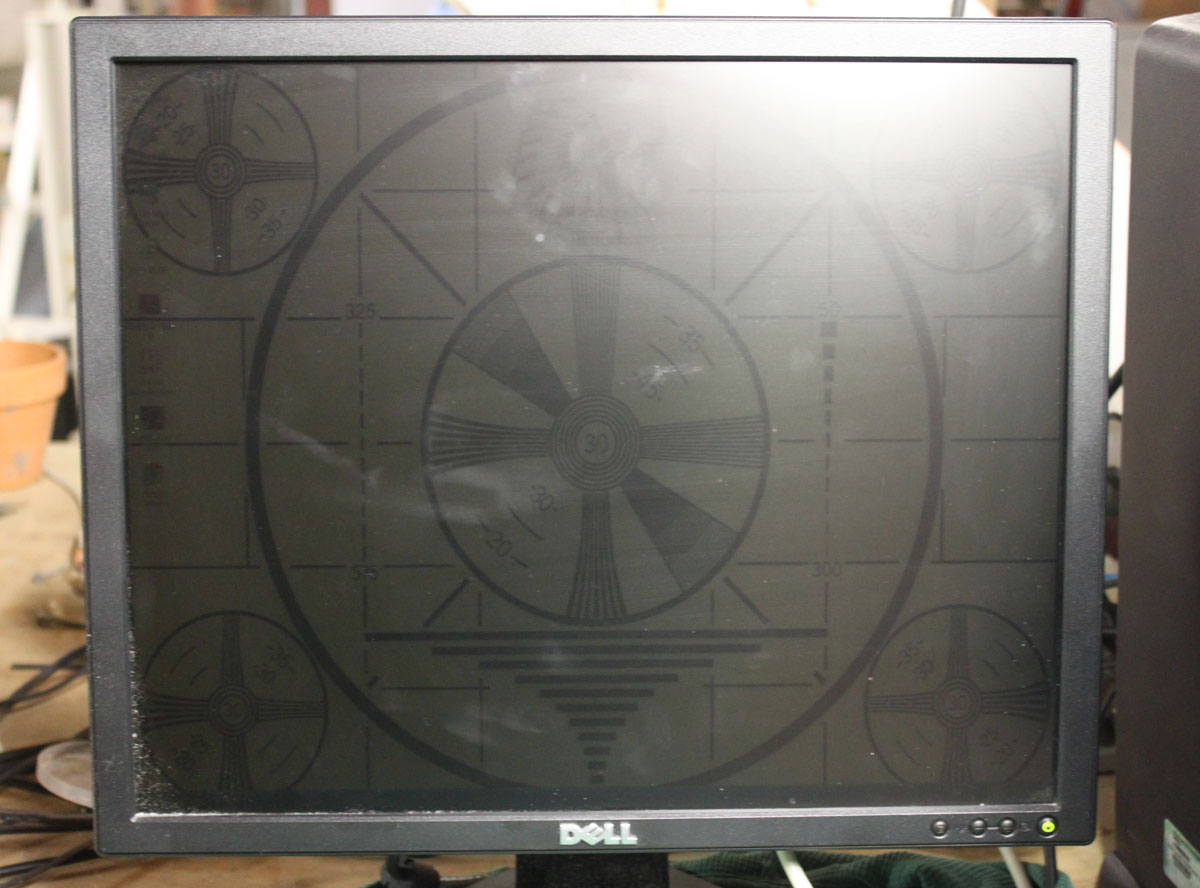
This is a Dell E198FPf LCD monitor. After the initial diagnosis:
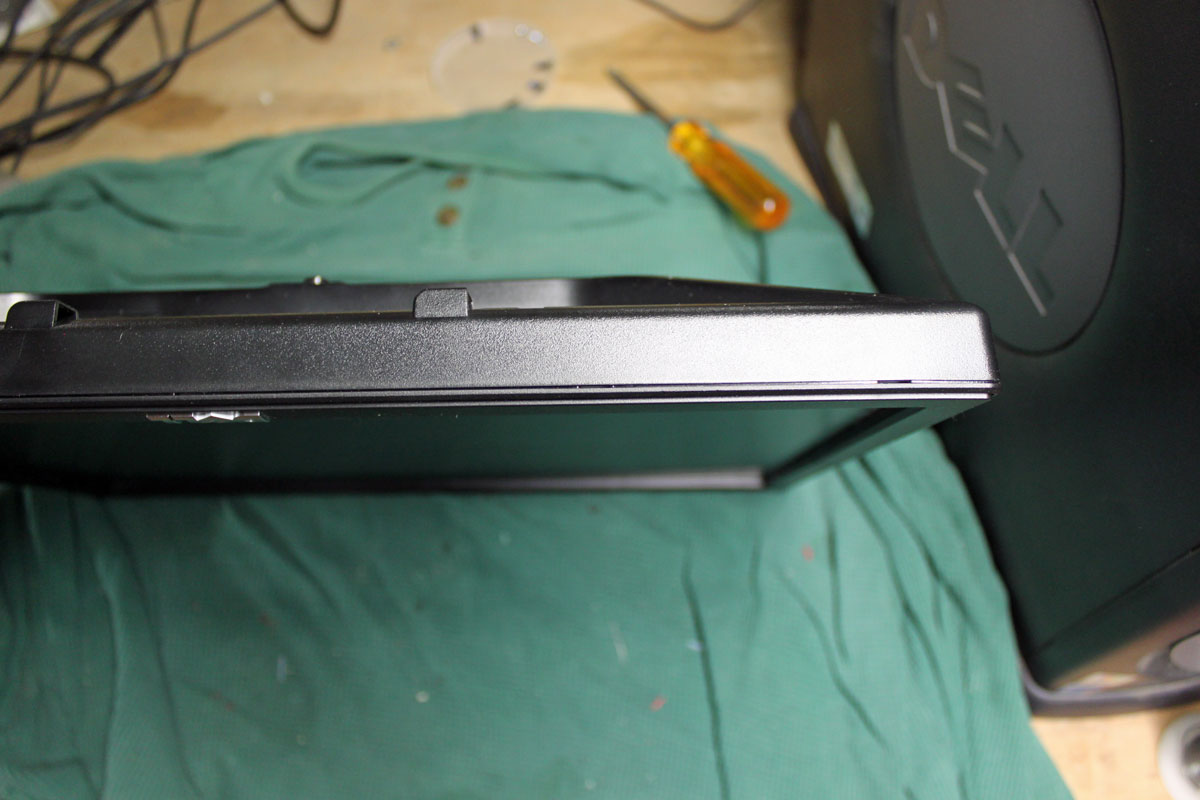
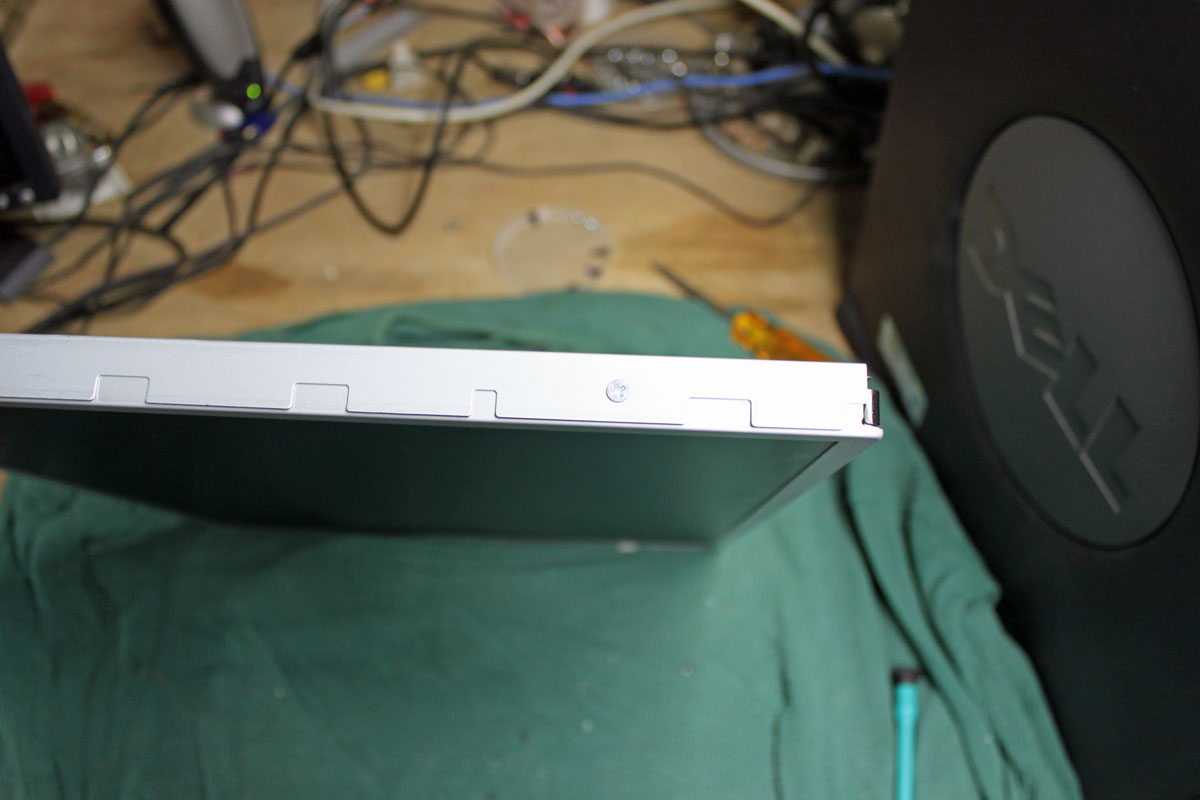
The first step is to remove the stand and the four screws behind the stand bracket.

The hardest thing about this repair is getting the bezel off. Dell uses a bezel around the monitor face that uses little plastic clips to hold it in place. To get the bezel off, one needs to press the clips toward the center of the monitor while lifting it up. It requires the careful application of force.
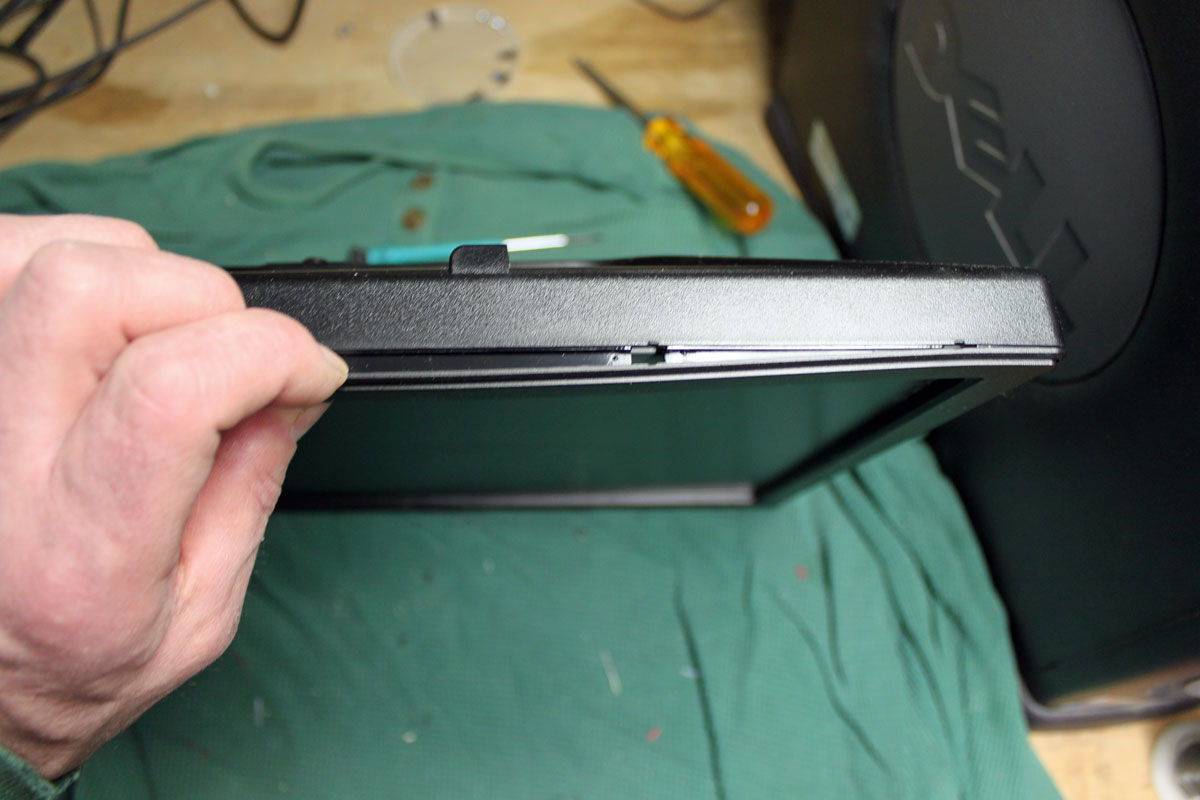
I start on the bottom and use a small screwdriver in one of the slots to get it started. I start on the bottom because if the plastic gets a little marred, no one will see it when the repair is finished. Once the first clip is released, then the others and be released by twisting the bezel carefully toward the center of the monitor while lifting.
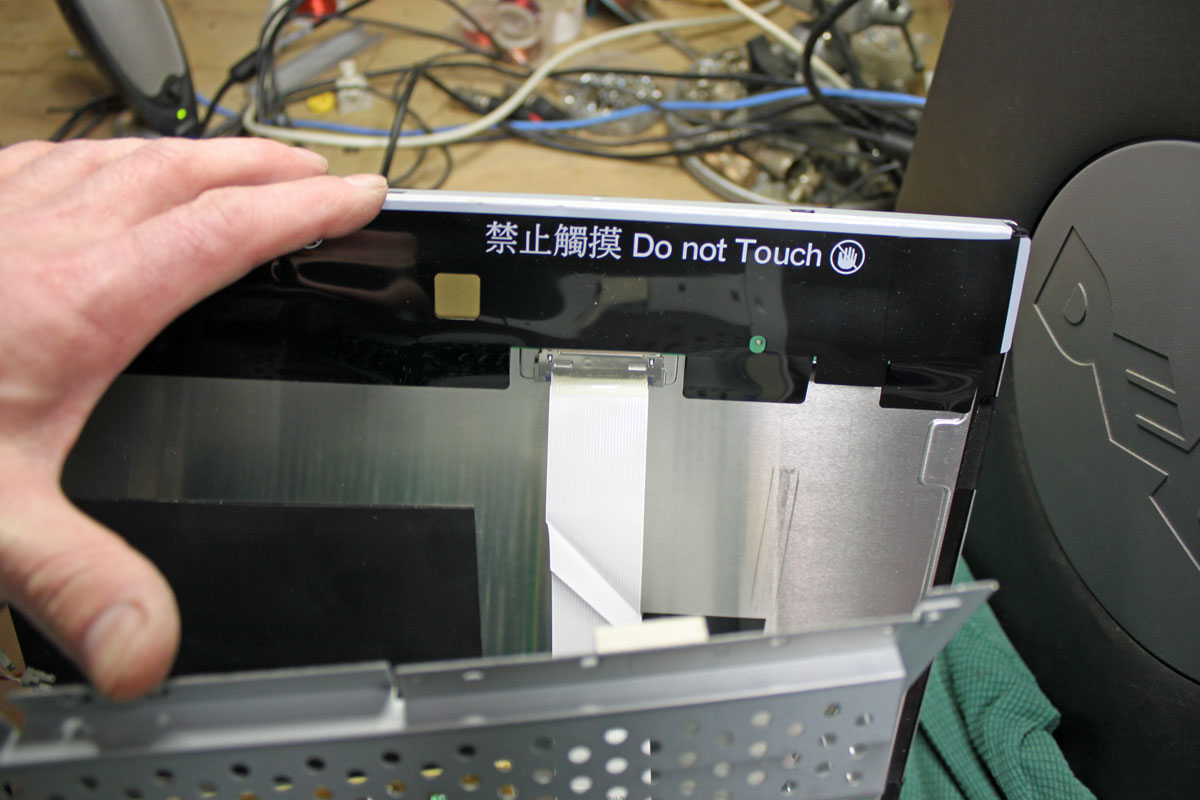
Once the bezel is removed, the wiring needs to be disconnected. This consists of the backlight, the data buss, and sometimes the on/off switches, which are mounted on the bezel.

After all the wiring is removed, there are either two or four screws that hold the power supply to the monitor screen.
Finally, the power supply board is exposed. Depending on the model of the monitor, the hex head screws that hold the VGA connector may need to be taken off. Sometimes not.
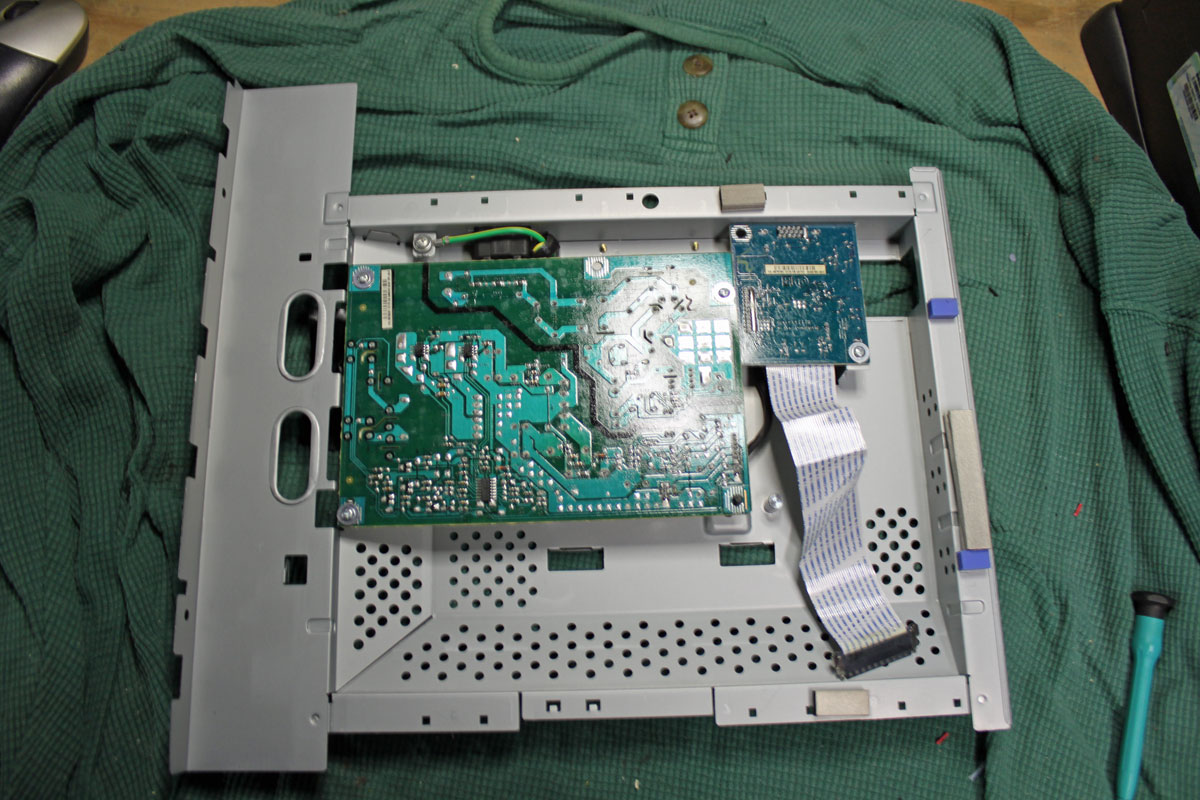
Removing the screws on the back of the power supply board exposes the capacitors and other components.

And the culprit is discovered. These two bulging capacitors are causing the LCD monitor backlight power supply shut down making the monitor unusable. The larger one is a 1000 uF 25 volt and the smaller is 680 uF 25 volt. I replaced both with in kind 35 volt units. I also took the liberty of replacing the rest of the electrolytics on the power supply board (total of five additional capacitors). While the unit is disassembled, it is far easier to replace all the $0.50 components than to do it one at a time over the next few years as each fails. This monitor should be good for another 5 years of service at least. These values vary somewhat from monitor to monitor. Also, if only repairing one or two monitors, the parts can be obtained at Radio Shack for $1.99 each.
It is a good way to regenerate equipment, even if they are set aside as spares.


“…the parts can be obtained at Radio Shack for $1.99 each.”
What? Radio Shack has parts? When did this happen? The only things my store carries are cellphones and, around the holiday season, radio-controlled (R/C) toys.
Often the higher voltage caps are physically too large to fit the available space. I recall repairing a PS in a large projection TV. The seven old caps were exactly 12mm in diameter and were positioned so they touched each other. The new caps were 13mm and were more than a tight fit. I had to bend the leads just a bit, which meant I couldn’t install the caps flush agaist the board.
Yep, cap replacement is often an exercise in creative spacing. Get ready to break out plenty of heat shrink to insulate leads, if you have to dress them around shielding plates and other fun stuff.
Most of the Radio Shacks I’ve seen still do carry parts. They are almost always buried in a large cabinet with drawers, instead of hanging in the display racks where they used to be. You will usually find all the discrete components in there along with a fair assortment of RF and audio connectors.
One thing to watch out for is to use low ESR high frequency types. If you use the plain generic power supply types you will be doing the job all over again in a very short time! Most of the ones I had go bad had a green color. And they always seem to put that white glue all over them, just to make your life harder!
At my fulltime gig we’d been plagued with hundreds of Dell computers and monitors that suffered from “bad capacitor syndrome” as outlined over at badcaps.com. While we had repaired some of the monitors and even some of main boards of the affected computers the economics made it impractical, not to mention Dell’s extended denial of any problems which that had been fully aware of. This motivated us to move to Hewlett-Packard as our supplier of computer hardware.
As far as parts go, Radio Shack is a shadow of its former self. Decades ago I worked at one station that was in the same building as a Rat Shack. It was quite convenient as I could pop over and get a part without having to place an order from the larger part houses. Today I find myself using Mouser or DigiKey when I need things as The Shack has significantly scaled back on their stock of available parts.
Cap have always been a weak link.
In the early transmitters caps would explode almost everytime you signed on.
Buying parts for this kind of work, I have found Digi-Key to be an excellent, low-cost source. You can just imagine how many computer monitors there are in a TV station (now multiply your estimate by 2, since we use them with adaptors to look at video as lower quality “confidence” monitors). It’s an ongoing process; there’s nearly always one or two in the shop, awaiting a “repair or replace?” decision.
Over the years I’ve repaired quite a number of monitors, motherboards, power supplies, and various other gear with bad caps. And while Dell seems to have had the most publicity of this problem in part due to the lawsuit that was brought against them several years back, I’ve seen the same problem in equipment from HP, Compaq, Acer, Nec, Netgear, and even those M-Audio Delta 1010 rack-mount breakout-boxes. Fortunately caps are cheap and easy to replace.
Part of the cause of the infamous “Capacitor plague.” I would be remiss if I did not confess, it was not Sprague!
http://en.wikipedia.org/wiki/Badcaps
Wesley Horton K0WHH