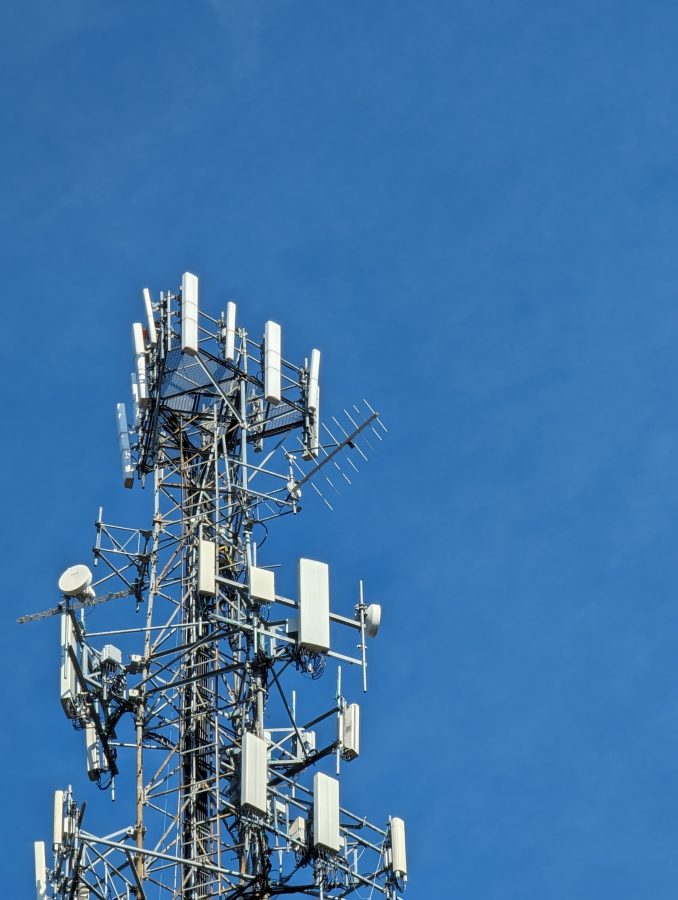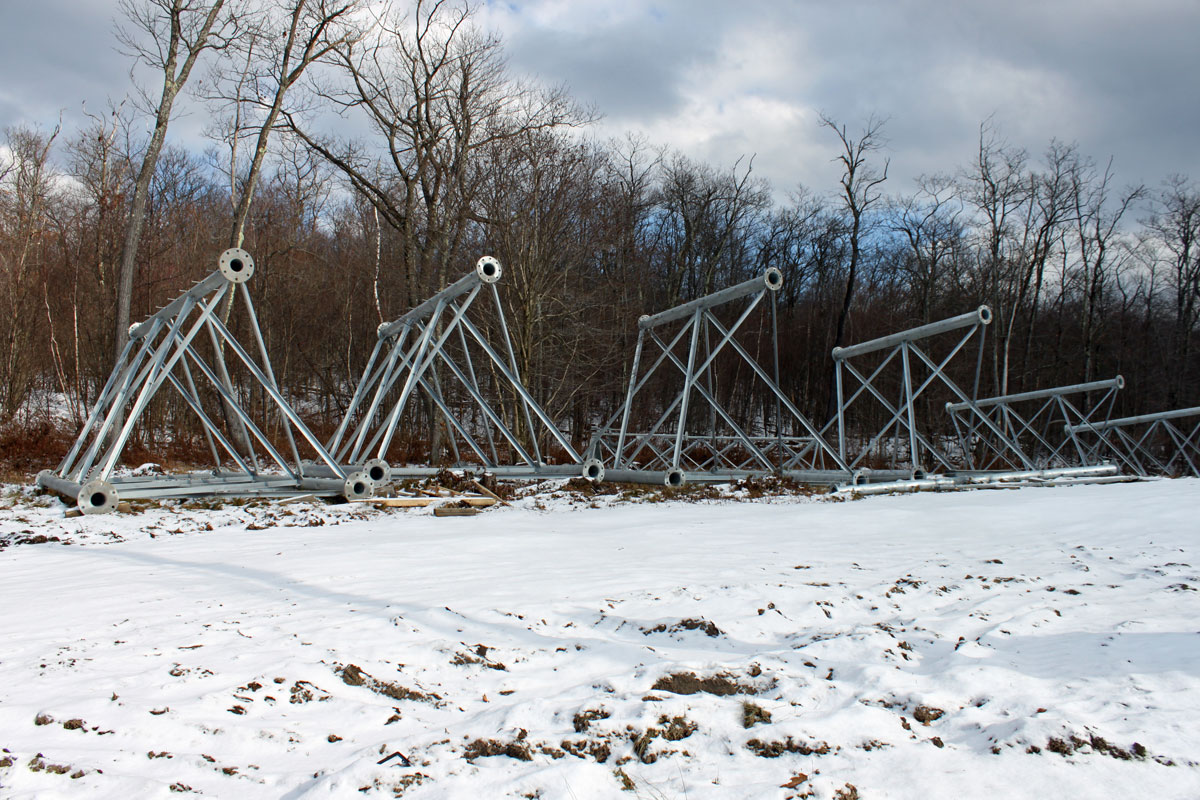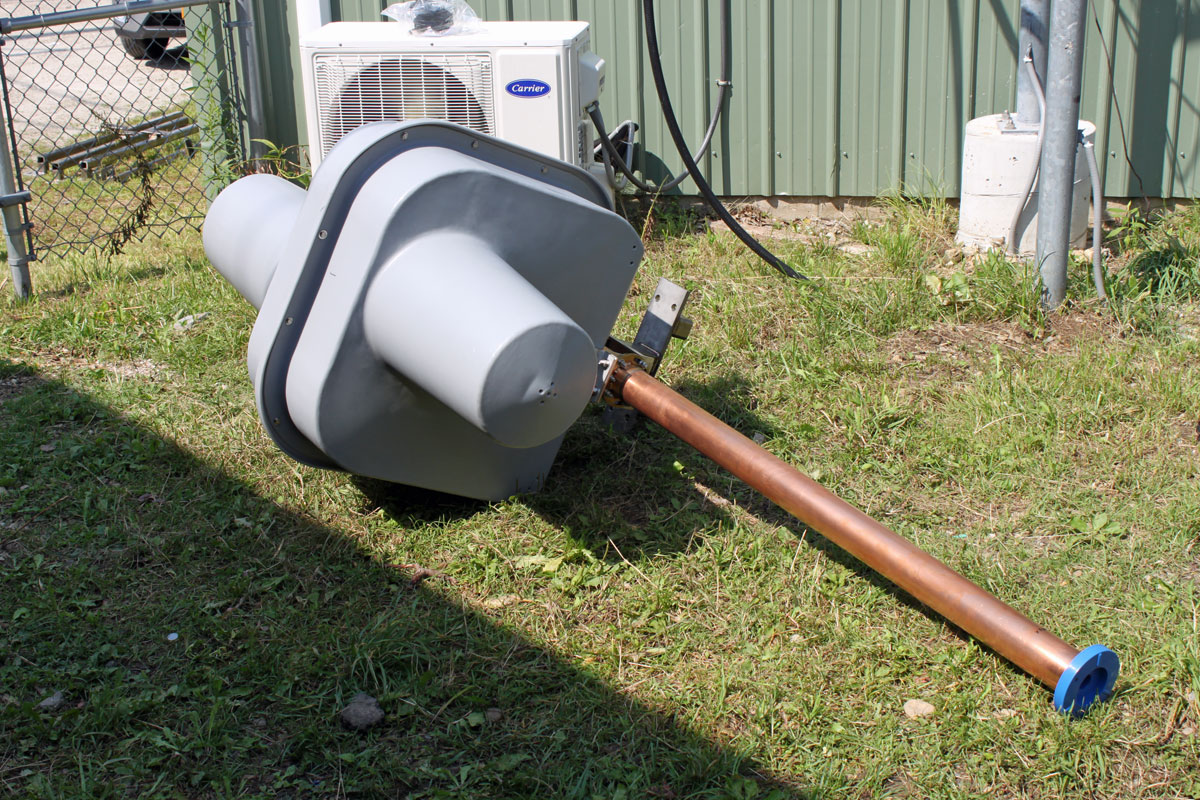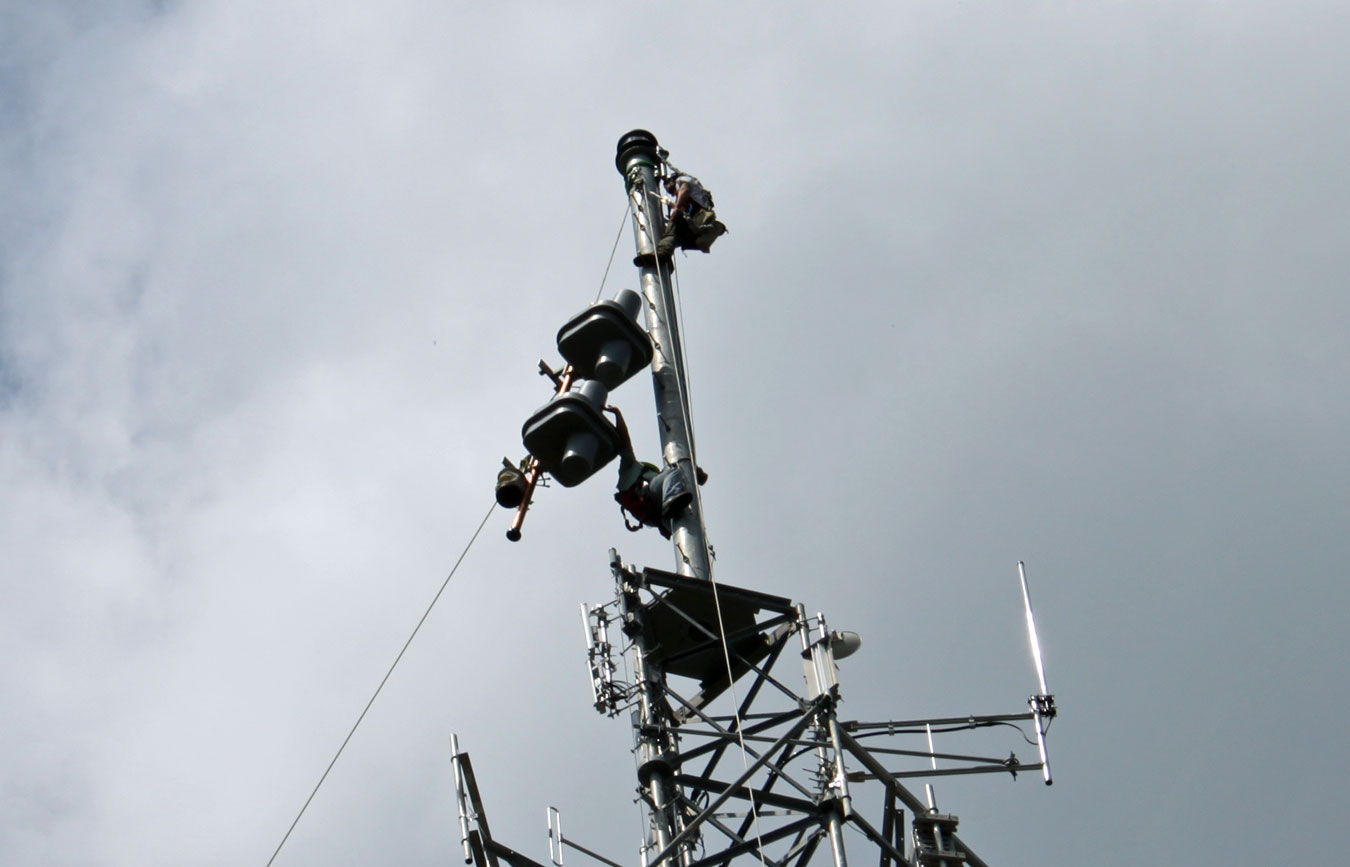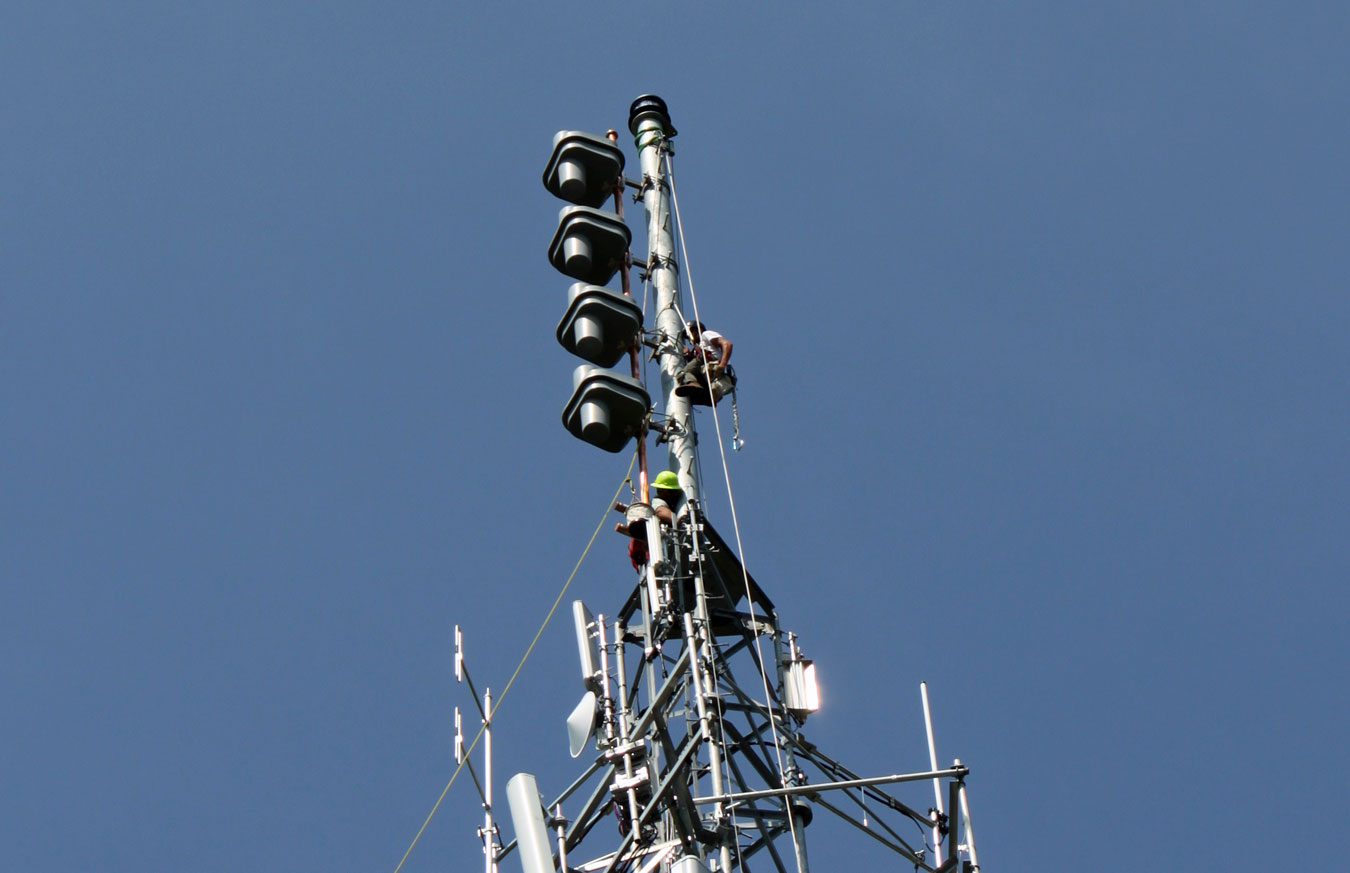
One of our clients needs to move to another transmitter site because their lease is expiring at the old site. We have been working on this for several months now. One of the nice features of this project is the panel antenna.
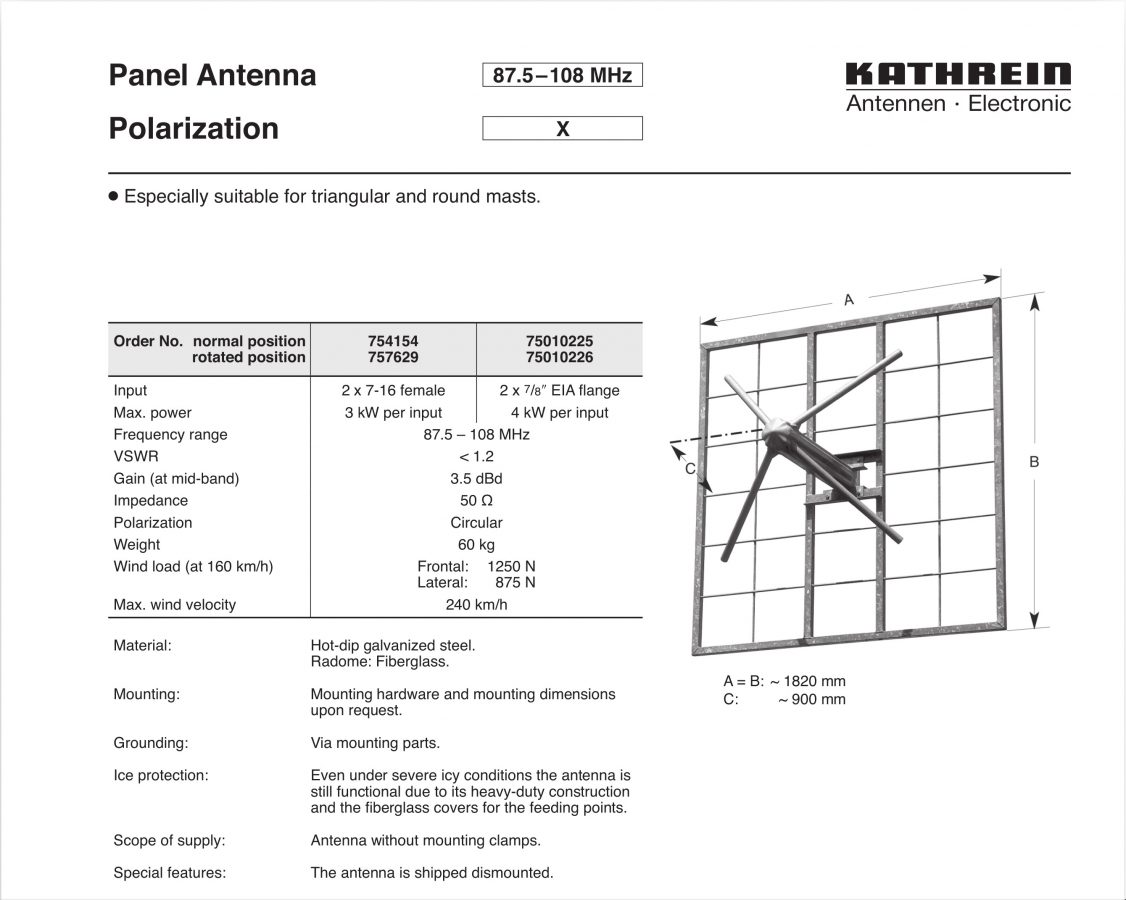
This is installed in a 2-bay 3-around configuration. I don’t see this particular model in the Kathrein catalog anymore, but there are other cross-polarized panel antennas available from them.
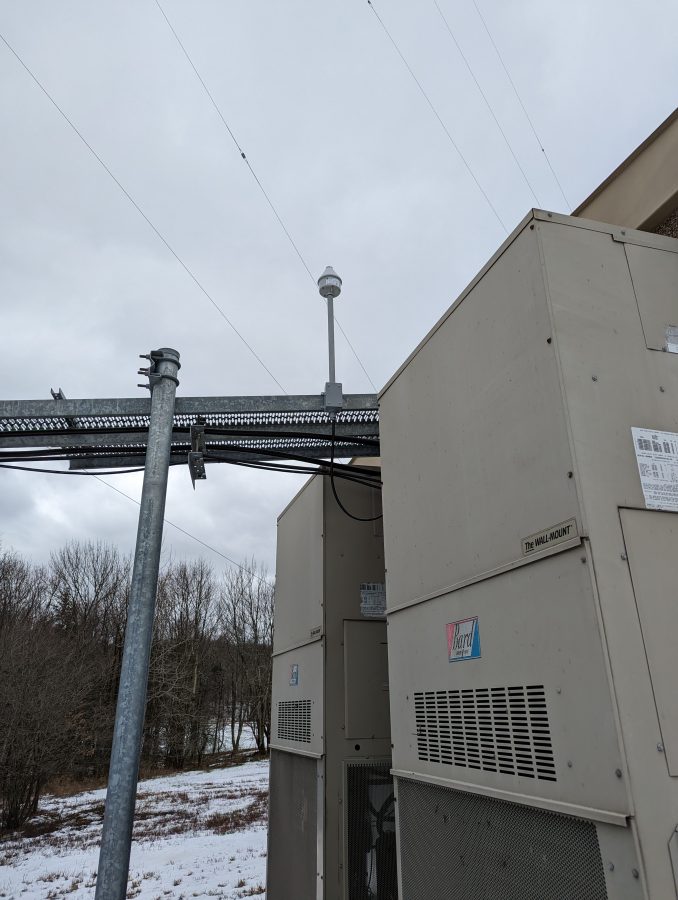
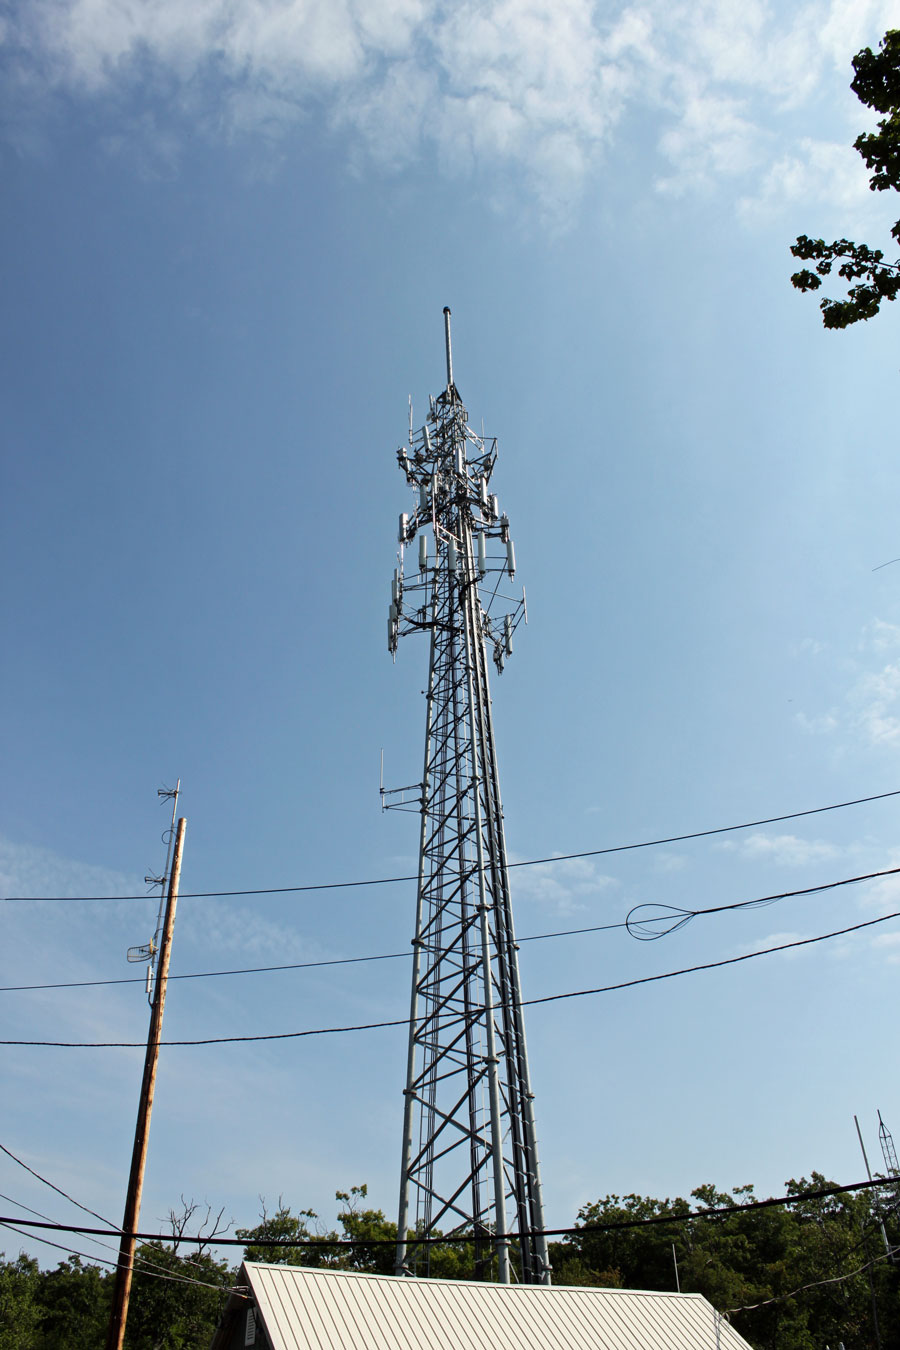
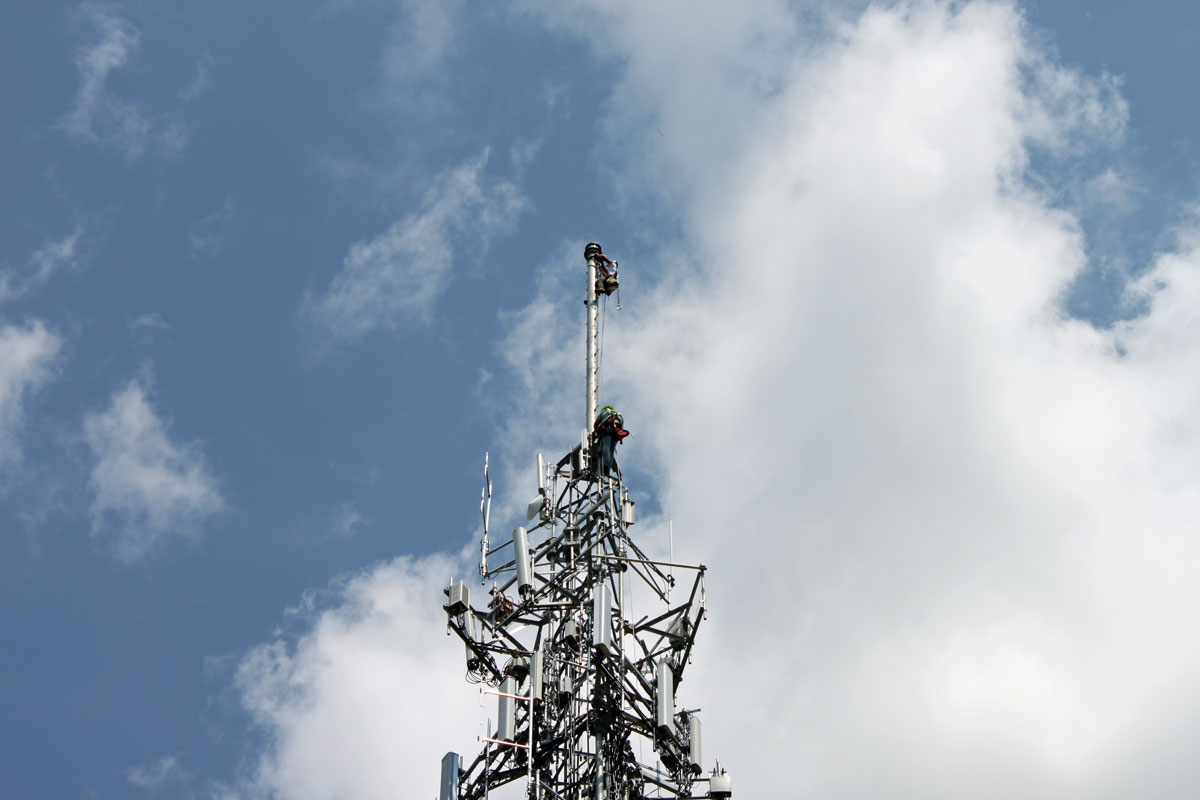
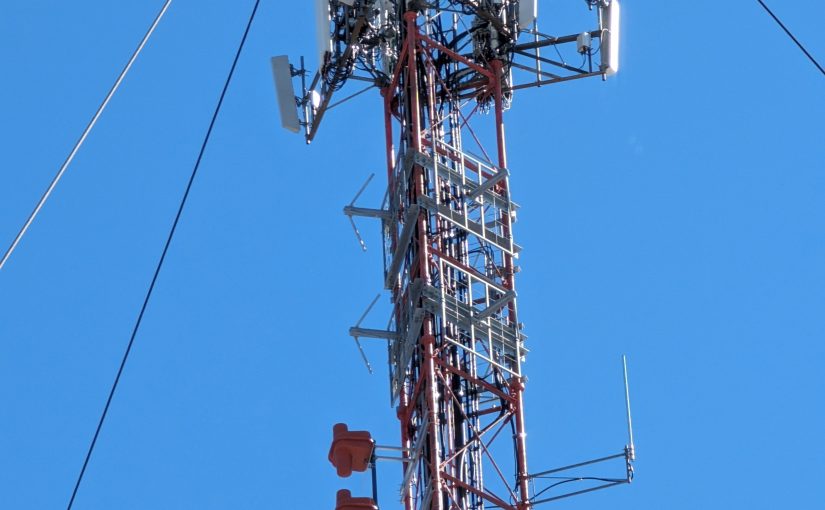
There are many existing services on this tower including two full-power FM stations, a translator, a VHF TV station, numerous cell carriers, etc. Once the installation is done we will have to check carefully for intermodulation.
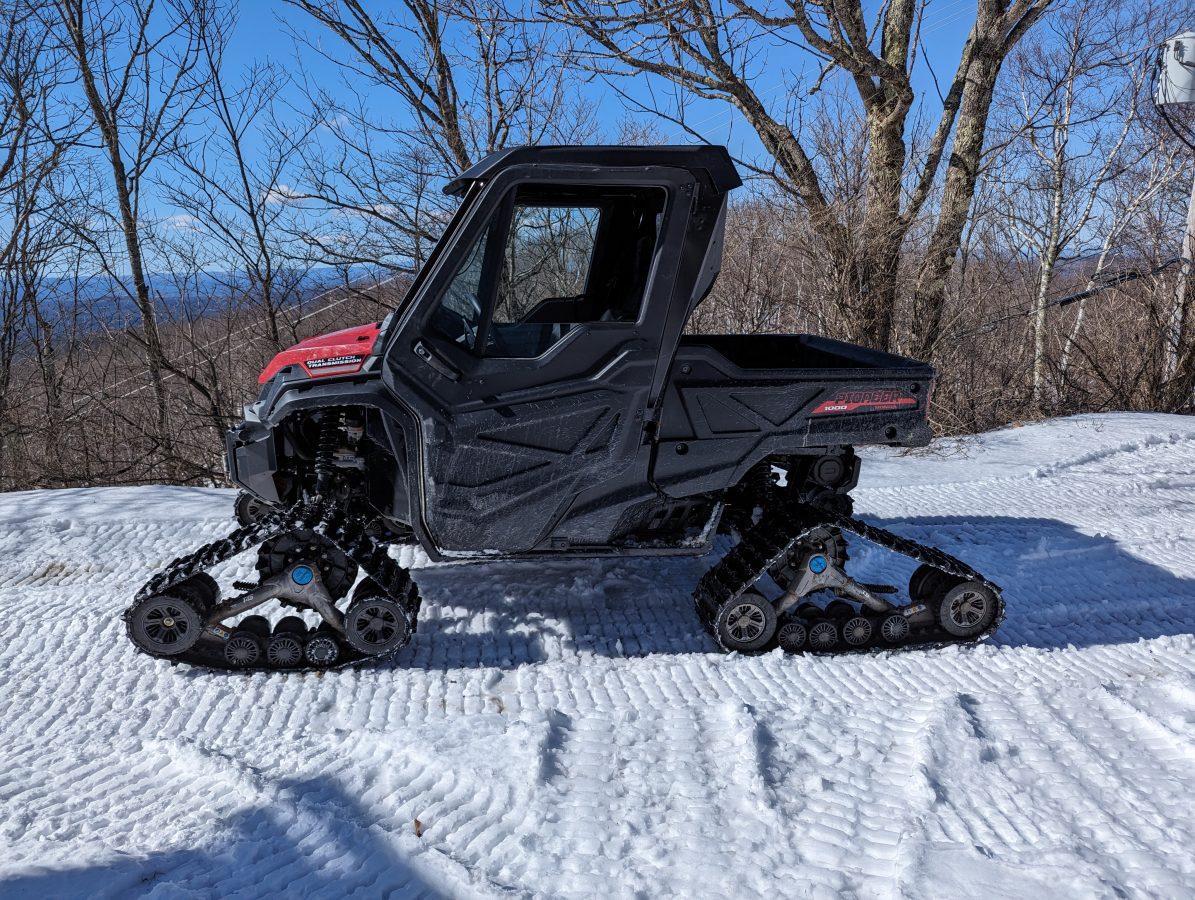
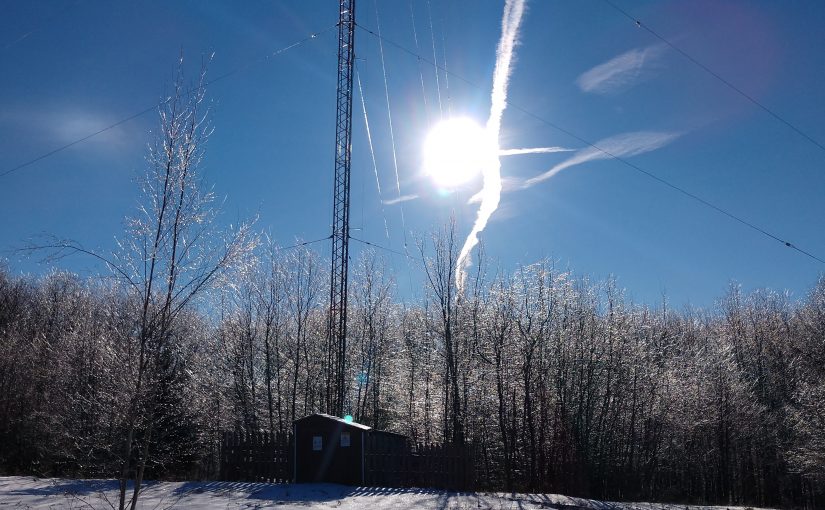
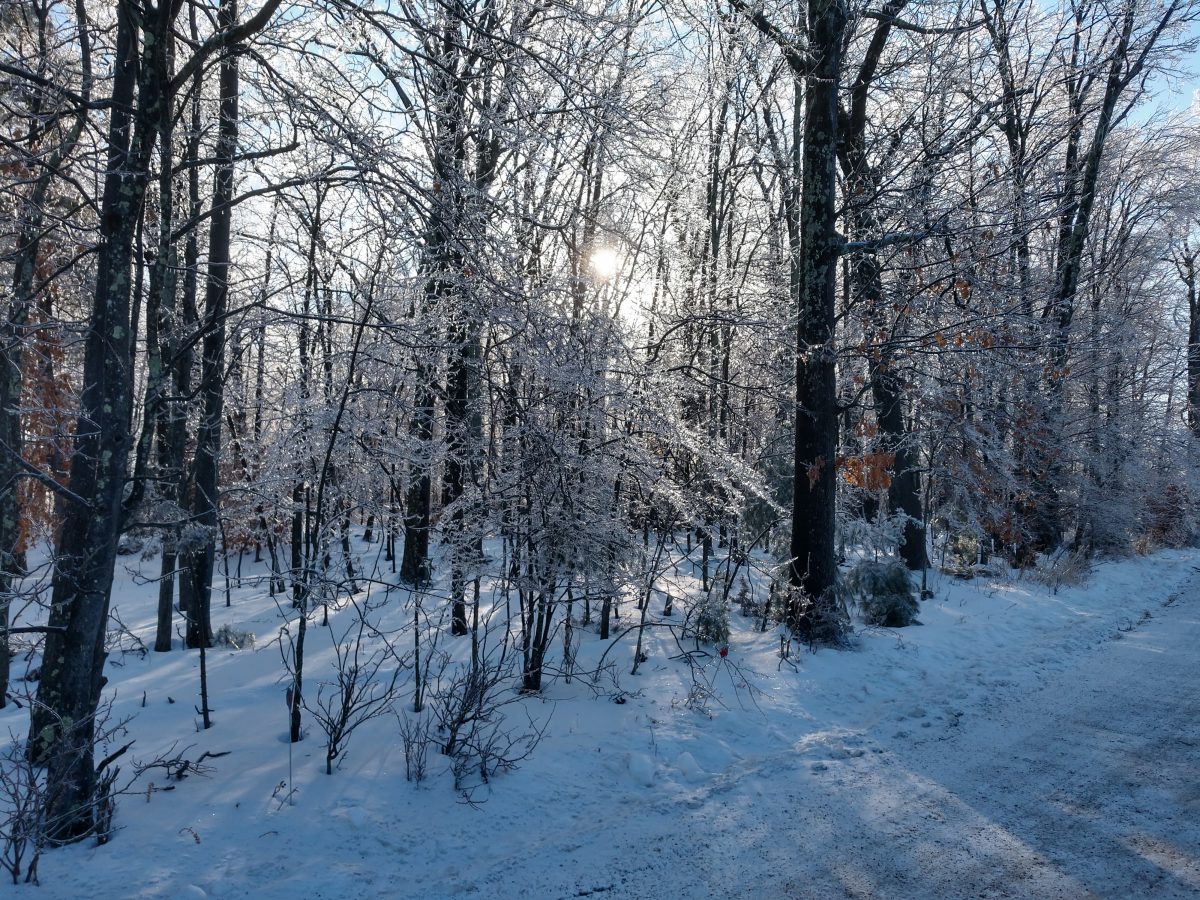
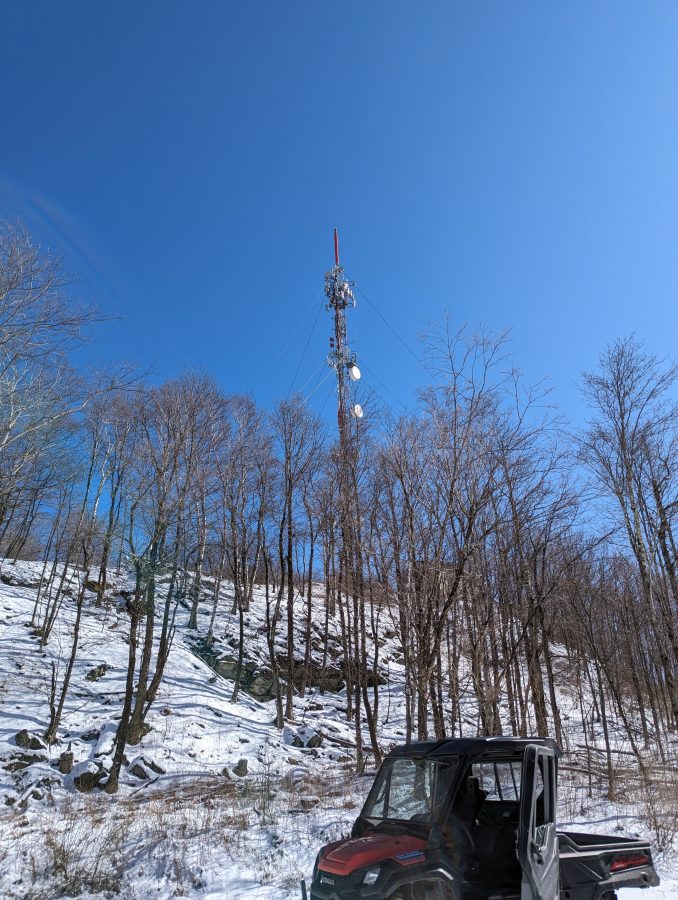
Winter in the Northeast; there was just enough snow and slush on the access road that the truck could not make it to the top of the hill. This track machine works great. We have added a Polaris Ranger 900 to our inventory (not this machine) for winter access to several of the more difficult transmitter sites. While I do enjoy the occasional walk in the snow, the key word here is occasional.
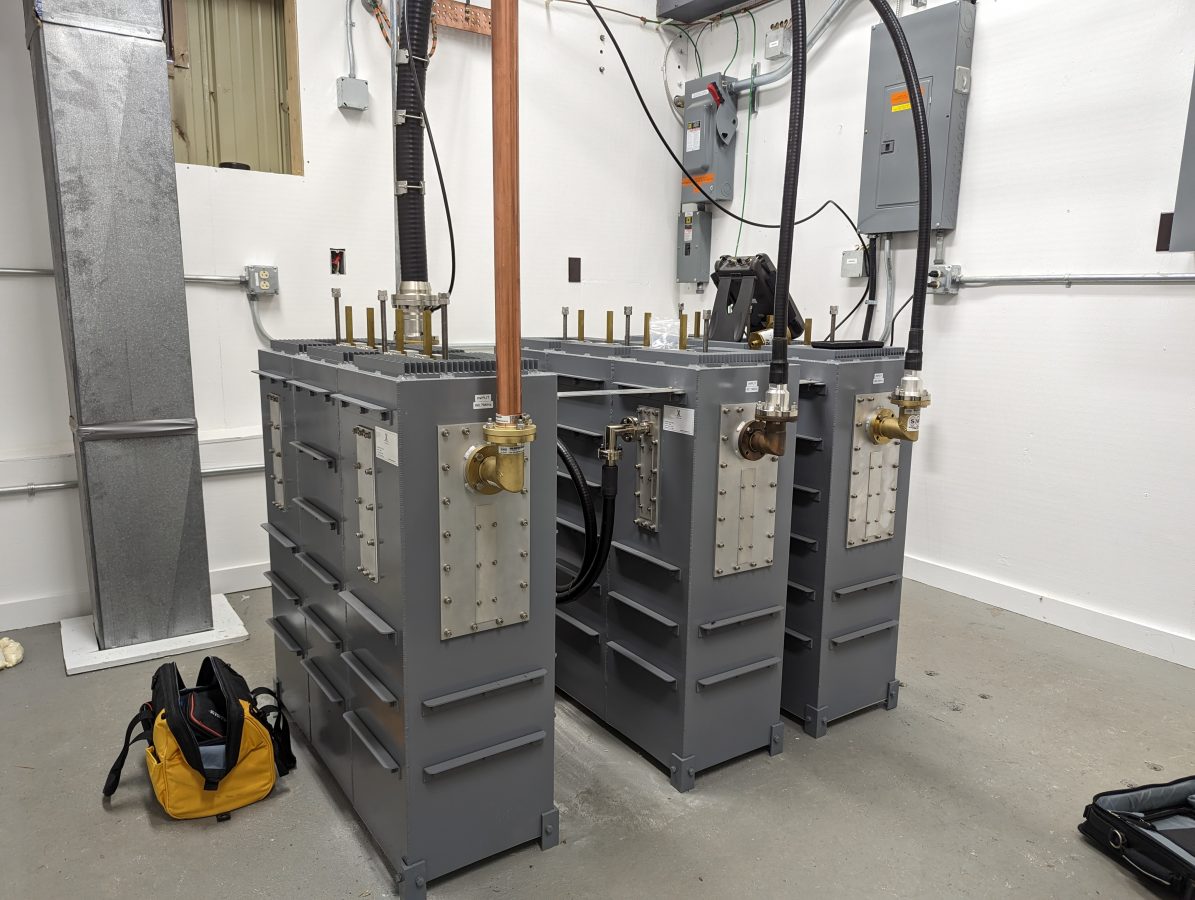
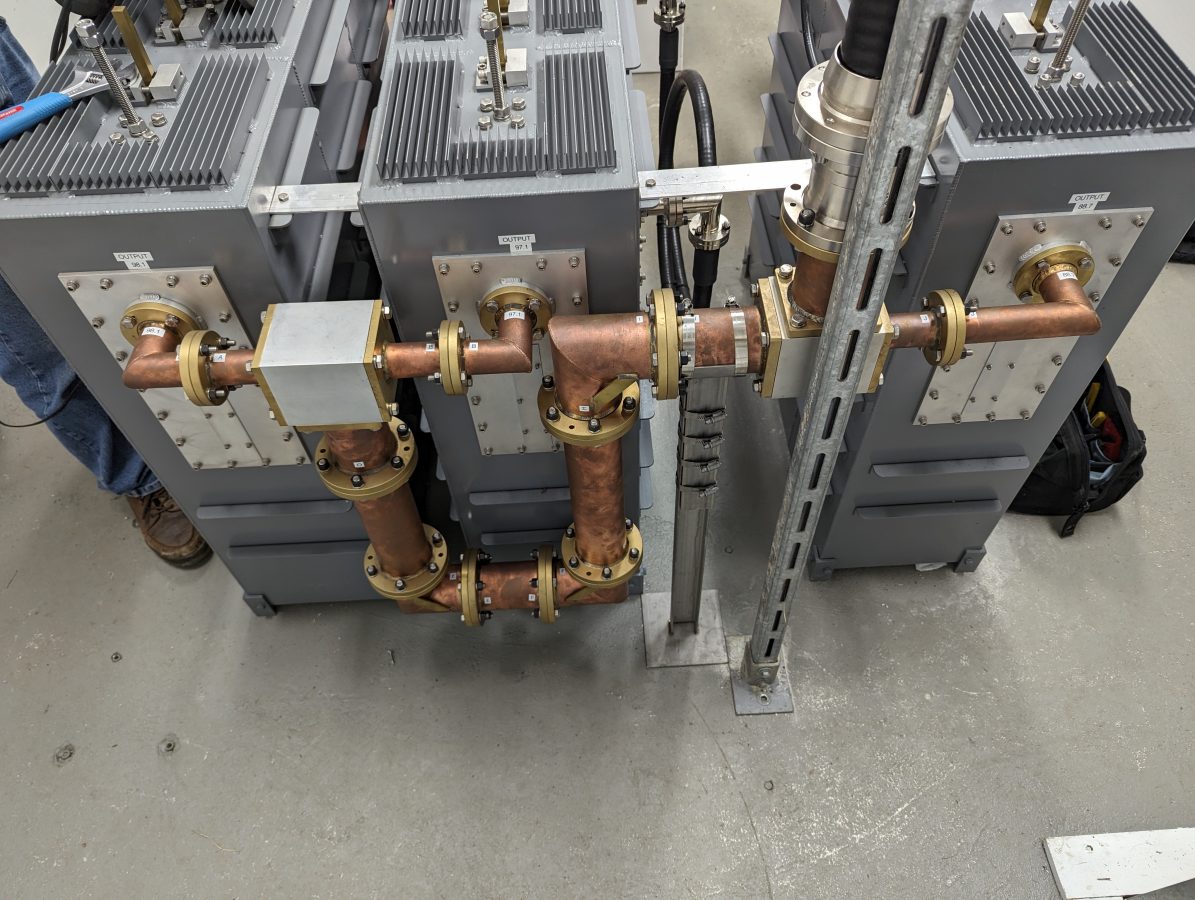
The three stations are combined into the panel antenna with this rather nice American Amplifier Technologies C-IR-3-3-30K-N branch combiner.
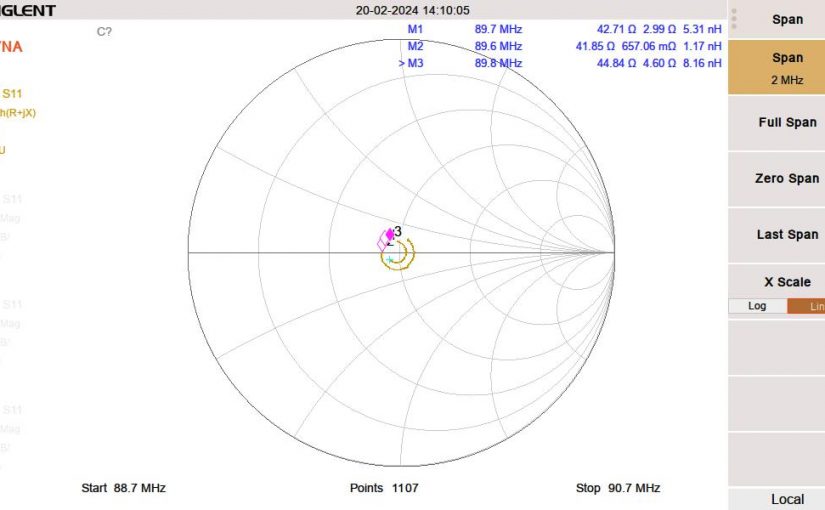
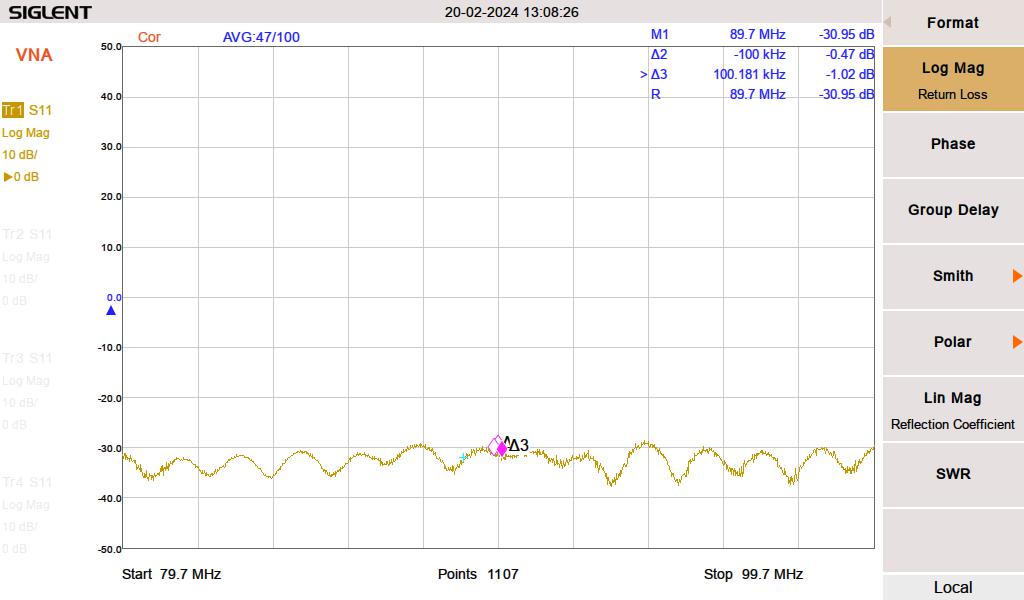
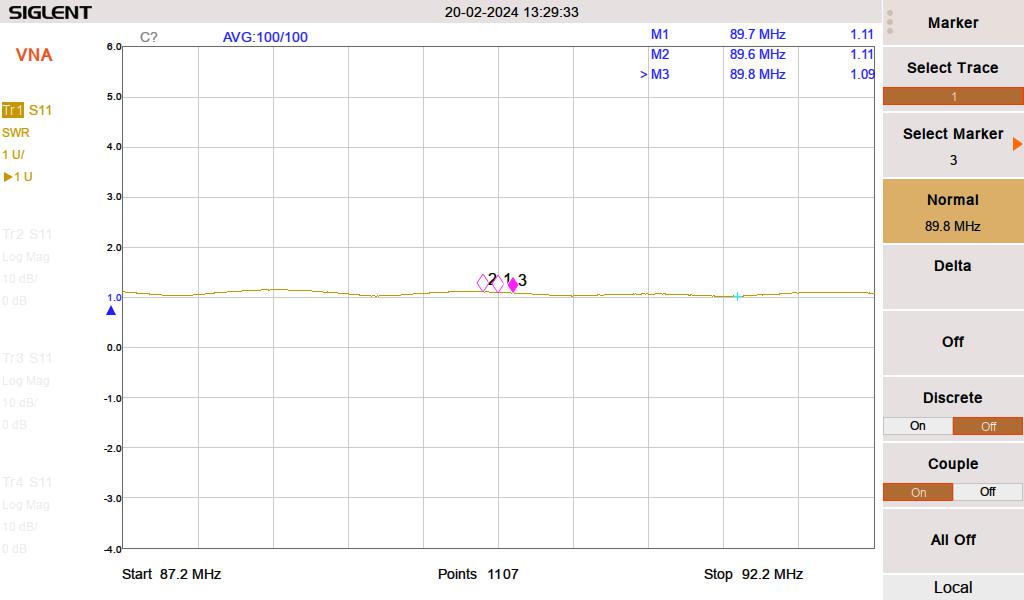
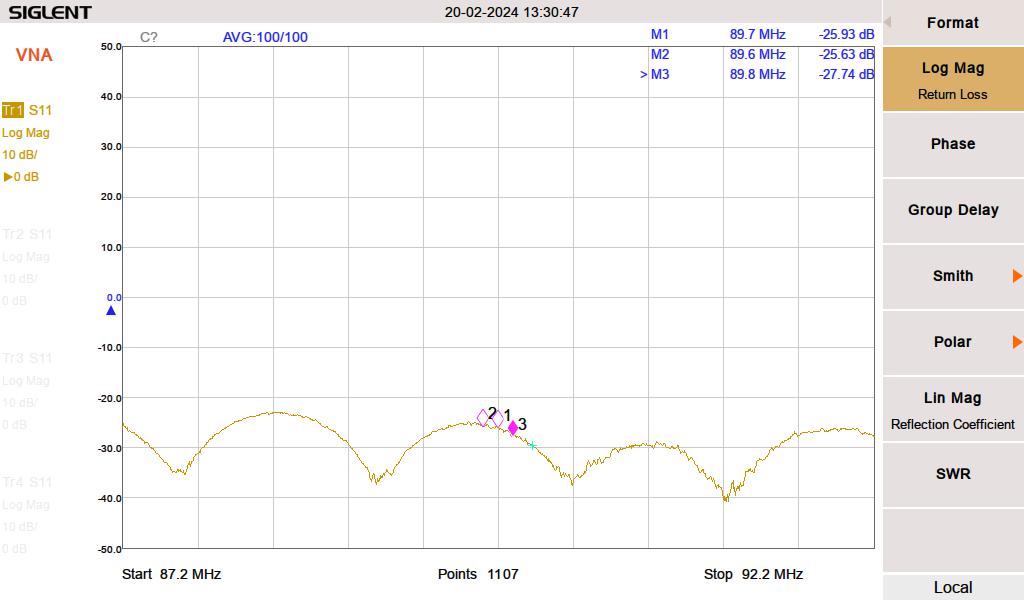
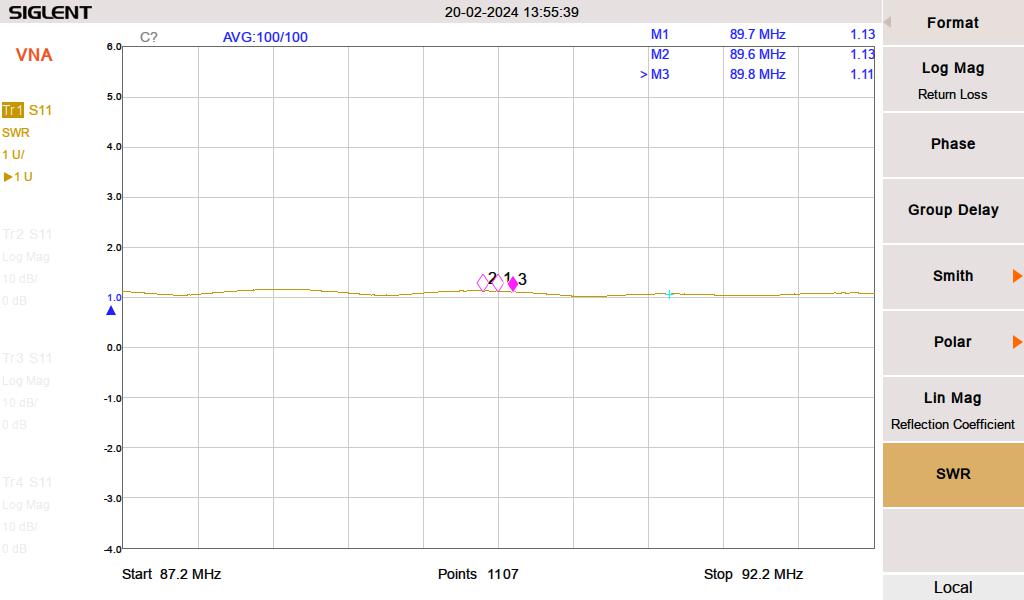
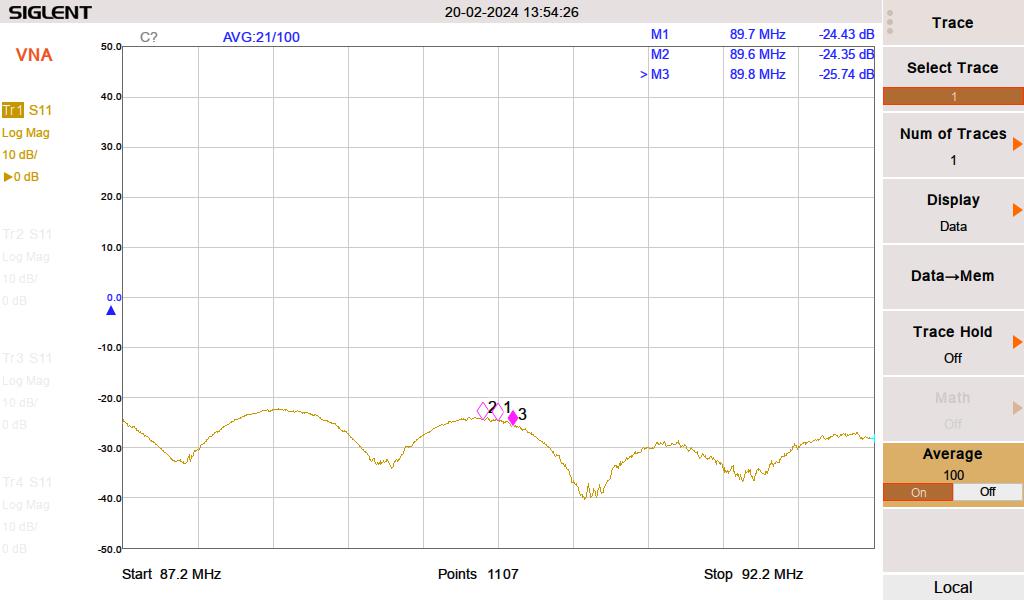
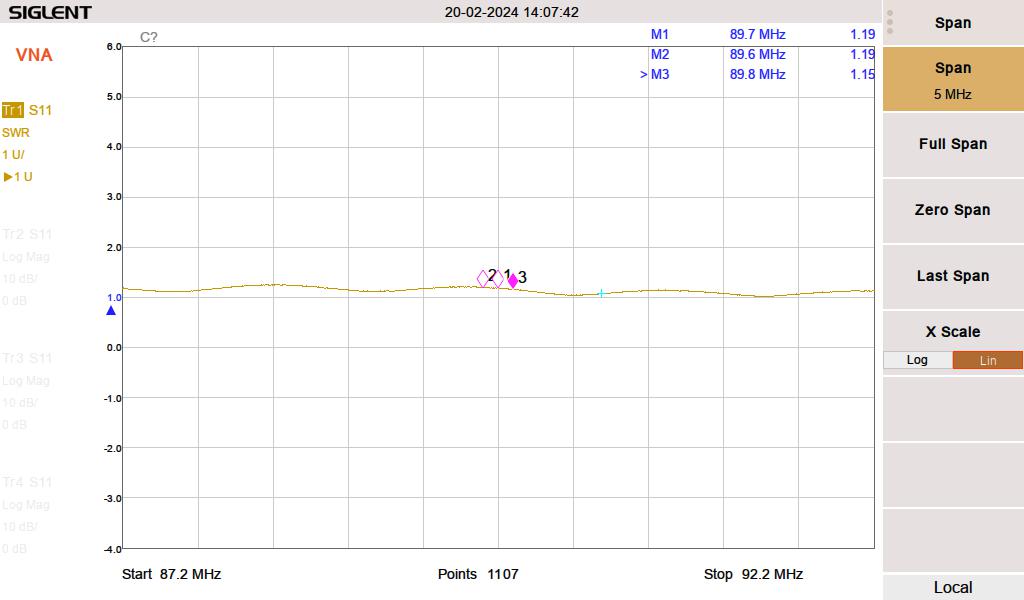
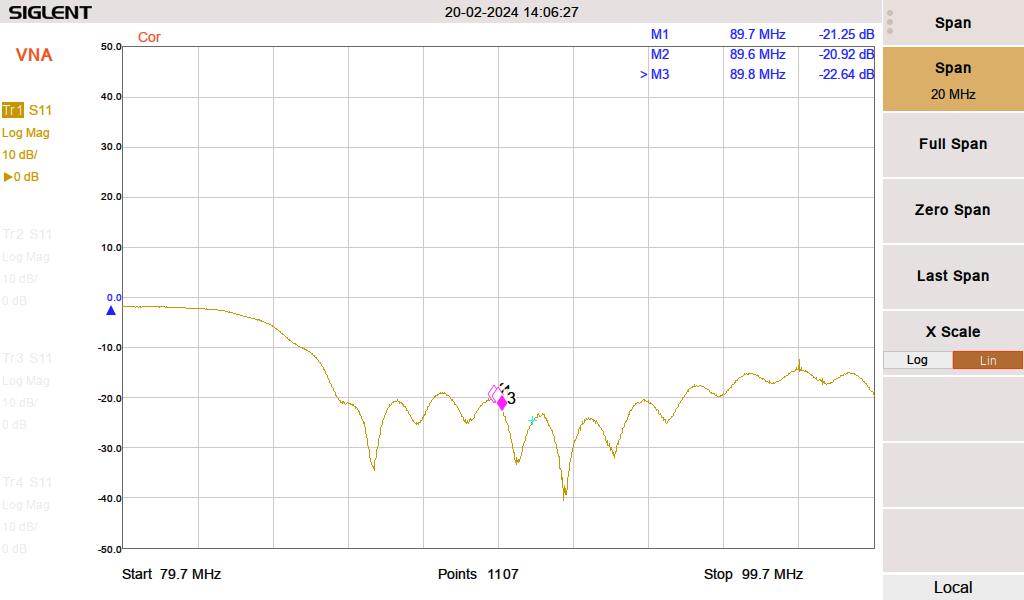
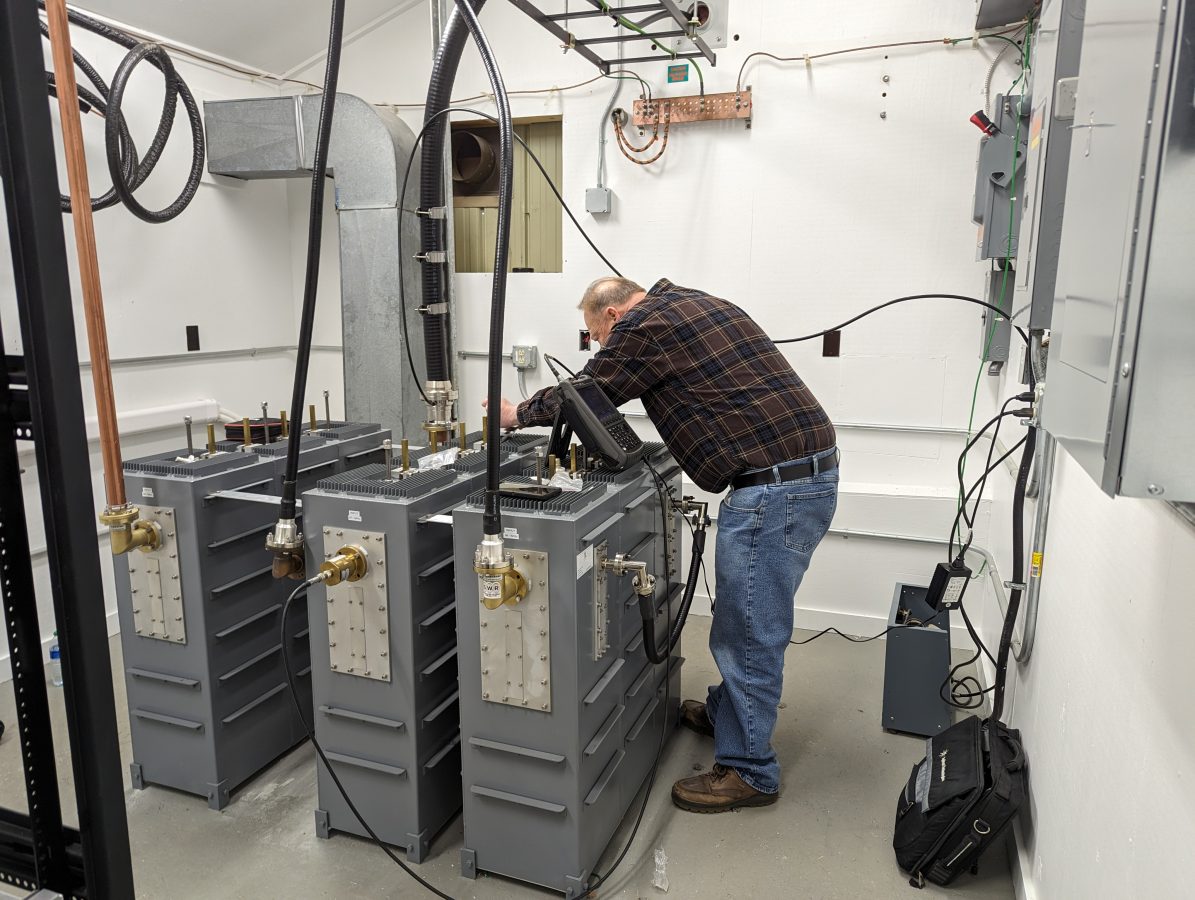
The input filters needed a slight adjustment to compensate for the difference between the test load they were tuned to and the actual antenna load they will be running into
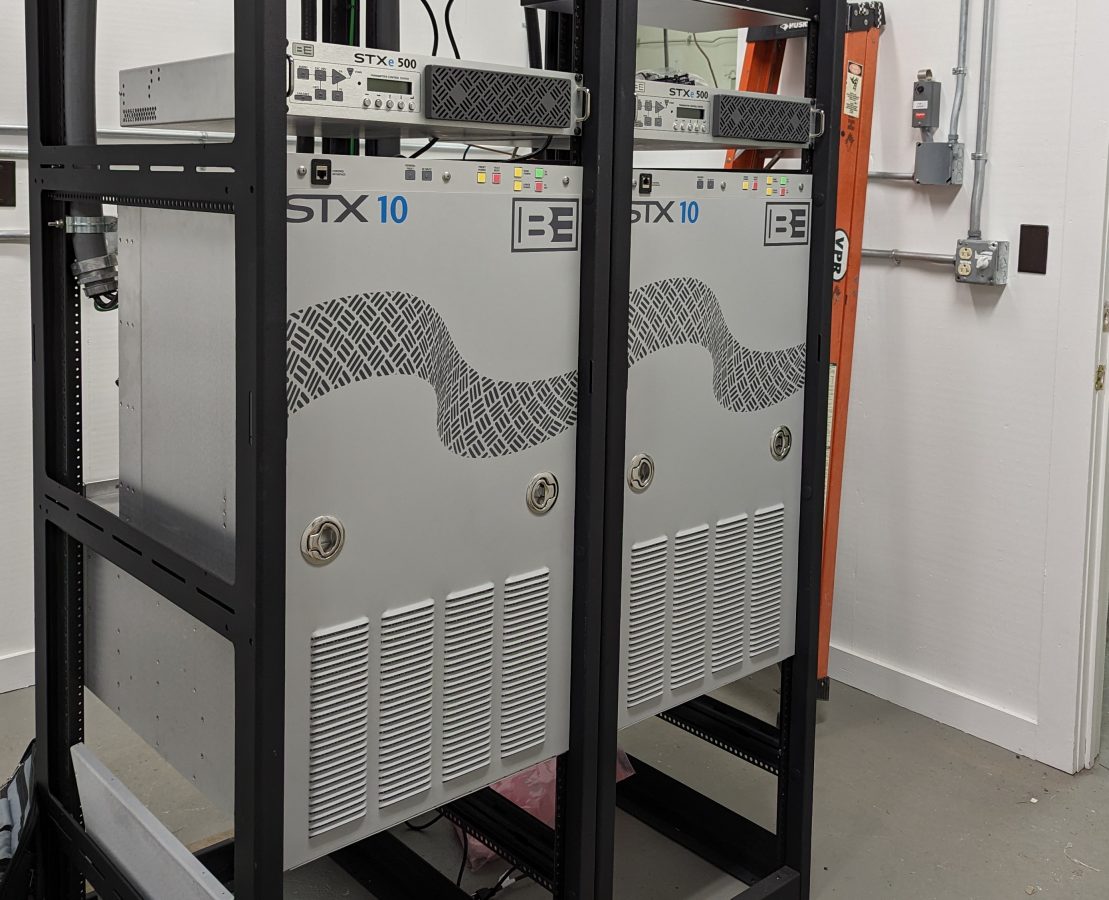
Two of the transmitters are Broadcast Electronics STX-10 units. We have had good service from the STX-10 which was installed on Mount Beacon a few years ago.
We are waiting for the Comrex Bric Link III to come back from the factory after their firmware update. They are to be used for the STL. Once they are returned, we should be good to go for site turn-up.