Remember when “NEXTEL (b-b-b-beep), how business gets done…” Well, not anymore. NEXTEL was purchased by Sprint in 2005 and their product lines were combined. Thus, all of these old NEXTEL sites have become redundant and switched off. This particular site was co-located with one of our FM radio clients, which required a power reduction while the old equipment was removed from the tower. I took the time to grab a few pictures of the process:
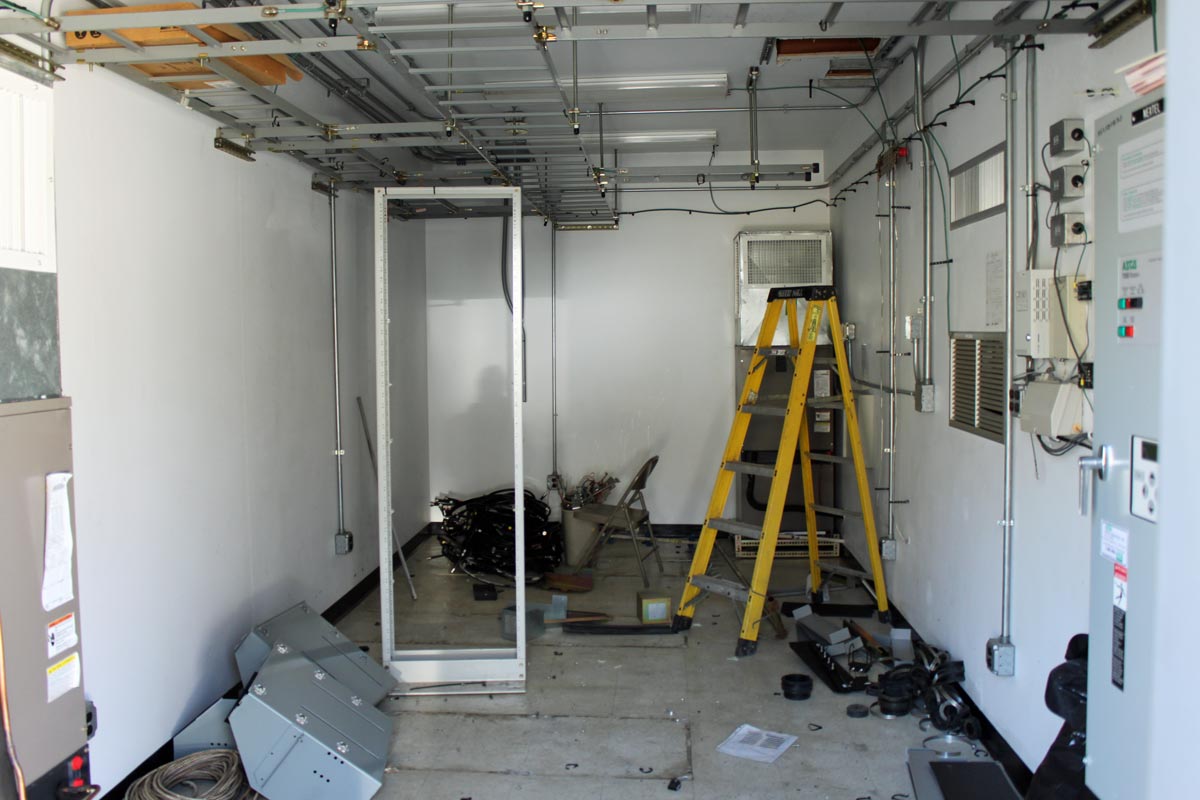
Former NEXTEL communications equipment room
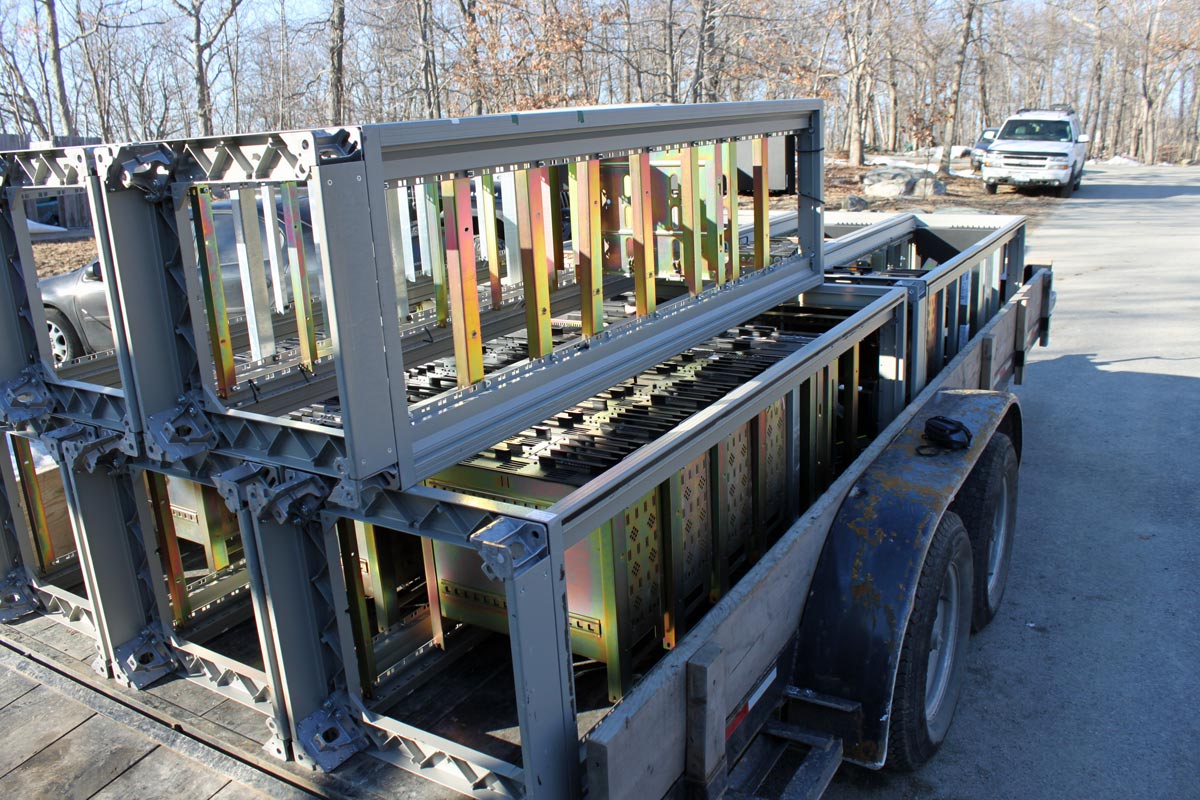
All of the equipment was removed from the equipment shelter. This site has been switched off since June 2013 and everything in it is destined for the scrap yard. This equipment worked on the 800 MHz bands, which have been re-purposed for Public Safety and Critical Infrastructure, e.g. government users. These racks and radios look like they were expensive:
NEXTEL equipment racks and radios
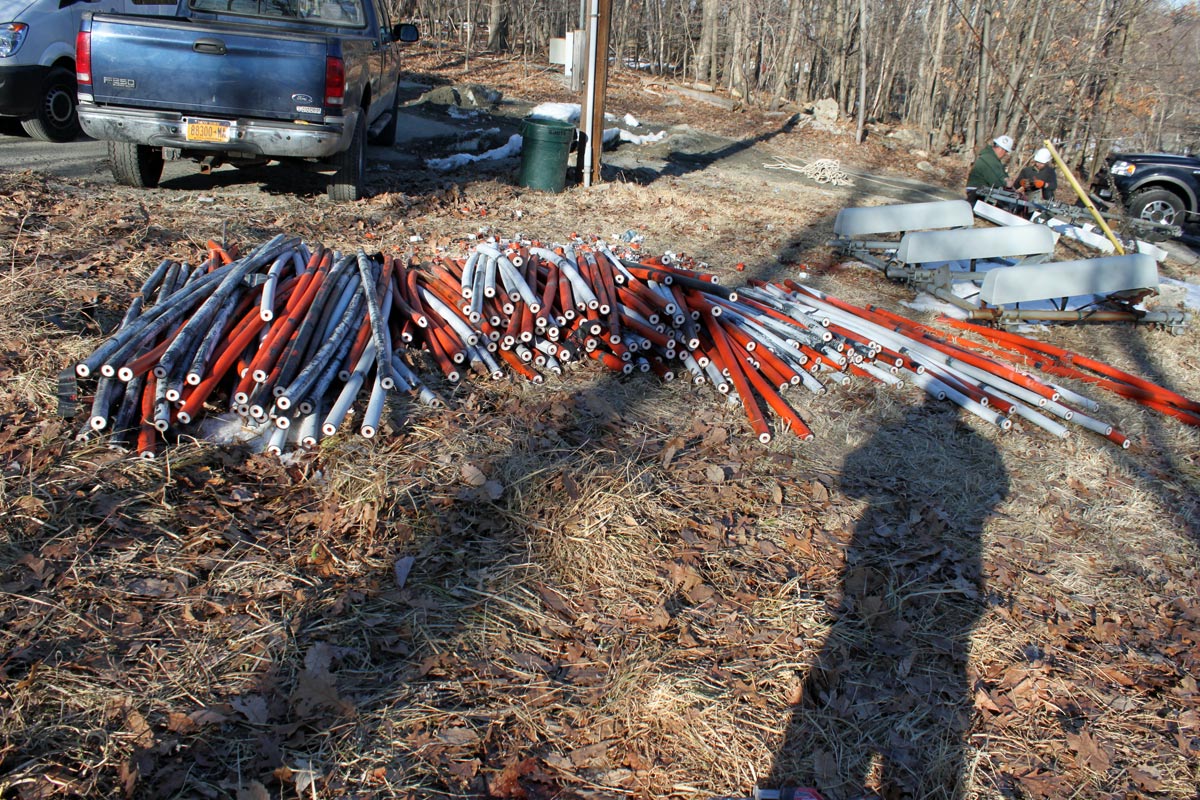
Speaking of expensive, this site had over 4,500 feet (1,370 meters) of 1 5/8 inch foam coax, which was cut up and scrapped. At today’s prices, that cost $13.25 per foot.
Scrapped transmission line
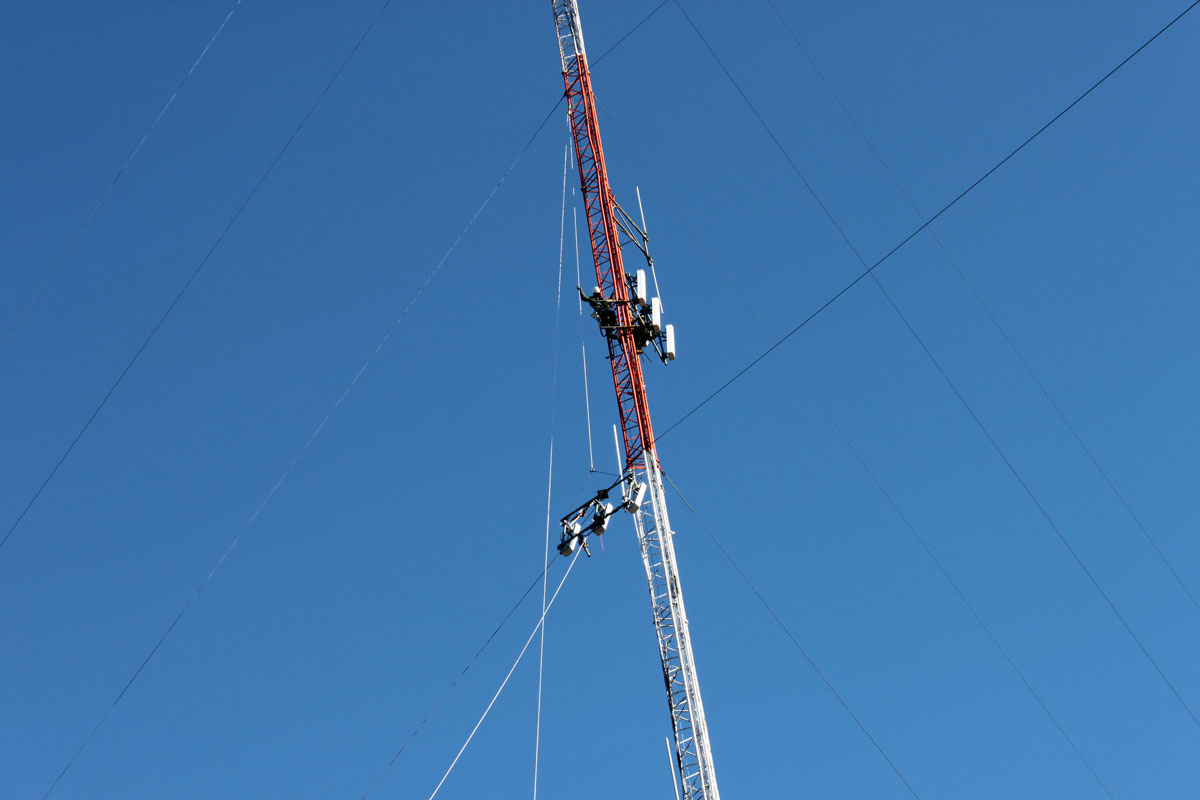
The tower was rigged:
Rigging tower to remove antennas
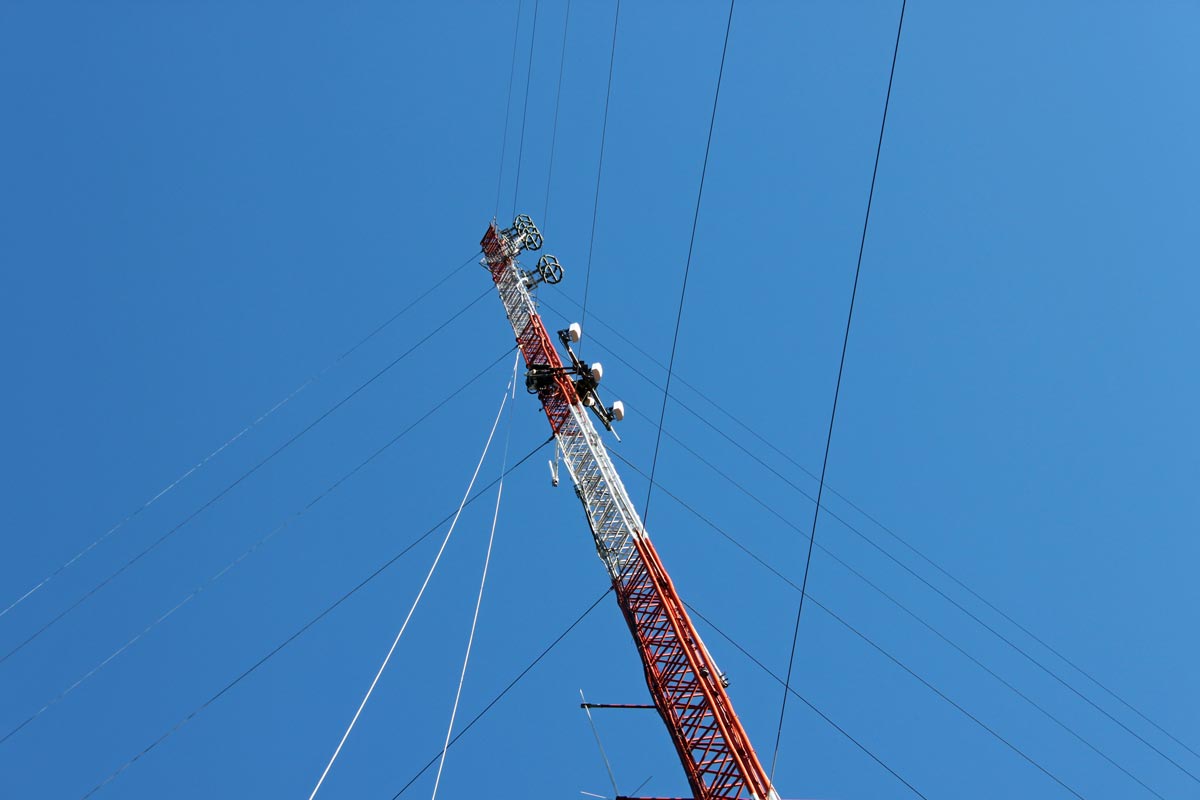
Each of the three panel sector mounts were removed and lowered to the ground.
Dropping cellular panel antennas
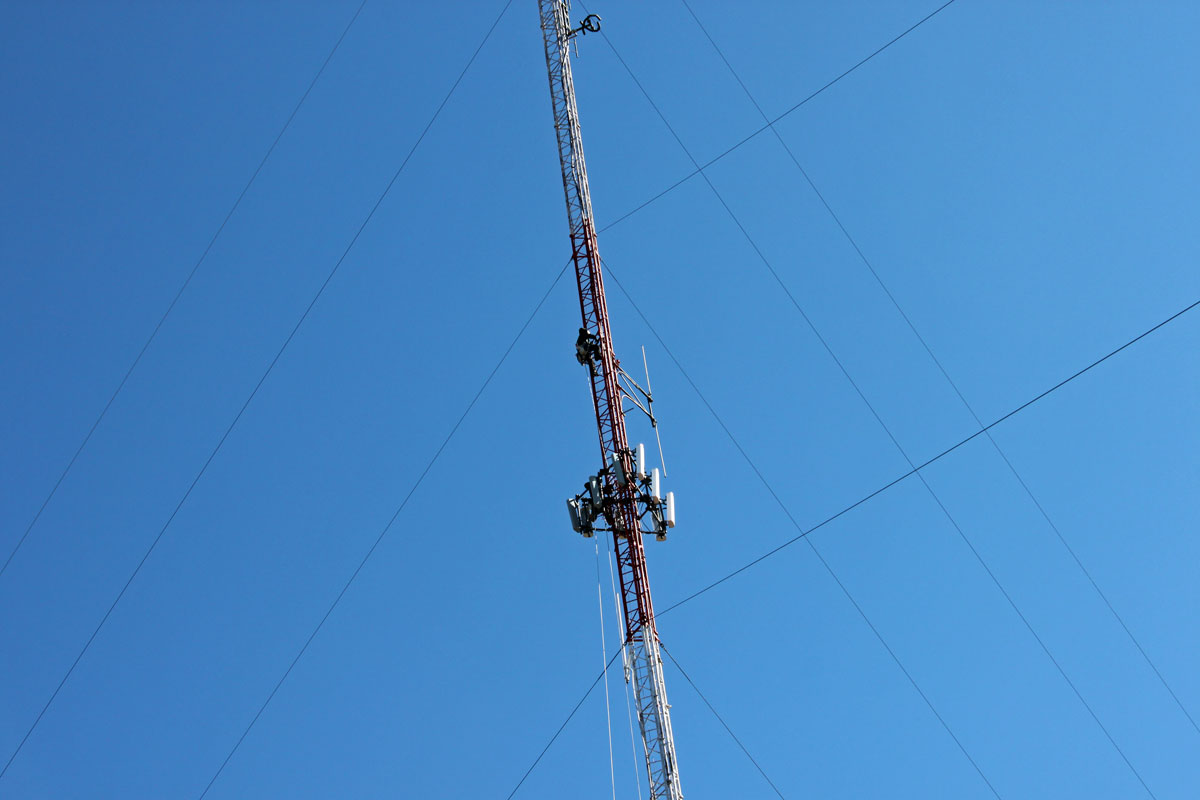
The NEXTEL antennas were mounted at the 260-foot (80 meter) level of a 395-foot (120 meter) tower. It took some time to remove all of the antennas and equipment from the tower.
Cellular panel antenna array being removed from a tower
I looked on the Sprint website and could not determine if they still offer a push to talk service option (direct talk). With all of the communications options available today, I do not expect there would be much call for it.
For old times sake, here is an old NEXTEL commercial from many years ago:
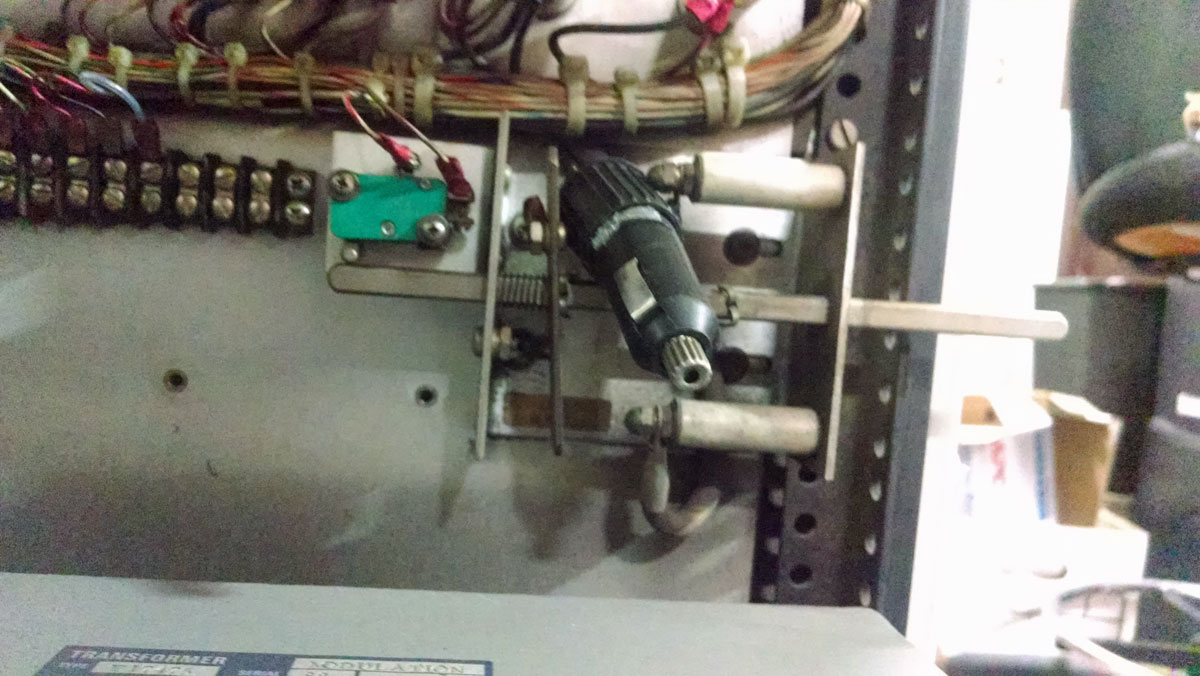
That was the title of the email with this photo attached:
Disabled high voltage shorting bar, Collins 820D-2 AM transmitter. Courtesy Pete Partinio
That seems about right.
For many, many reasons, this is a bad thing to do. First of all, the shorting bar is the last point of discharge for the high-voltage power supply. When all else fails, this is designed to route the 3,500-volt plate supply safely to ground. Having a stray 3,500 volts floating around inside a transmitter is never a good idea. Fortunately, it was spotted and removed before anything bad happened.
Secondly, it looks like somebody used a 12 VDC cigarette lighter plug as an insulating device. Wow, did they get lucky. This could have started a fire.
As to exactly why it was there in the first place, I cannot rightly say.
And this is why only properly trained people should be working on transmitters, especially tube-type ones.
The technical problems with AM broadcasting can be broken down into three broad categories:
Interference from other AM stations
Interference from unintentional radiators (AKA electrical noise)
Poor receivers
Much of the poor fidelity issues with AM broadcast audio come from the narrow IF bandwidth of the typical AM receiver. Older AM receivers had much wider IF bandwidths, sometimes as much as 15 KHz +/- carrier. As the AM band was overfilled with stations starting in the late 1940s, this became a big problem. The tube-type front ends with great sensitivity but not very much selectivity was unable to cope with adjacent channel interference, leading to what was known as “monkey chatter.” This type of interference can be technically described as the higher audio frequency peaks from adjacent channel stations being demodulated. Those hearing this type of interference found it very annoying and rightly so. Thus, receiver manufacturers were deluged with complaints about the poor quality of their units. The solution was simple; narrow the bandwidth until the “monkey chatter” disappeared. This new de facto standard IF bandwidth turned out to be +/- 3 KHz carrier.
It does not take a rocket scientist to see that 3 KHz audio is slightly better than telephone quality. This was the beginning of the perceived AM low fidelity problem. In the meantime, FM broadcasting, after years of lagging behind in spite of its superior audio, made great strides into mainstream acceptance.
NRSC-1 was supposed to reduce this type of interference by limiting AM broadcasting stations’ audio bandwidth to 10 KHz. The idea was to attempt to keep the modulation index somewhat within the allotted channel. This standard was mandated by the FCC in 1989, after which receiver manufacturers were to change their design to allow for broader IF bandwidths, thus improving AM fidelity. There was even an AMAX standard adopted by some receiver manufacturers. Unfortunately, by this time, the majority of AM stations were transitioning from music to talk radio. The new standards were too little much too late.
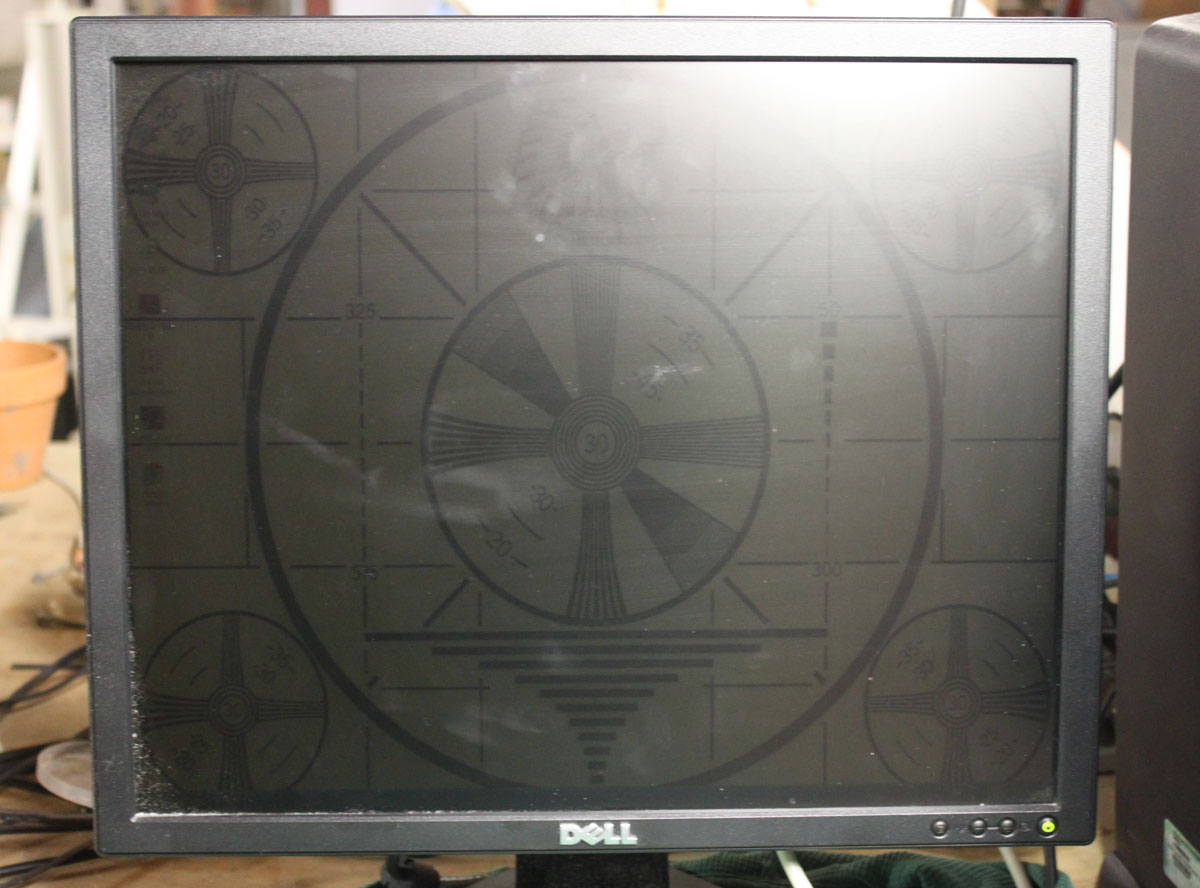
A quick scan with a quality AM receiver shows that many stations are transmitting high-quality audio, which, with a properly adjusted IF bandwidth can sound remarkably good:
Screen shot – WEOK True Oldies Channel
This is a screenshot from an SDR (Software Defined Radio) showing WEOK, Poughkeepsie, NY broadcasting the True Oldies Channel. The signal strength is slightly low, but this is a rural area and the noise floor is also low. I limited the bandwidth to +/- 7.5 KHz carrier because of the pre-emphasis used on most AM stations makes the high-end sound strident. Looking at the spectral display, there is more audio available beyond what I am listening to. This brings me to this; AM fidelity is not inherently inferior, it can sound quite good. There is no reason why AM receiver manufacturers cannot improve their products to include some advanced features;
Variable IF bandwidth based on signal strength
Variable user selected IF bandwidth
Sharp selectivity – adjacent channel rejection
Selectable sideband demodulation (carrier plus upper or carrier plus lower sideband)
While this will never sound as good as FM stereo, it still can sound pretty good, especially with older music recorded before say 1975 or so.
Manufacturers would have to have some impetus to include these features in their chipsets, such as multiple requests by listeners who are looking for better AM quality, which leads us back to programming…
The other issues with AM electrical noise reception and interference from other radio stations are surmountable, so long as there is a reason to. This, leads us back to… programming.
I have seen many a Dell LCD computer monitor go south for want of a $0.50 part. Dell must have gotten a hold of a bad batch of capacitors because almost invariably, the problem is with the power supply capacitors for the backlight. The symptoms are; the monitor goes very dim and can only be read when shining a light on it, or the power button flashes green.
A new Dell 19-inch (E1914H) monitor runs about $90.00 – 110.00. I can repair a defective unit in about 20-30 minutes or so, which makes it worthwhile for the client. When repairing equipment, the cost of labor and parts balanced across the cost of new equipment should be a prime consideration. Sometimes, it is simply not worth the time to repair something. In others, like this instance, it makes sense as long as the repair is simple.
This is a Dell E198FPf LCD monitor. After the initial diagnosis:
Dell E198FPf LCD monitor backlighting problem
The first step is to remove the stand and the four screws behind the stand bracket.
LCD monitor stand removed
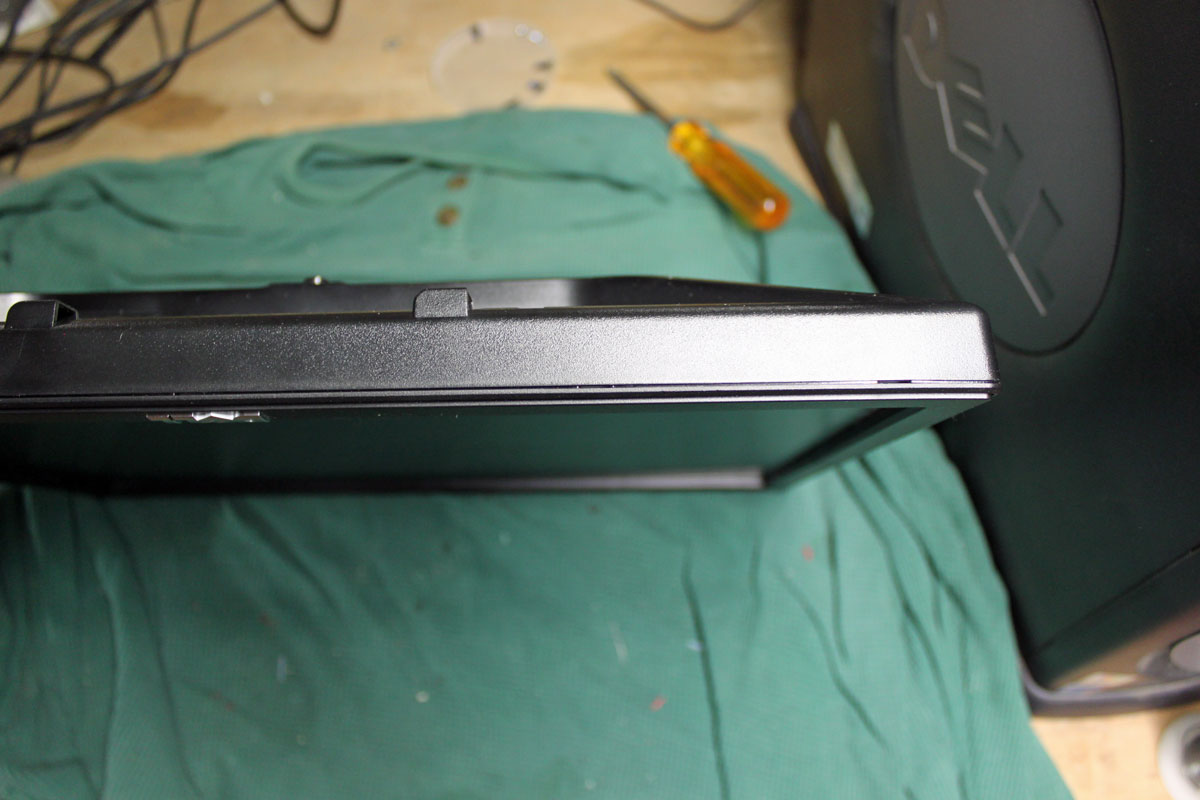
The hardest thing about this repair is getting the bezel off. Dell uses a bezel around the monitor face that uses little plastic clips to hold it in place. To get the bezel off, one needs to press the clips toward the center of the monitor while lifting it up. It requires the careful application of force.
Dell E198FPf monitor bezel
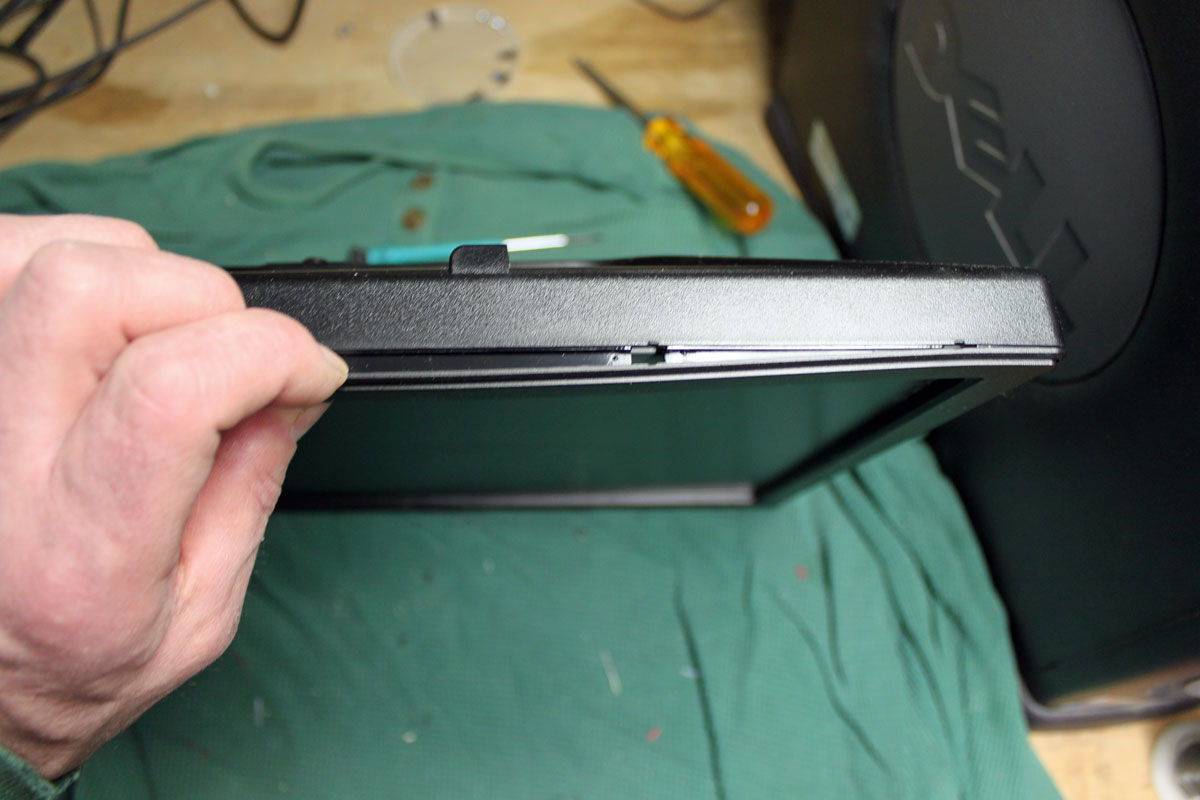
I start on the bottom and use a small screwdriver in one of the slots to get it started. I start on the bottom because if the plastic gets a little marred, no one will see it when the repair is finished. Once the first clip is released, then the others and be released by twisting the bezel carefully toward the center of the monitor while lifting.
LCD monitor bezel removal
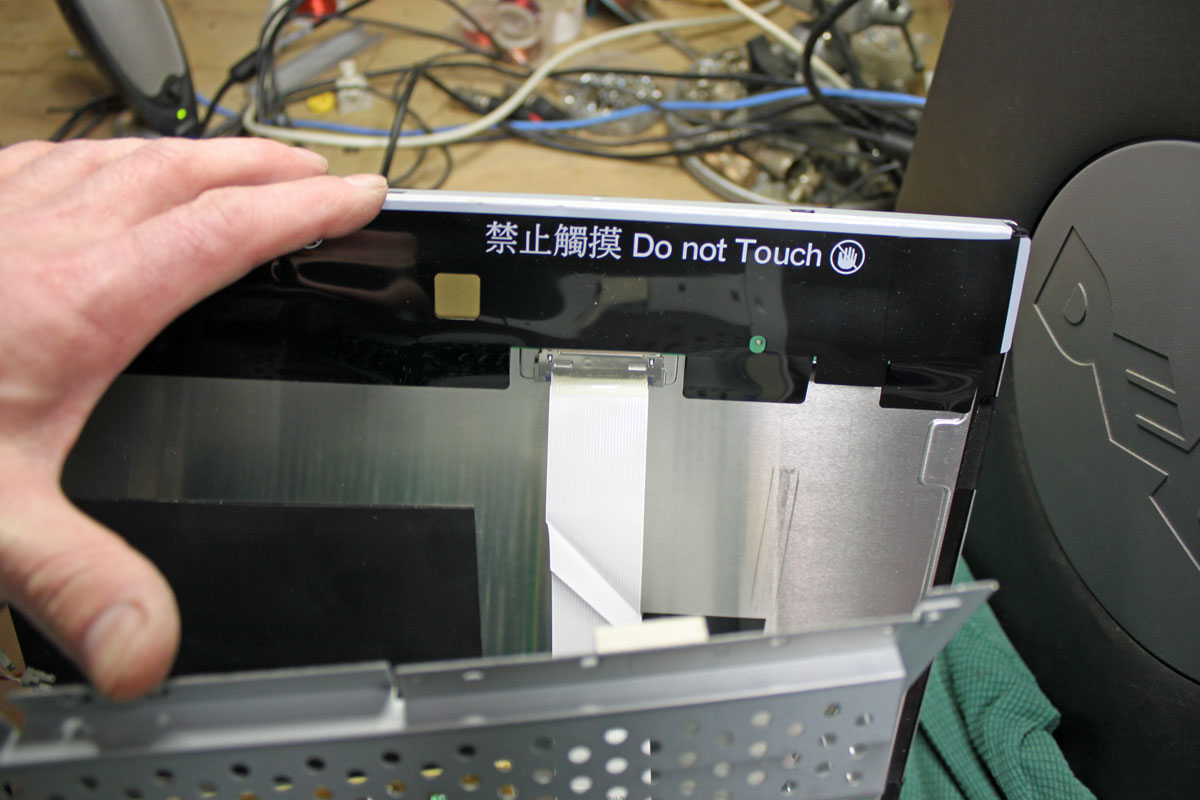
Once the bezel is removed, the wiring needs to be disconnected. This consists of the backlight, the data buss, and sometimes the on/off switches, which are mounted on the bezel.
LCD monitor backlight connectorLCD monitor data buss connector
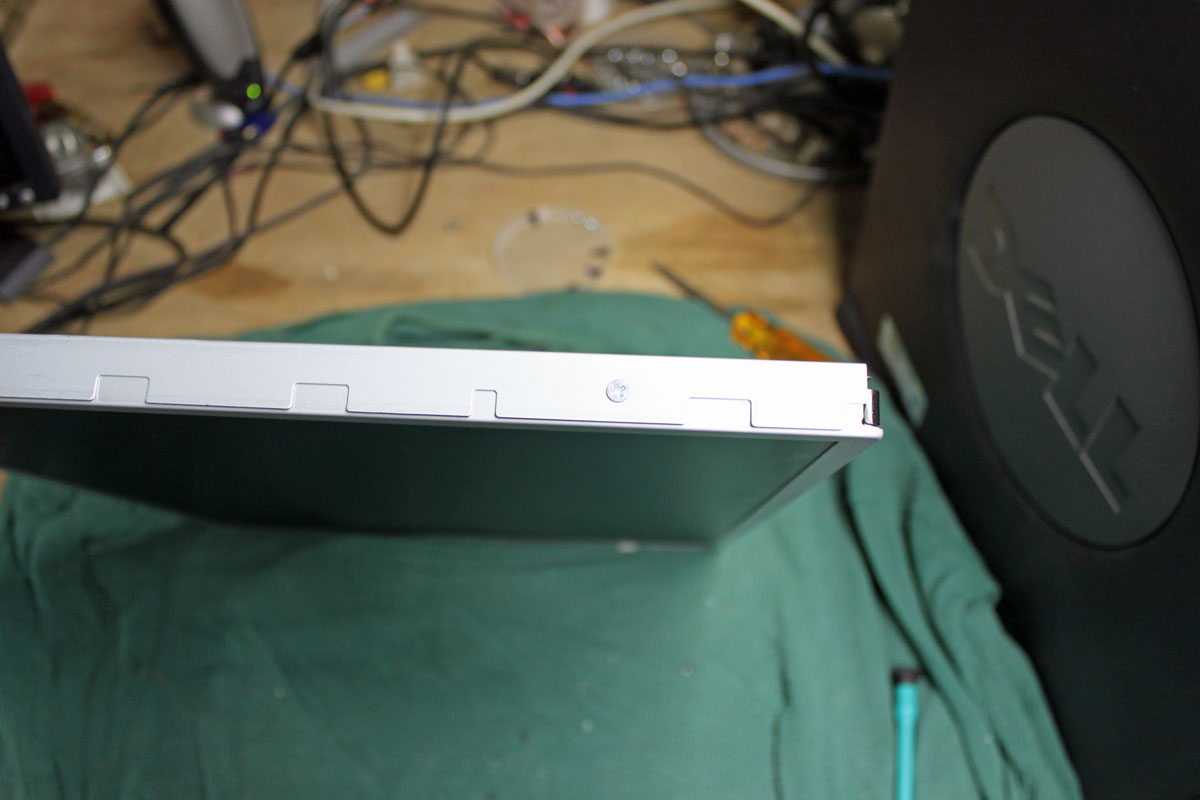
After all the wiring is removed, there are either two or four screws that hold the power supply to the monitor screen.
LCD monitor power supply bracket screws
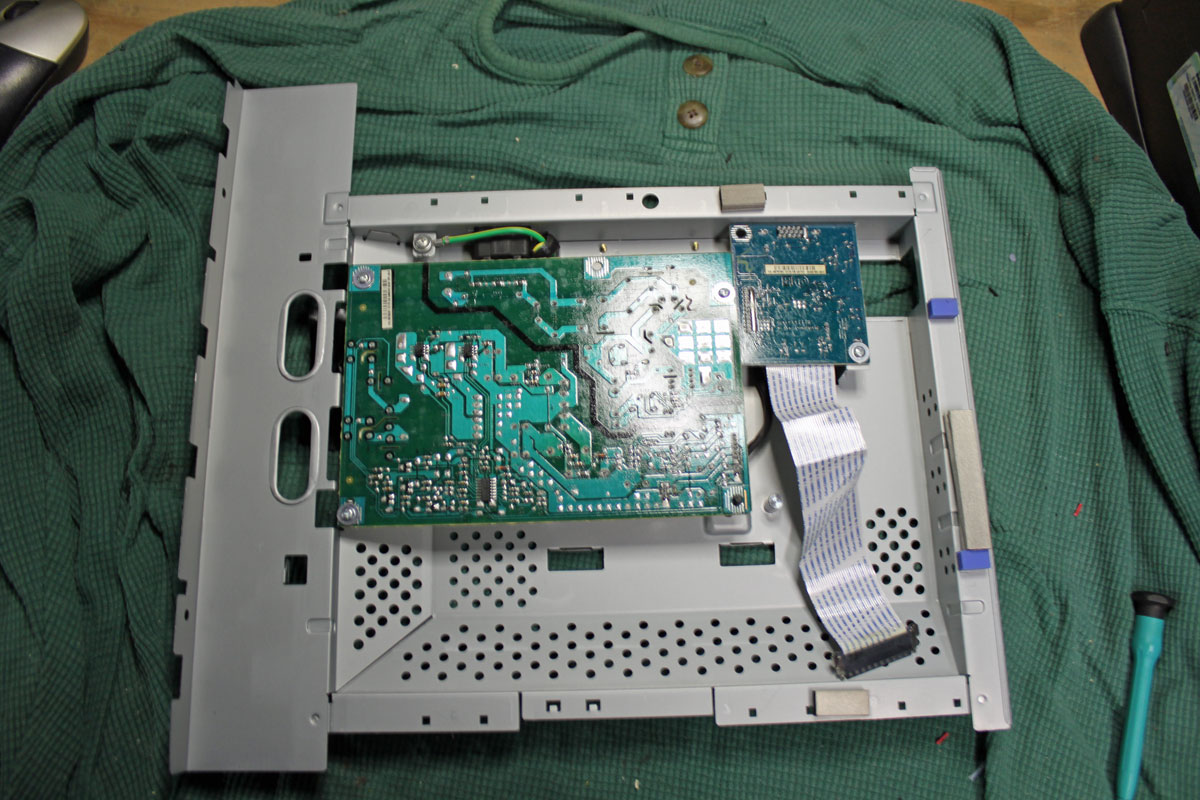
Finally, the power supply board is exposed. Depending on the model of the monitor, the hex head screws that hold the VGA connector may need to be taken off. Sometimes not.
LCD monitor power supply
Removing the screws on the back of the power supply board exposes the capacitors and other components.
LCD monitor bulging capacitors
And the culprit is discovered. These two bulging capacitors are causing the LCD monitor backlight power supply shut down making the monitor unusable. The larger one is a 1000 uF 25 volt and the smaller is 680 uF 25 volt. I replaced both with in kind 35 volt units. I also took the liberty of replacing the rest of the electrolytics on the power supply board (total of five additional capacitors). While the unit is disassembled, it is far easier to replace all the $0.50 components than to do it one at a time over the next few years as each fails. This monitor should be good for another 5 years of service at least. These values vary somewhat from monitor to monitor. Also, if only repairing one or two monitors, the parts can be obtained at Radio Shack for $1.99 each.
It is a good way to regenerate equipment, even if they are set aside as spares.