I finished up another GatesAir FLX-10 install recently. This one was way out in Provincetown, MA at the end of Cape Cod for WOMR (Outer Most Reaches). That is a community radio station that has an eclectic mix of programs. The studios are on the second floor of an old church.


The transmitter site is located about a mile away from the studios.

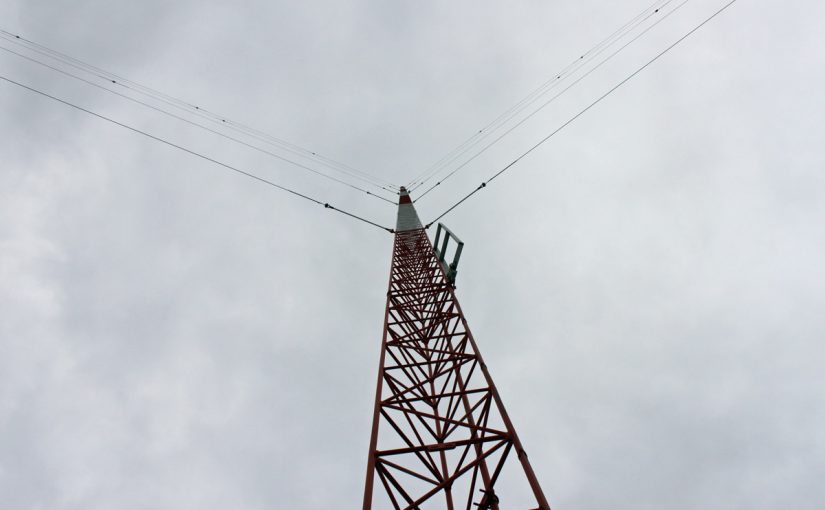
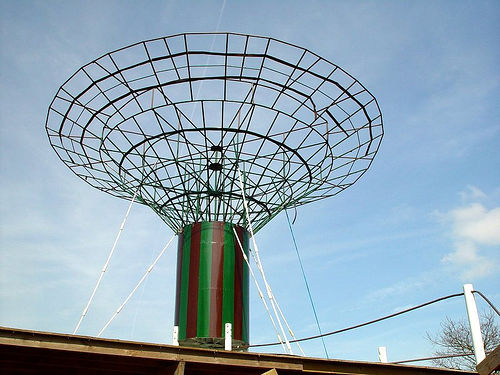
A few details on the installation; the antenna is mounted on the water tank, which is the tallest thing around for many miles.

The building is less than 120 square feet, which made working a little tight.


There was very little room outside for the heat exchanger because of the need to get vehicles around the water tank for maintenance. The area around the building was taken up with a generator and HVAC gear. We ended up mounting it to the side of the building horizontally. The main reason was that the wind at this location could come from any direction. If mounted vertically, there was a chance that the wind could blow into the heat exchanger against the fans, possibly causing some overheating problems. Also, the horizontally mounted unit will have a smaller surface area during Hurricanes and Nor’easters.

To do this, I made a unistrut frame and attached it to the outside wall.
The liquid-cooled transmitter takes up much less floor space than the prior transmitter, a Nautel V-10. This installation also included activating an HD Radio signal for this station.
The GatesAir FMXi4G importer/exporter resides at the transmitter site. Currently, the station has HD-1 on the air, no word on any future sub-channels.

We had nice weather on one of the days. On the last day (Friday) it was raining with 35 MPH wind guests.
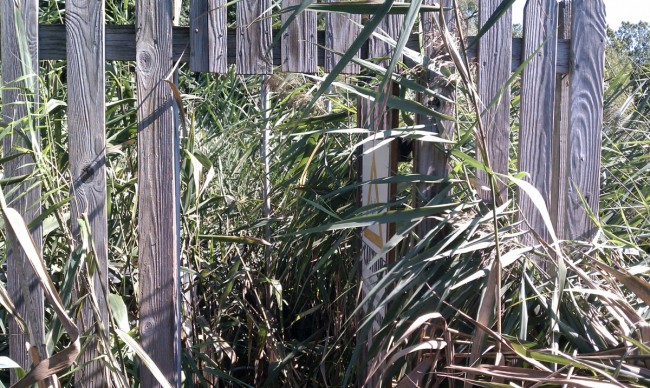
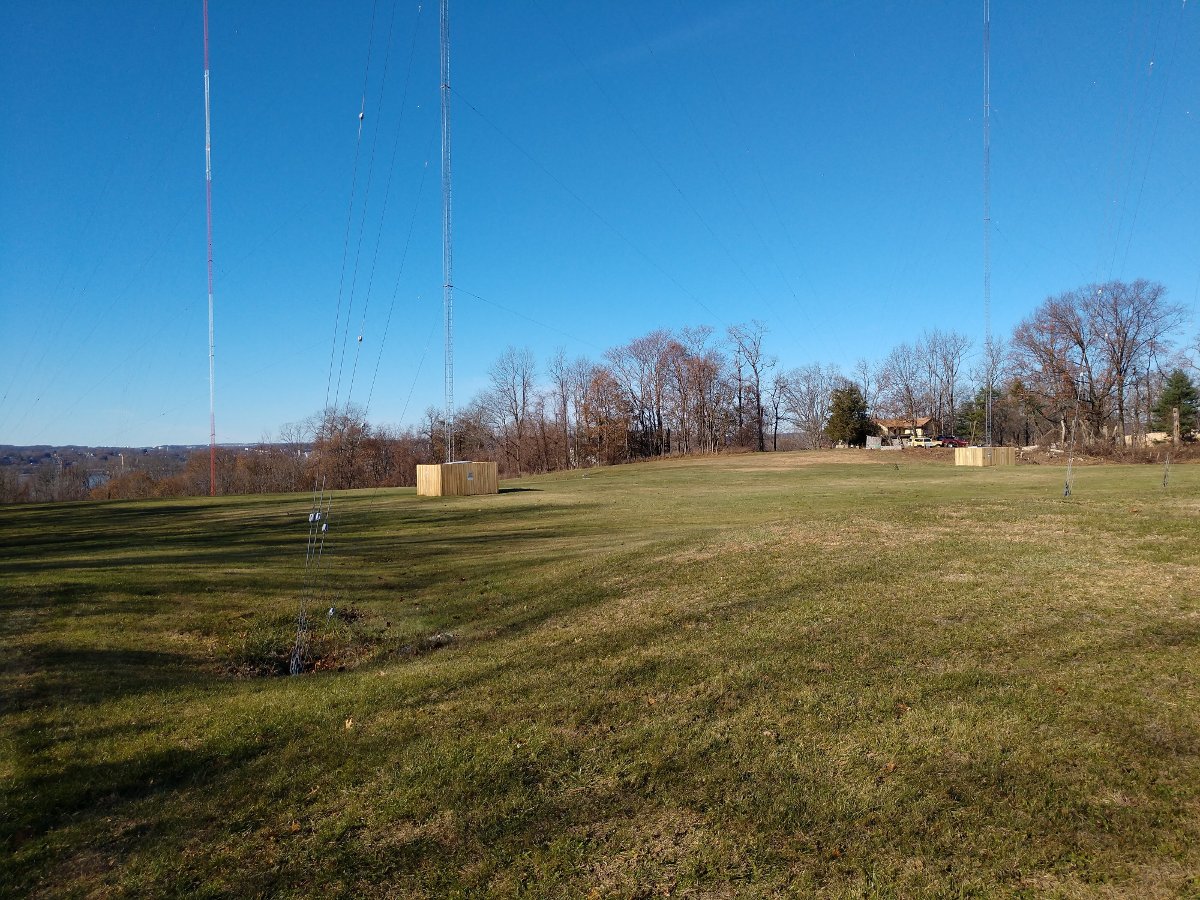
Speaking of Marconi, the US’s first trans-Atlantic wireless transmission station is a few miles down the road in South Wellfleet. Nothing is left of the site; time and erosion have taken all traces away.


Here we are standing on the location of the transmitting building. The last two tower bases tumbled over the cliff edge in 2011.
It’s always an enjoyable time installing a liquid-cooled transmitter!