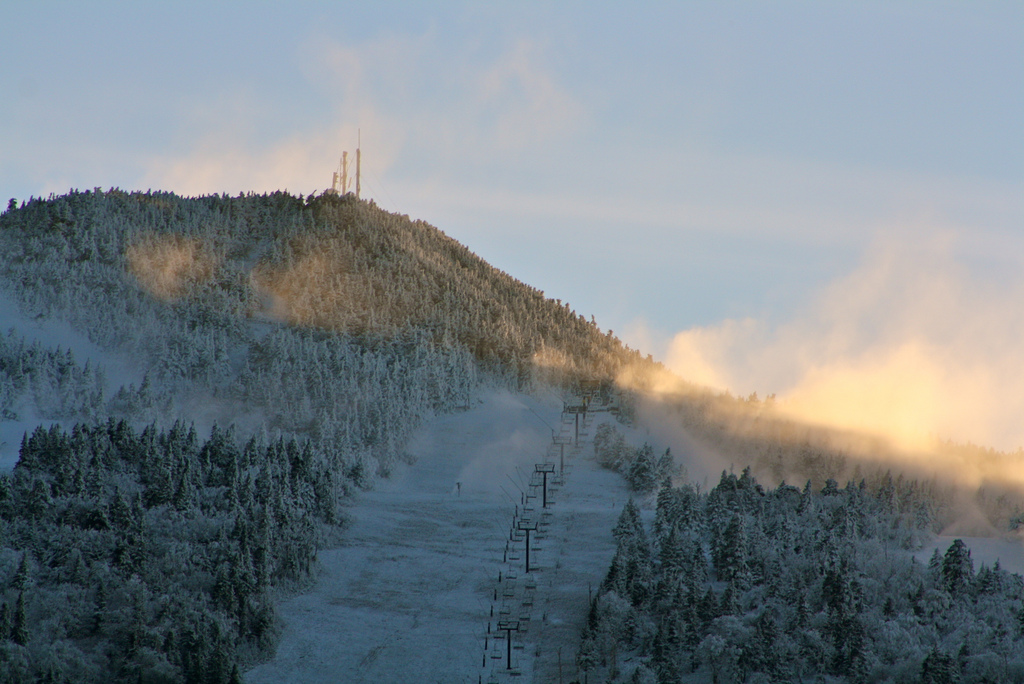
I alluded to this in an earlier post: Open Delta three phase service. Some transmitter sites are fairly remote and three-phase power is not available. Occasionally, with lower-powered radio stations, this is acceptable because those transmitters can be configured to run on single-phase power. However, almost any transmitter above five kilowatts or so will require three-phase power. This is the case at the WQBJ transmitter site in Palatine Bridge, NY. The site is located in the middle of farmland and only has single-phase service. The nearest three-phase service is several miles away and the utility company wants several hundred thousand dollars to upgrade the line.

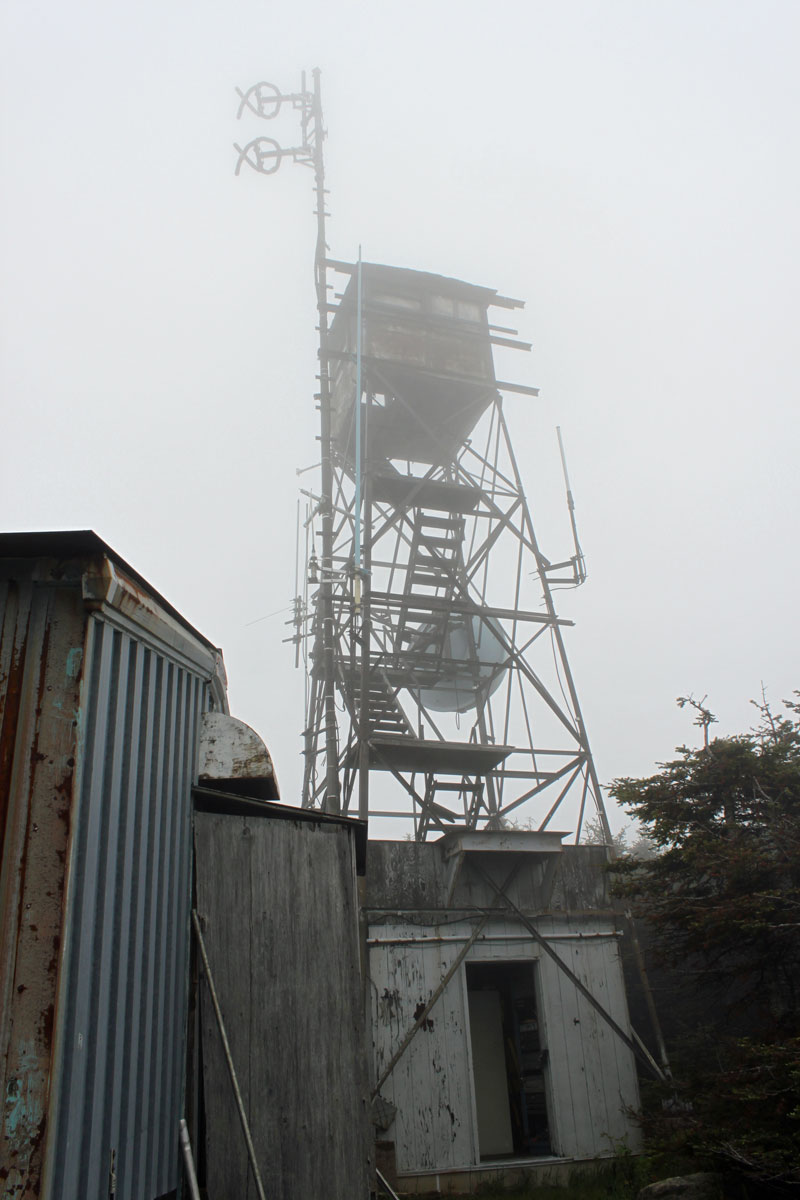
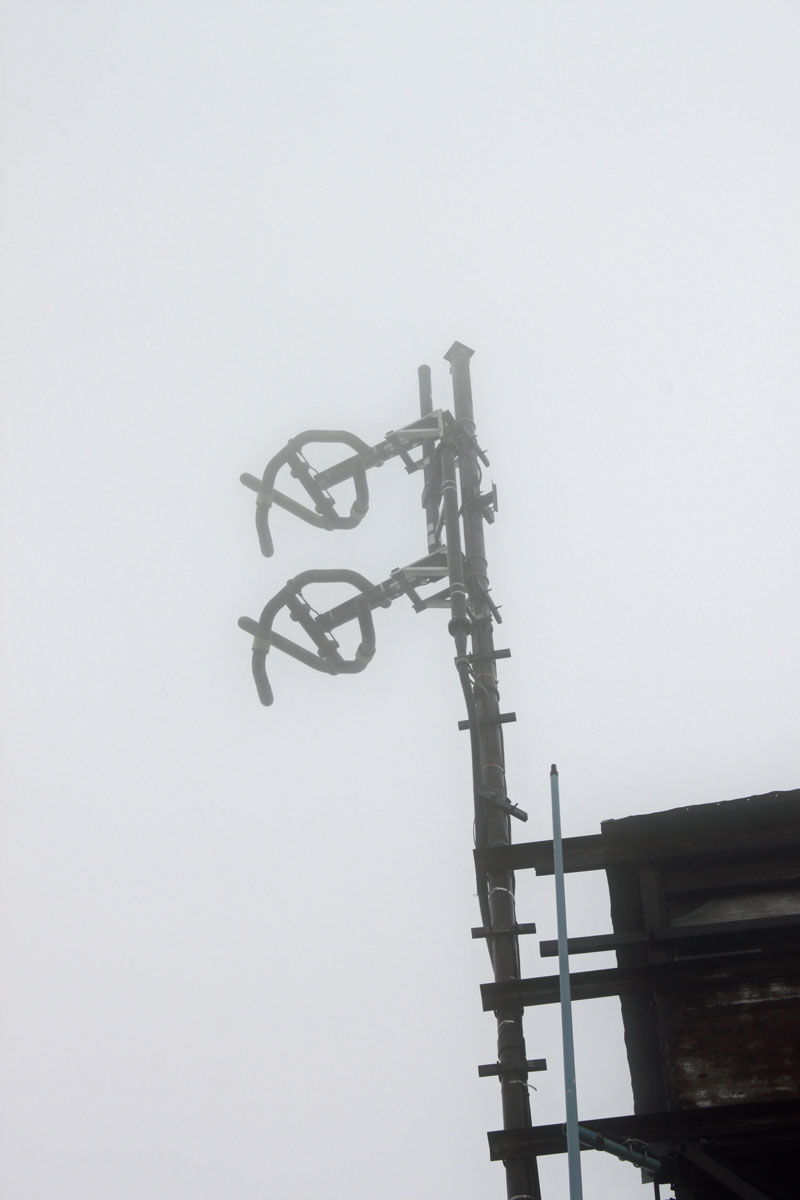
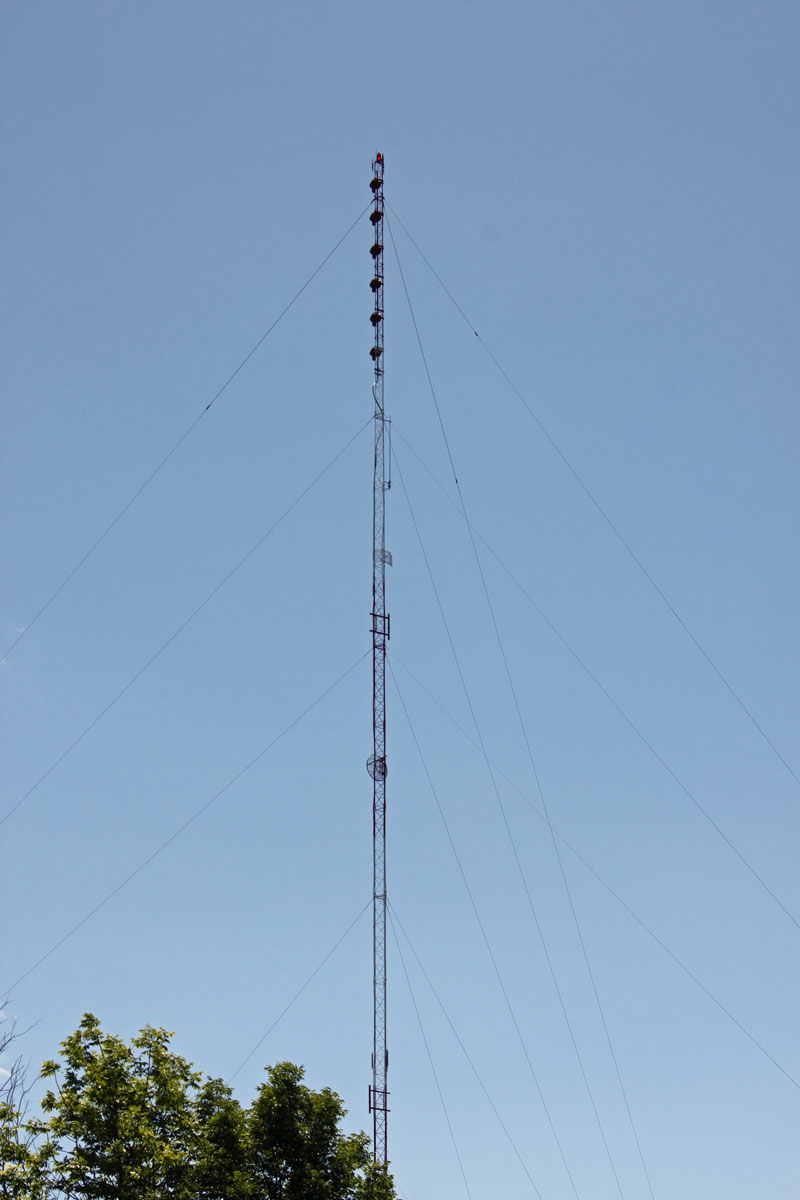
The station is a class B FM with a six-bay full wave-spaced antenna. Even so, the TPO is 17 KW, which makes some type of three-phase service a requirement.
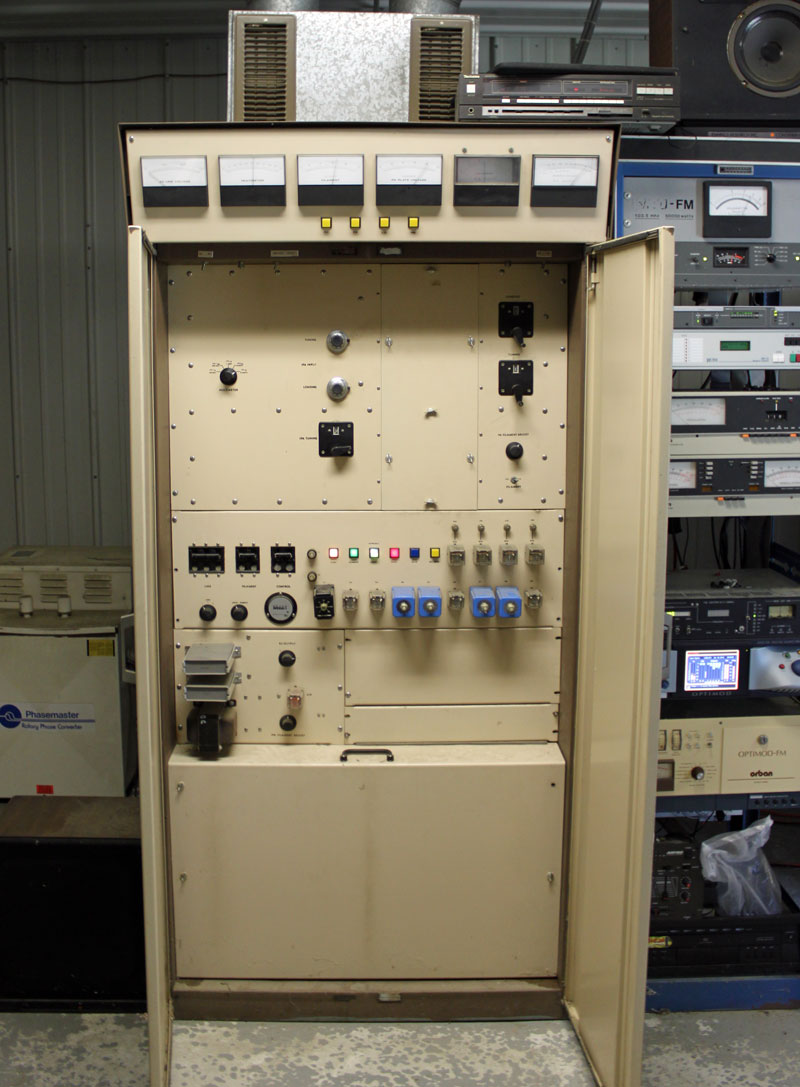
The main transmitter is a Broadcast Electronics FM30B, which is now 25 years old.

The backup transmitter is a CSI FM20T, which is almost forty years old.
Rather than do an open delta service, which is not desirable for several reasons, both transmitters have their own rotary phase makers. From a reliability and redundancy standpoint, this is the right way to equip this site. The rotary phase makers are essentially a motor generator combination which takes the split phase power and generates a third phase.
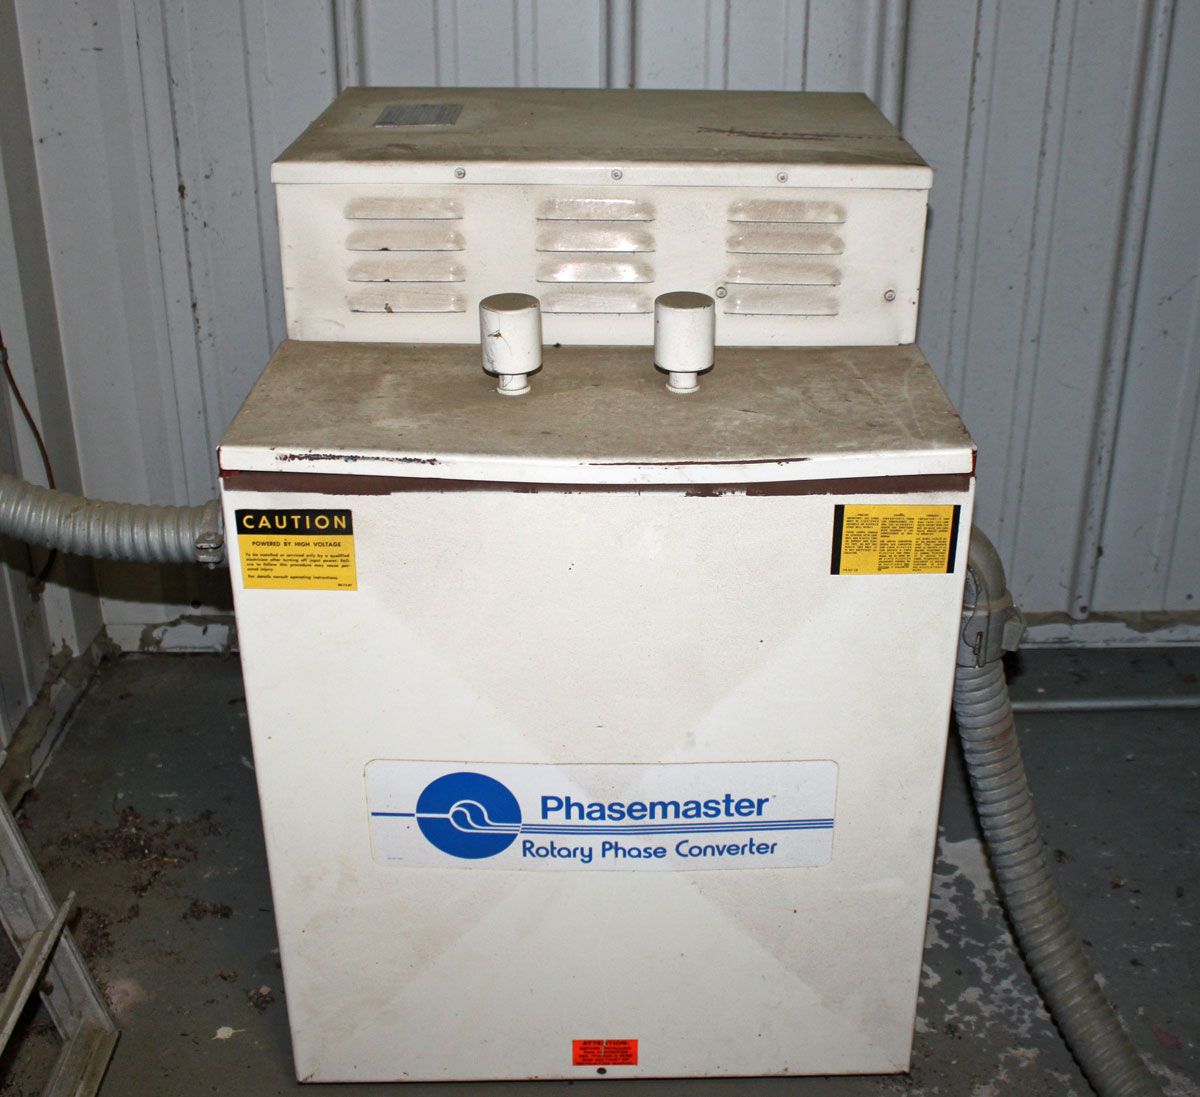

The phasemaster is is a 40 KVA unit and is connected to the backup CSI transmitter

The Roto Phase unit for the main transmitter is actually two 40 KVA units connected in parallel through dry core isolation transformers. Incidentally, the Roto Phase units need to have their bearings changed every ten years or so. This requires the units be disconnected, placed up on their end. To get the old bearing out, the housing has to be cooled with liquid CO2. Both units are due for new bearings soon, which should be a pleasant job indeed.