Be careful where you put your hands!

So, I was working at one of our FM clients in Albany when I decided I had a few moments of spare time, so I could neaten up the remote control rack.  I opened the rack door and was staring intently at the remote control interface panel when out of the corner of my eye, I saw something move.

Now, the top of the rack is a little bit dark and I was not sure what I was looking at.  At first, I thought somebody had stuffed a rag in the top of the rack.  But, I could not figure out why anyone would do such a thing.  Then I thought it was some cardboard.  I almost reached up and grabbed it, but something was amiss.  Then I saw the tough flick out and smell the air:
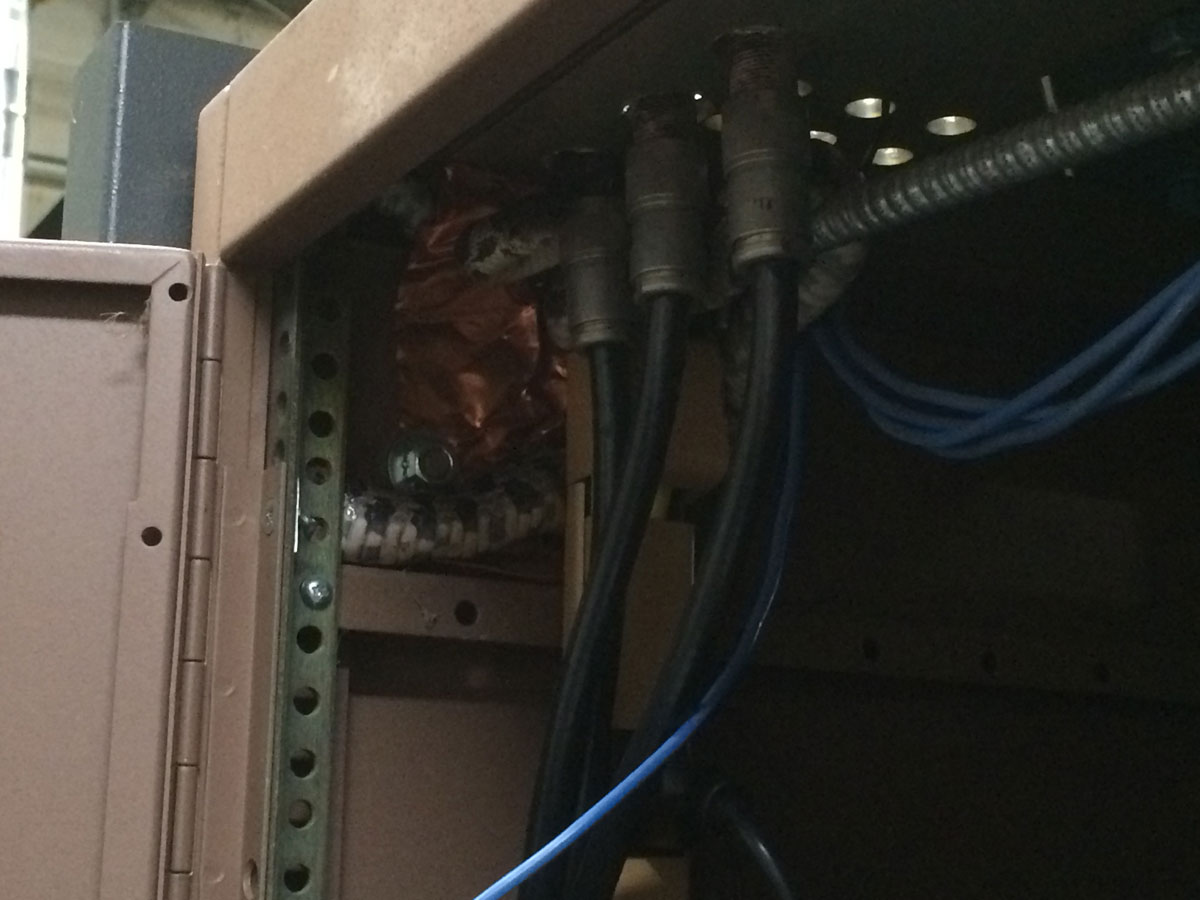
Transmitter room denizen

At this point, I think I may have said something like “Oh, shit!” and took several steps back. Those colors and patterns have two possibilities; Copperhead or Grey ratsnake. Since I could not really get a good look at its head, I could not tell which it was. I went and got a work light to see better with.
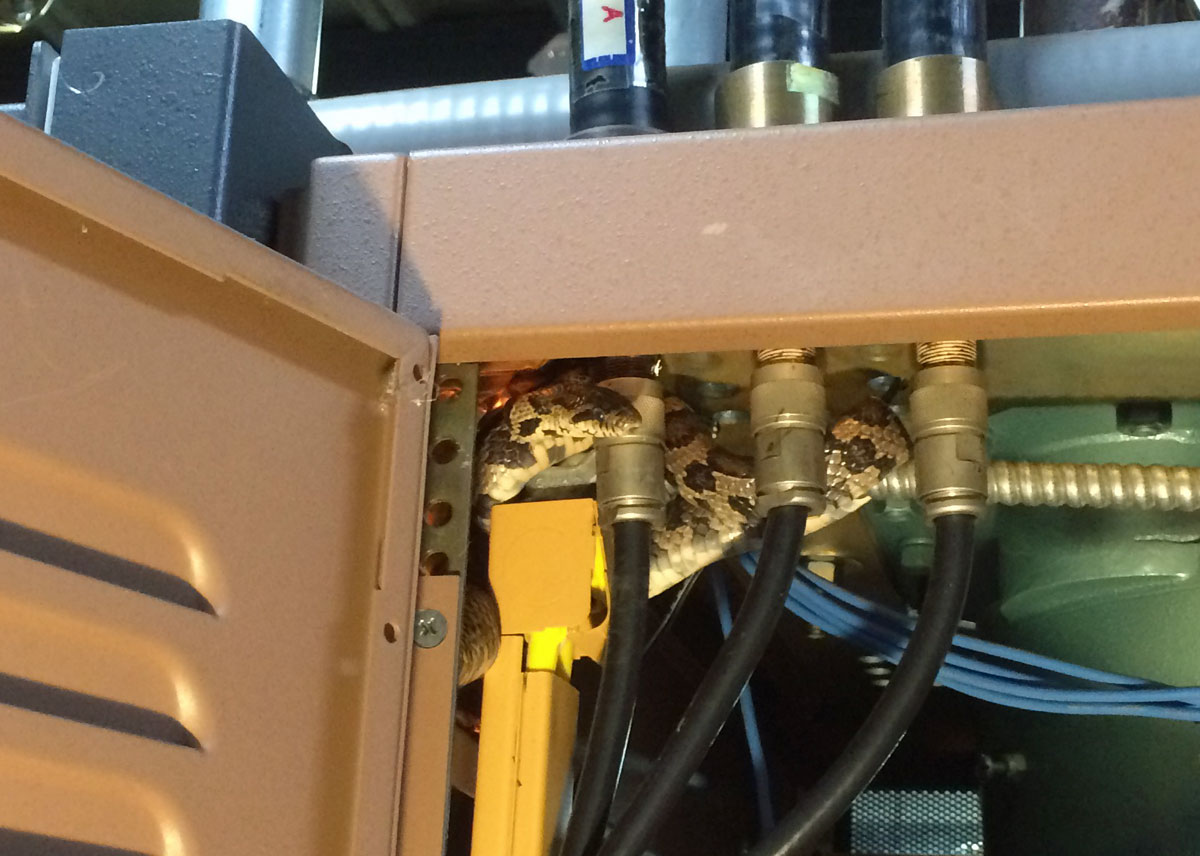
Grey rat snake
Grey rat snake

A copperhead is a pit viper, which has a triangular-shaped head and a small indentation or pit under each eye.  This snake has neither, so it is fairly harmless.   Actually, the rat snakes are beneficial because they eat the mice and other pests around the transmitter building.  There are several versions of these in the northeast, including a black rat snake which happens to look just like a piece of 7/8 coax laying across the pathway to the door, until it moves that is…

This species can get to be about 6 feet long (1.8 meters) and the larger ones can draw blood when they bite.  Even though he looked to be on the small side (approximately 30 inches or 76 cm), I decided that discretion is the better part of valor, closed the door on the rack, and did something else for a while.

The Sportable 3306LED02 Baseball Scoreboard

This post has nothing to do with radio engineering but is full of geeky goodness, nonetheless. My son is playing Little League again this year. This is his first year in the majors division, and I have to say, I have been thoroughly enjoying watching his games. There is, of course, one minor glitch in the matrix; the scoreboard, which occasionally looks like this:

Little League Scoreboard, missing LED segments
Little League Scoreboard, missing LED segments.

Now, that is more of an annoyance than anything else. I know what inning it is and what the score is. Truth be told, most of the time the scoreboard is being run by one of the parents (read: a mom) and they can become distracted at times. Very often, the ball/strike/out count is not correct, which in turn causes the home plate umpire to angrily stare up and the scorekeeper’s window.

Anyway…

As I was saying, more of an annoyance…

Regardless, I thought to myself; jeez, I fix things, perhaps I should have a go at that sign. So I spoke to one of the Little League board members who were more than grateful for any assistance I could render.

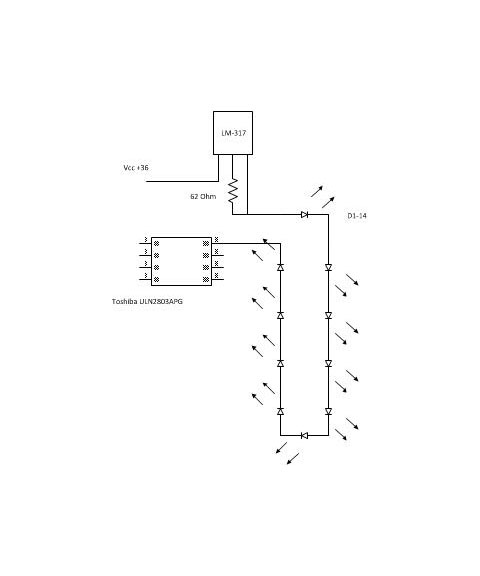
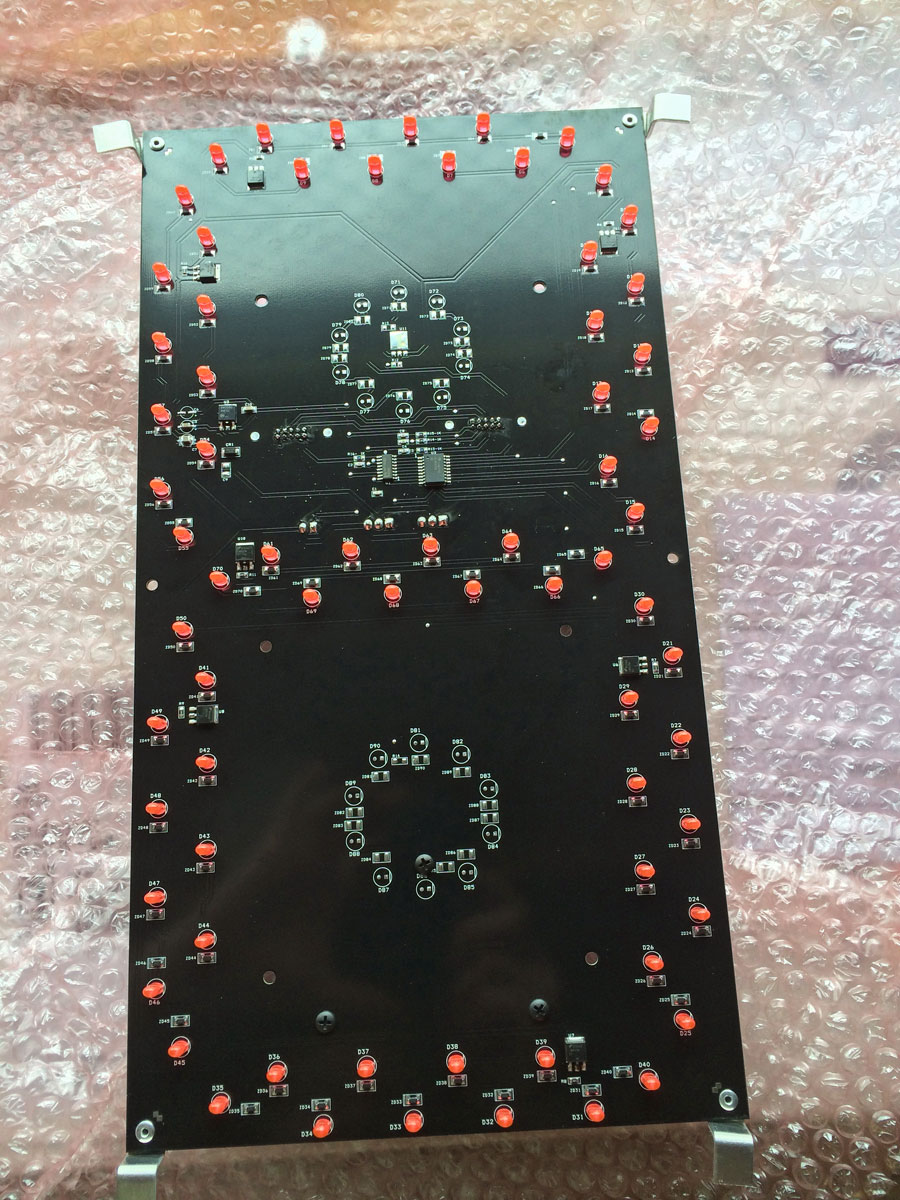
Thus, one afternoon, after work, I got the ladder out and started poking around to see what I could learn.  These signs are relatively simple.  Each digit on the sign has one circuit board.  Each circuit board has seven segments.  Each segment has fourteen LEDs in series.  There is a Toshiba ULN2803APG, which is a 16-pin darlington driver, and an LM 317 voltage regulator which is fixed with a 62-ohm resistor.

Scoreboard single digit circuit board
Scoreboard single-digit circuit board
Approximate schematic scoreboard circuit board segment

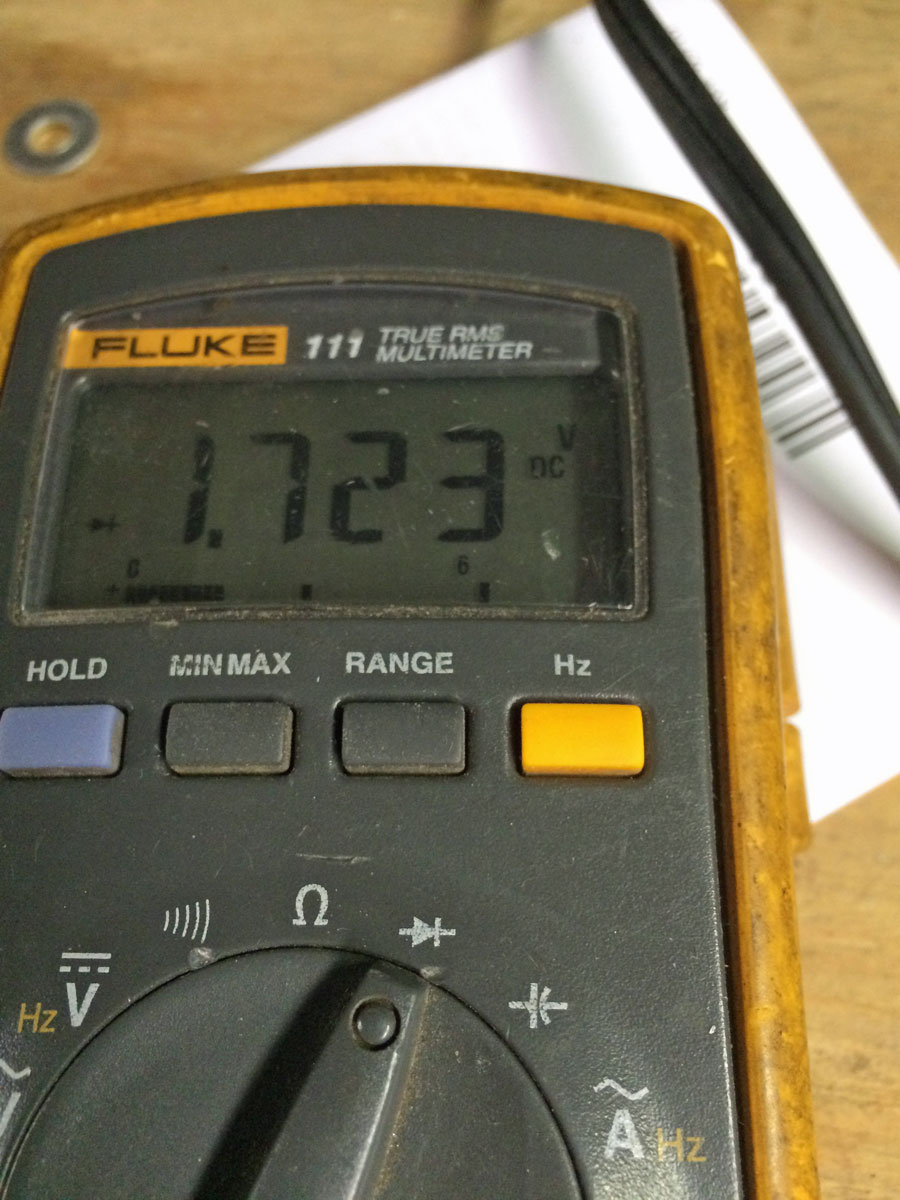
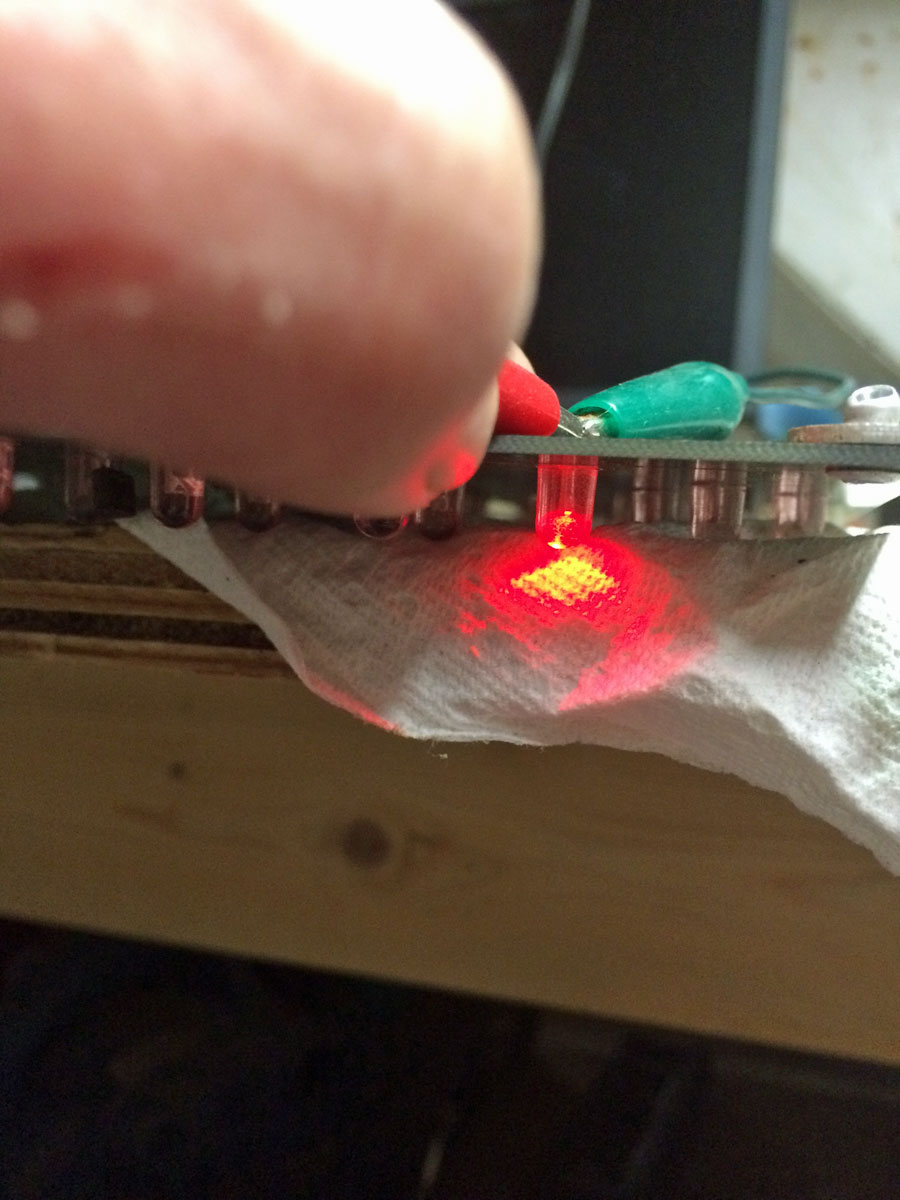
After poking around with the DVM for a while, I determined that the bad segments were due to open LEDs.  I measured the working LEDs and determined that each LED was dropping about 1.7 volts.  I took a board home with me and rummaged around in the parts bin until I found some orange 5MM LEDs that matched the voltage drop of the ones on the board. I confirmed my ladder-top troubleshooting findings on the workbench using the DVM in diode mode.  I also noticed that the Fluke DVM had enough current to light the LED, thus making troubleshooting much easier.  There were three bad circuit boards with various segments out.

Scoreboard LED voltage drop
Scoreboard individual LED testing good

A few minutes with the soldering iron and presto:

Scoreboard, repaired

Sign repaired.  I little further research and I found that an Everlight MV8104 LED (Mouser part number 638-MV8104) is a near-perfect replacement.  Literally, a 23.3 cent (US) part.

In all fairness to the company that makes the scoreboard, this unit was new in 2003 or 2004.  It has spent at least 11 years outside in upstate NY, which is not a tender climate.  They will replace the digit circuit boards for 175.00 each, plus $25.00 shipping.  My repair work used 9 LEDs ($2.10) plus about two hours of troubleshooting and repairing vs. $600.00 plus perhaps an hour to replace the boards.

Out with the old, in with the new

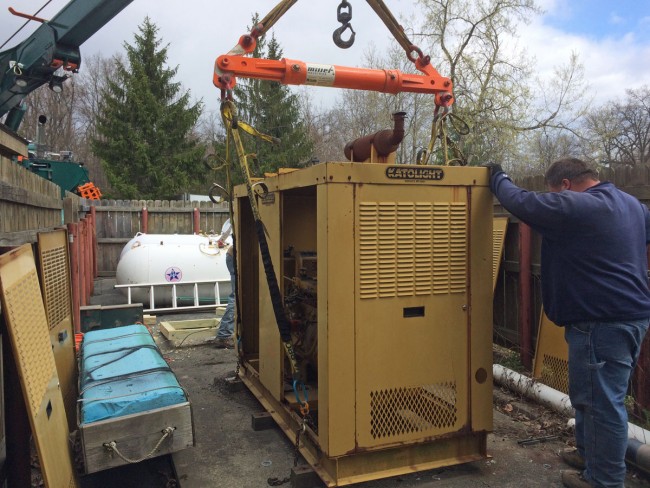
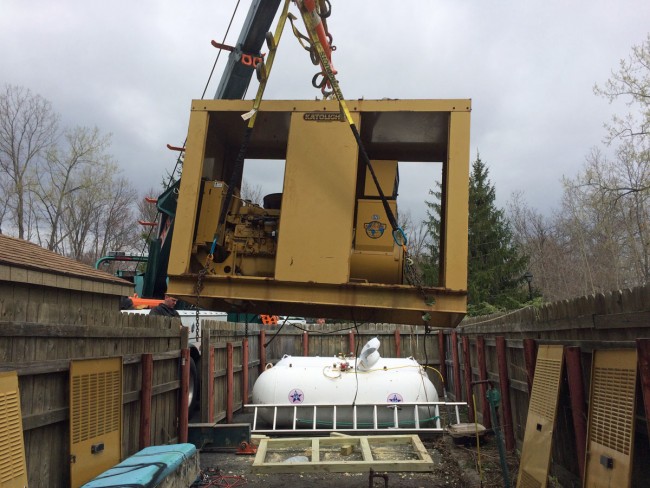
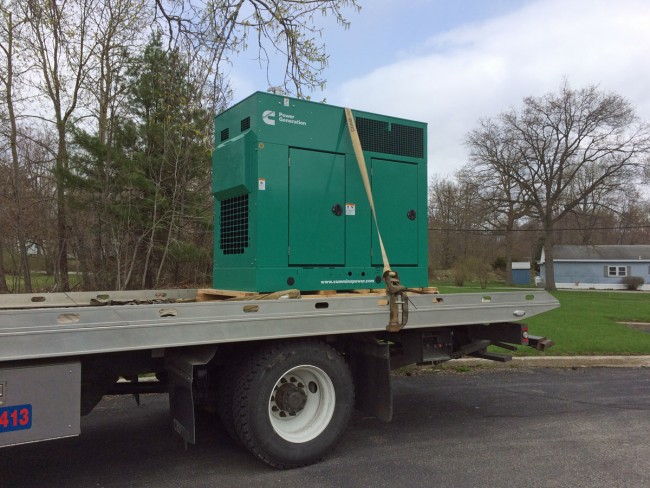
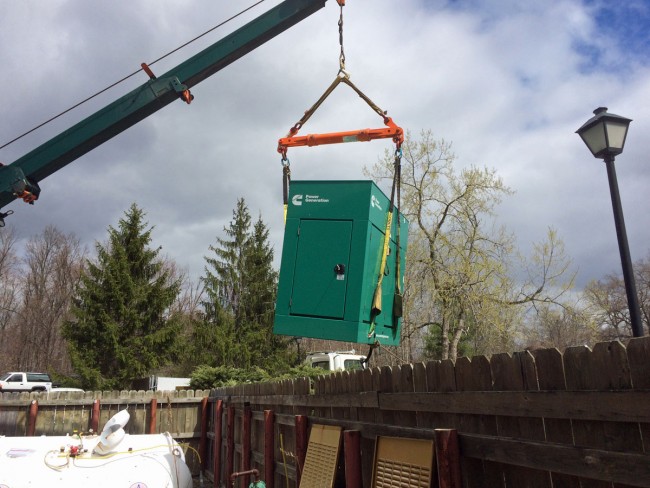
Pictures of a backup power systems replacement evolution at one of our clients.  The old generator was a Katolight 45FGH4, circa 1990.  The new generator is a Cummins Power GGHE-1503557 60 KW 3 phase.  Unfortunately, when the Katolight generator was moved from the previous studio location in 1998, it was never installed correctly.  The 500-gallon propane tank was undersized, the gas tubing was undersized, etc.  We fixed those items, but the damage was done.  After running too lean under load a few times, the head gasket blew and there is oil in the antifreeze and antifreeze in the oil.  It is a Ford straight-six engine, and sure, we could rebuild it, but why bother?  This is a major group of stations in a very lucrative market, it makes much more sense to replace the entire unit.

Katolight Genset hooked up to the crane, ready to move
Generator lift
Generator lift

In addition to the head gasket problem, the load on the generator has increased. Since the old generator was installed in 1998, two more stations have been added to this facility. That means another air studio, another production studio, more computers, servers, air conditioning, etc. Thus, the new generator is rated for 60 KW.

Cummins Power Generator delivery
Cummins generator lift

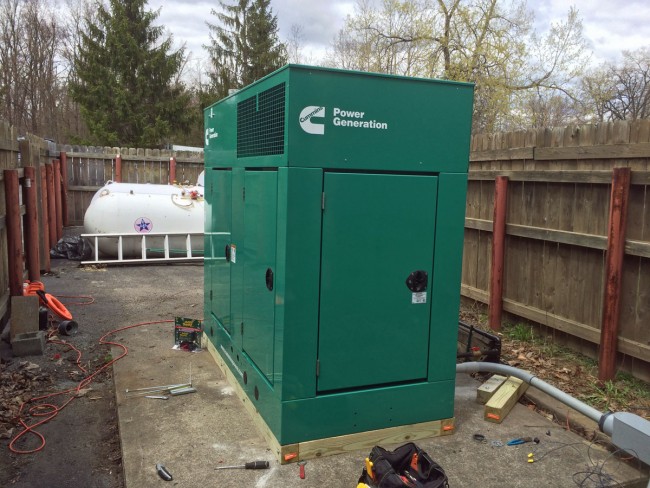
After the GENSET is placed, connections for remote start, battery charger, block heater, and AC power output are made. We were able to reuse the existing conduit and cable, thankfully the electricians used 3/0 AWG cable for the AC power connections to the transfer switch.

Cummins Power generator in place

It appears that they have dropped the Onan name, but not the color, completely.

Something fun

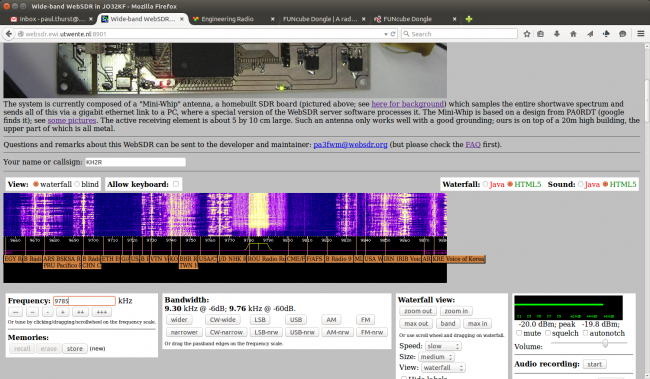
So, I spent wasted several hours on this SDR website over the holiday weekend:

University of Twente SDR website

This is a web-based SDR hosted by the University of Twente in Enschede, Netherlands. I enjoyed listening to the European medium-wave and short-wave stations available.  Something that is always fun to check out: UVB-76 on 4625 KHz.

Have fun!

PS: A special thanks to all those who have donated to the cause via the donate button on the upper right sidebar.  I had enough money to buy a FUNcube dongle SDR.  I think I have all the other necessary hardware to launch one of these sites myself.  If or when that happens, I will post a link here.