We don’t need no water, let the… oh, wait… The actual roof is actually on fire you say?
YES: Ahh! Time to run around like crazy people!
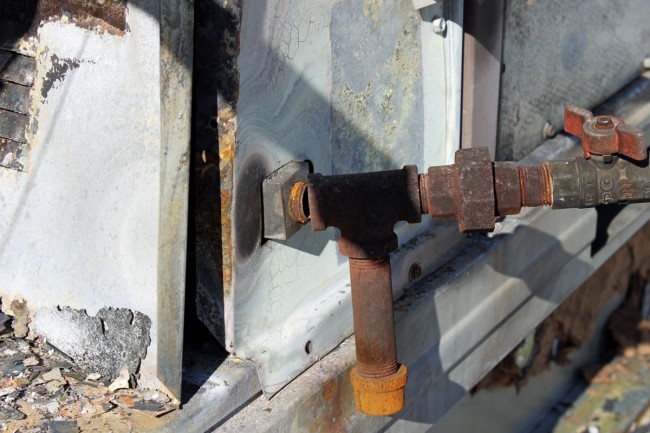
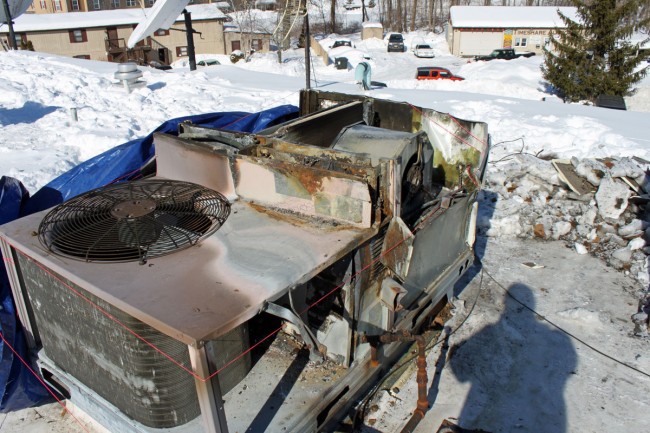
This happened over the weekend at one of our clients in NY. The back story is this; over the last two weeks, the area has received almost three feet of snow. This roof is pitched slightly toward the back of the building. The roofing material is some type of PVC, which is very slippery when wet. Thus, at some point the snow/ice pack shifted towards the back of the building, and it broke the natural gas pipe off where it entered the unit:
The next time the HVAC unit cycled on, there was a giant torch on the roof with flames reportedly eight feet high. A local firefighter just happened to be driving down the road and spotted the fire, thus likely saving the building from major damage. The fire department came and cut off the gas and electricity. The building was evacuated for about 20 minutes while they overhauled and checked for internal fires.
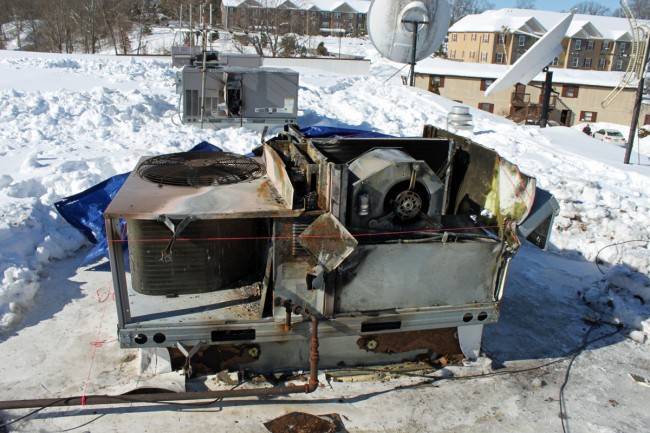
A second unit suffered the same fate, only with less damage:
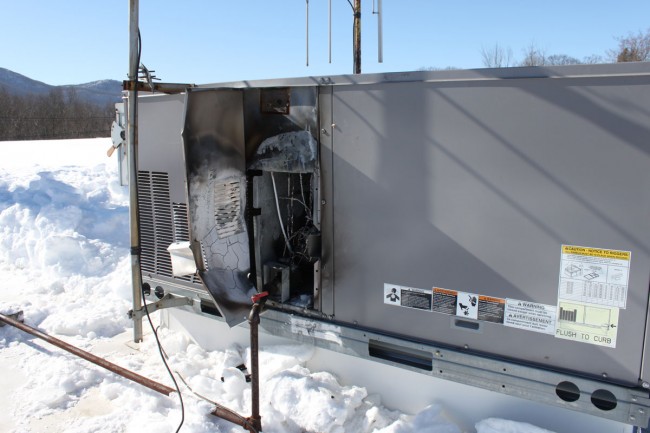
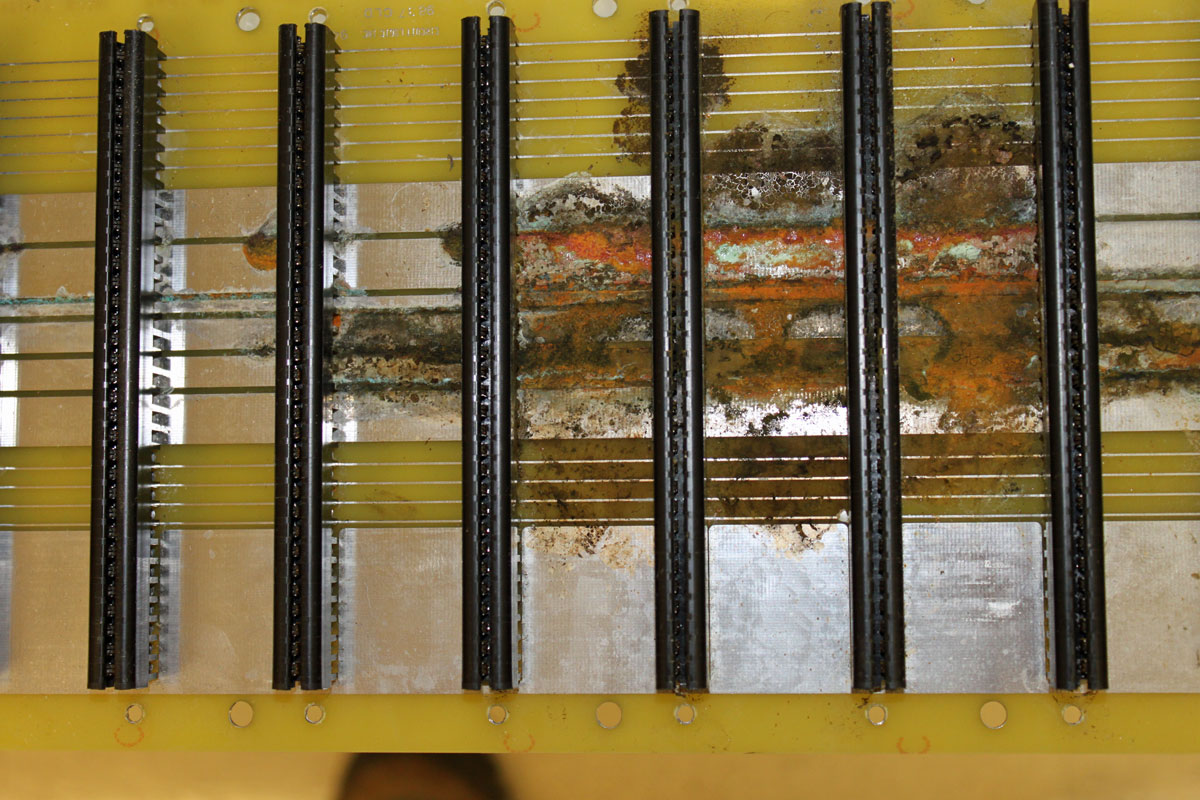
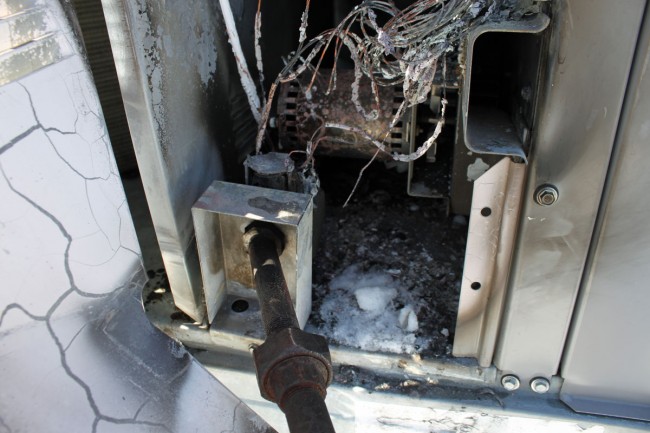
The fire in this unit was contained in the controller area. Same situation with the gas pipe, only it looks like the pipe was not broken all the way off:
The other two units are shut off while the gas pipes are dug out of the snowpack and checked for damage. At some point, they will be turned back on so that the heat can be restored to the second-floor sales bullpen. Meanwhile, the salespeople; are complaining.
We threw a tarp over the unit with the cover ripped off because more snow is on the way: